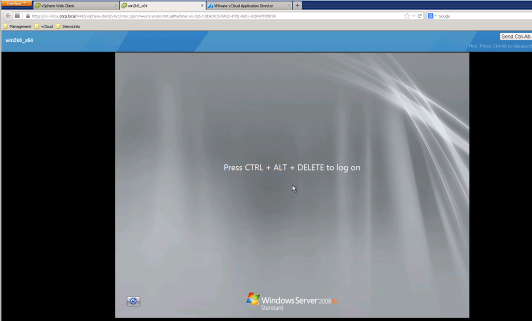
For this guide you will need a Windows 2008 R2 VM with VMware tools already installed.
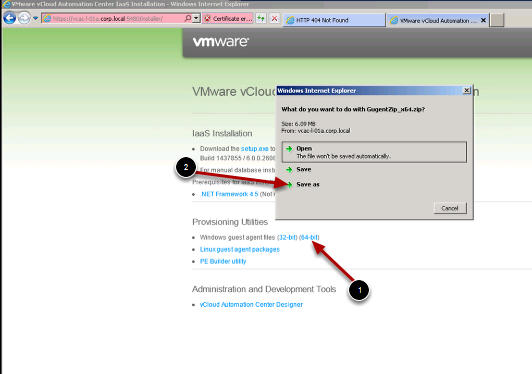
Step 2: In the Windows Server VM go the vCAC appliance home page for example https://vcac-l-01a.corp.local:5480/install and download the windows guest agent for your Operating system version (32 or 64 bit) to a folder.
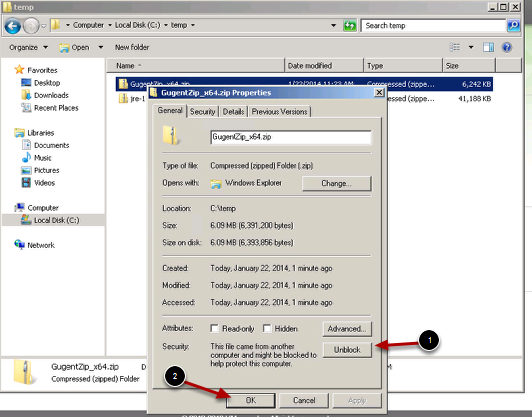
Step 3: This next step is very important or your deployments will fail. Right click on Gugentzip_x64.zip file, select properties, and mark them as unblock and click ok
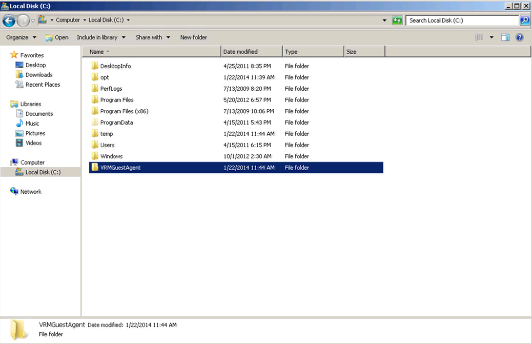
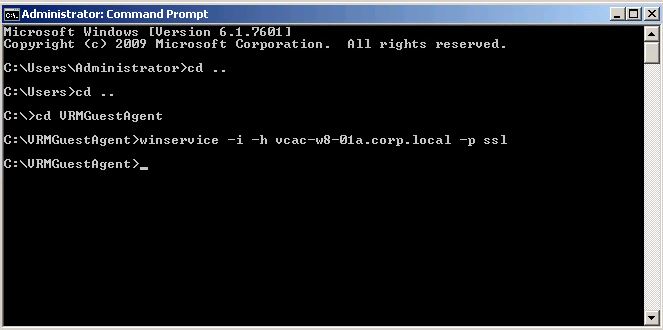
Step 5: Open a command prompt as administrator (Hold Shift, Right click and Run As Administrator) and change to the VRMGuestagent directory and type winservice -i -h FQDNofWindowsIaaS -p ssl and press enter
winservice -i -h FQDNofWindowsIaaS -p ssl
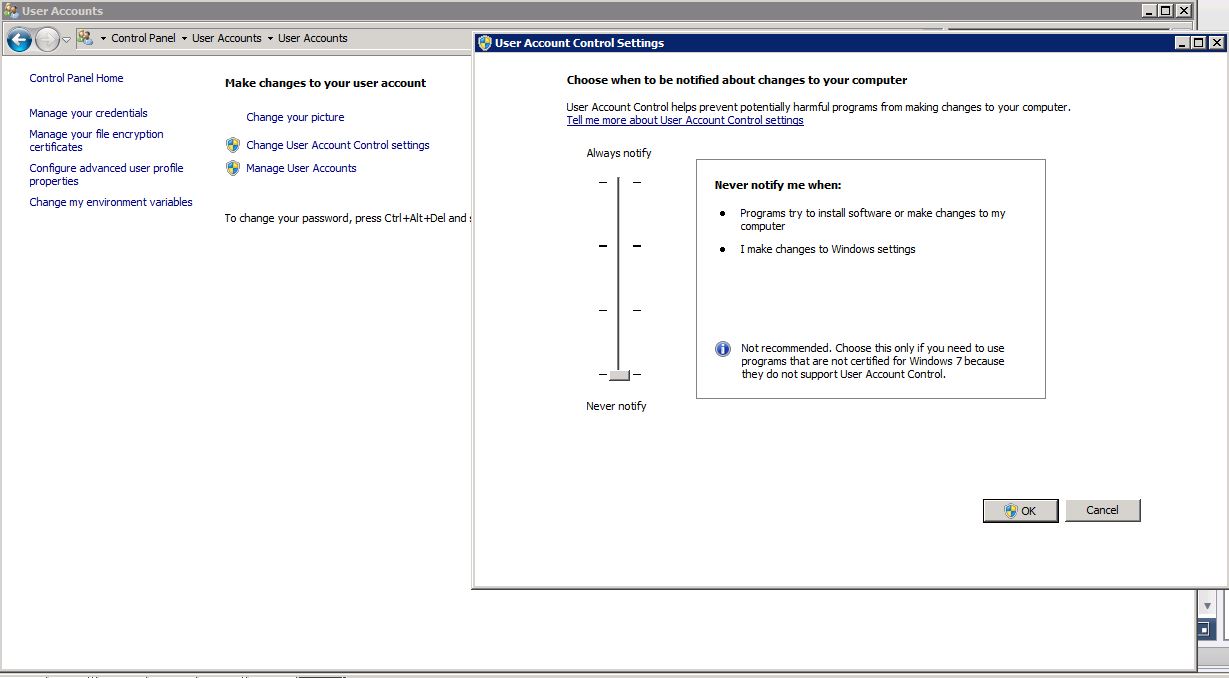
Step 6: Change the User Account Control Settings to Never Notify
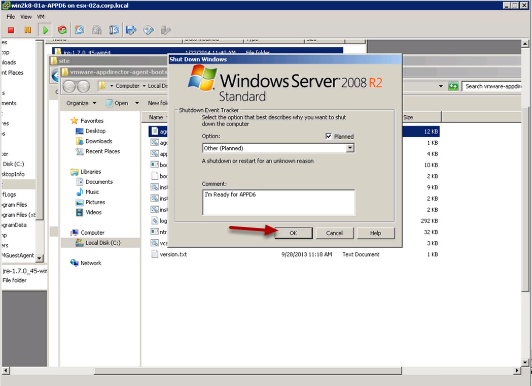
Step 7: Shutdown your windows server and you can now make it a template or take a snapshot to setup for linked clone in vCAC (Remember to do a data collection in vCAC and point the Windows Blueprint to the new snapshot)
Important! If your vCAC/vRA IaaS box is running Windows Server 2012 you will need to apply the following patch to it or the Guest agent will not be able to communicate with vCAC/vRA. Click here!
Click here for an example how how to use the guest agent for Windows.

Pingback: Add requester to Administrator Group of Windows VM in vCAC 6 | VMtoCloud.com
Pingback: Automate Log Insight logging of new Windows VM’s Provisioned from vRA | VMtoCloud.com