
If you are here you should have already performed the steps in Part I
Let’s test the agent to make sure it works
Login to vRA as Infrastructure Admin and go to Infrastructure Tab/Compute Resources and hover over your vCenter endpoint and click data collection
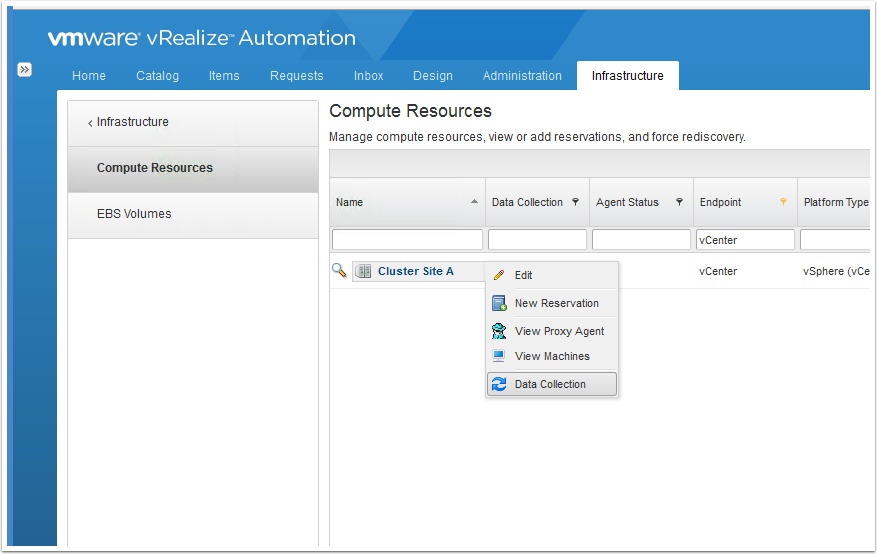
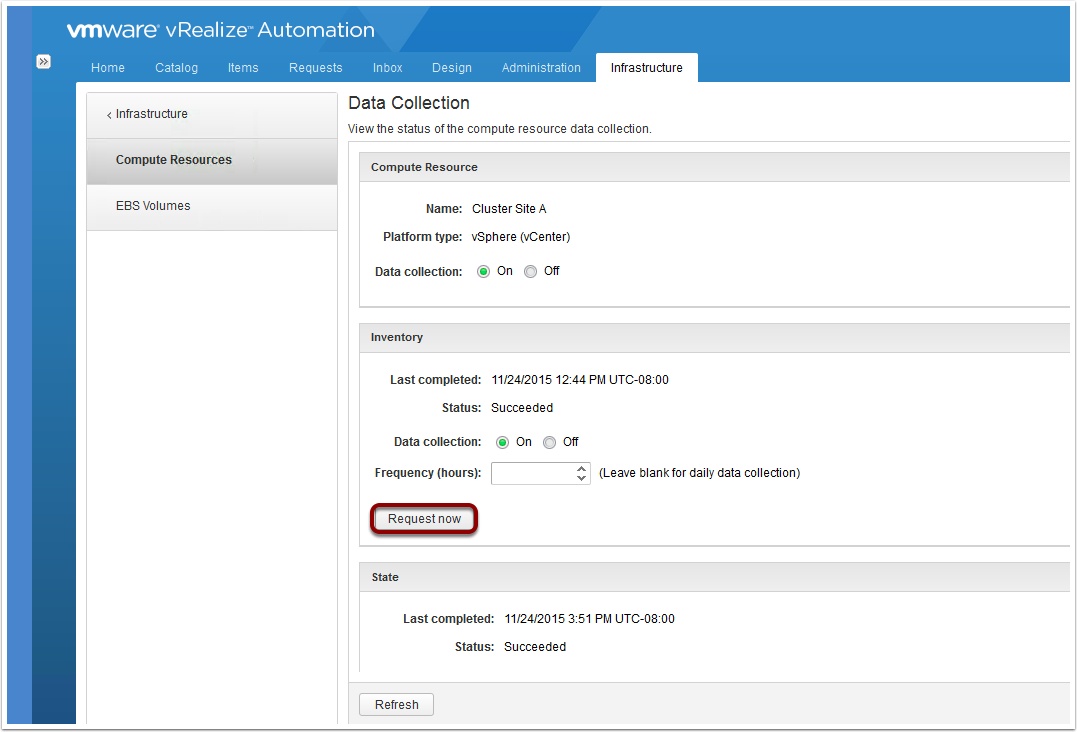
Under Inventory click Request Now.
It may take a few minutes to complete depending on the size of your vSphere environment.
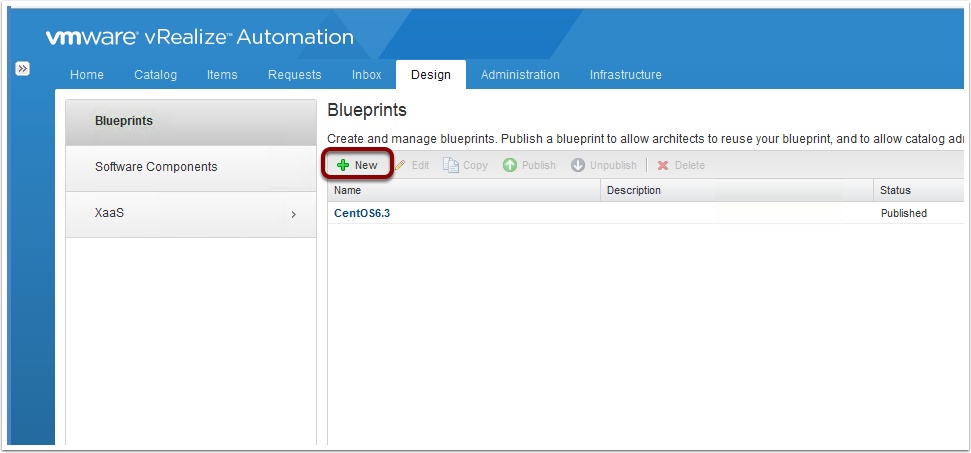
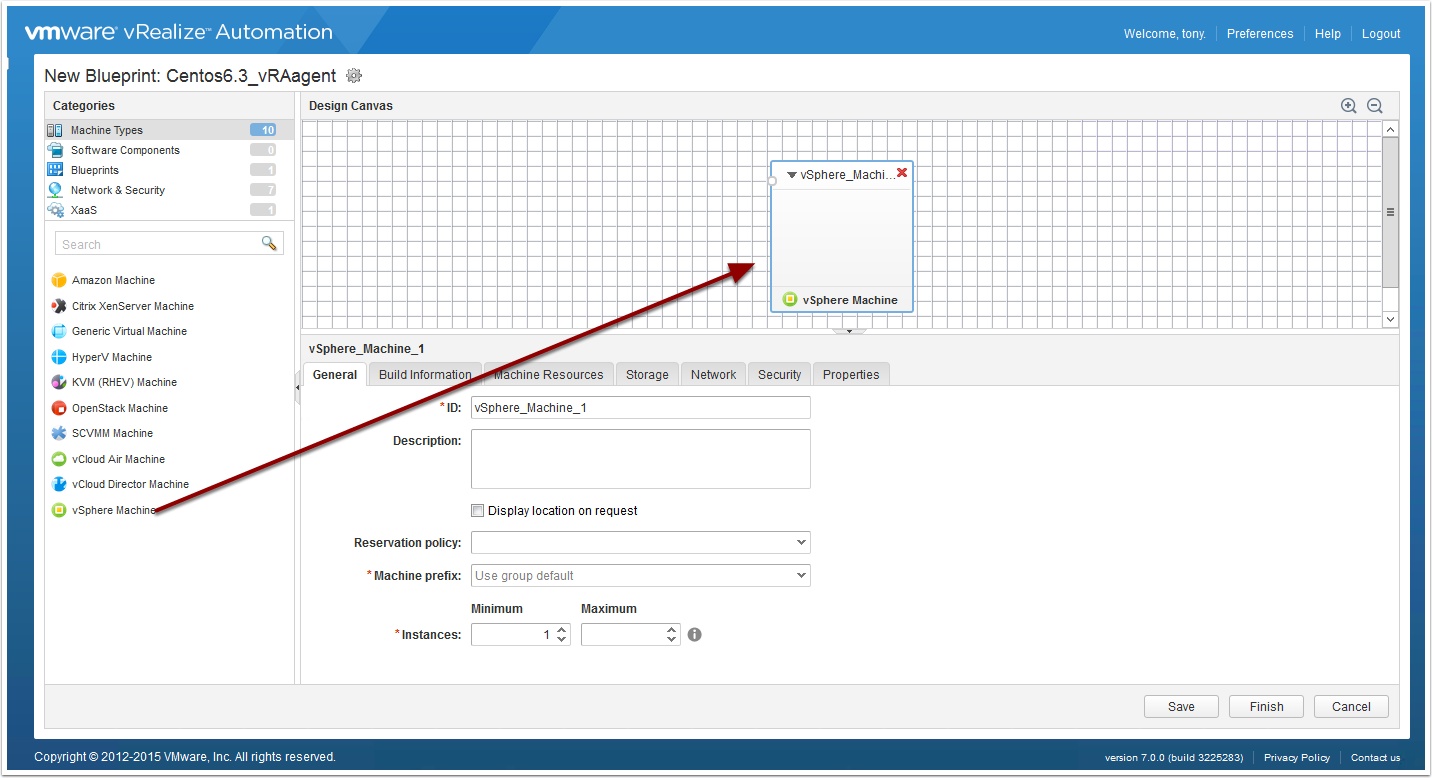
Now lets create a new blueprint that uses calls a template with the agent in it. Click the deign tab then blueprints and then New Blueprint
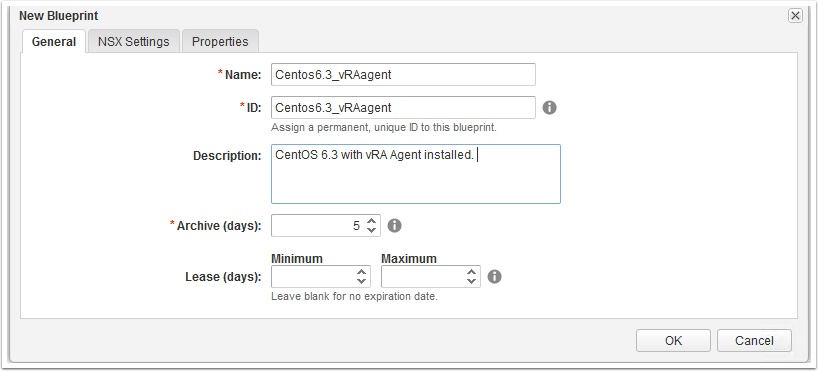
Enter the following for the new blueprint and press ok.
Drag and drop a vSphere Machine onto the canvas
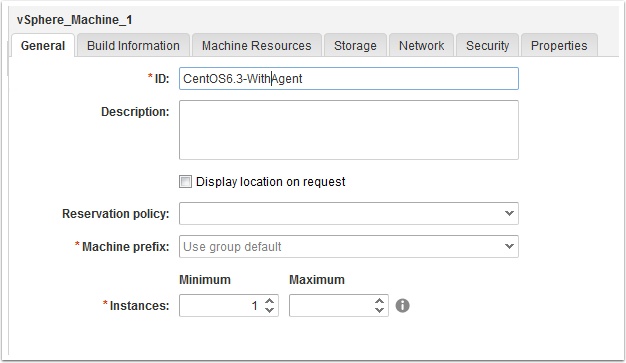
Enter the following on the general tab
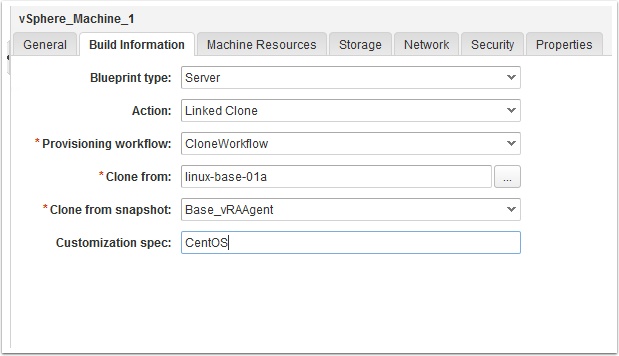
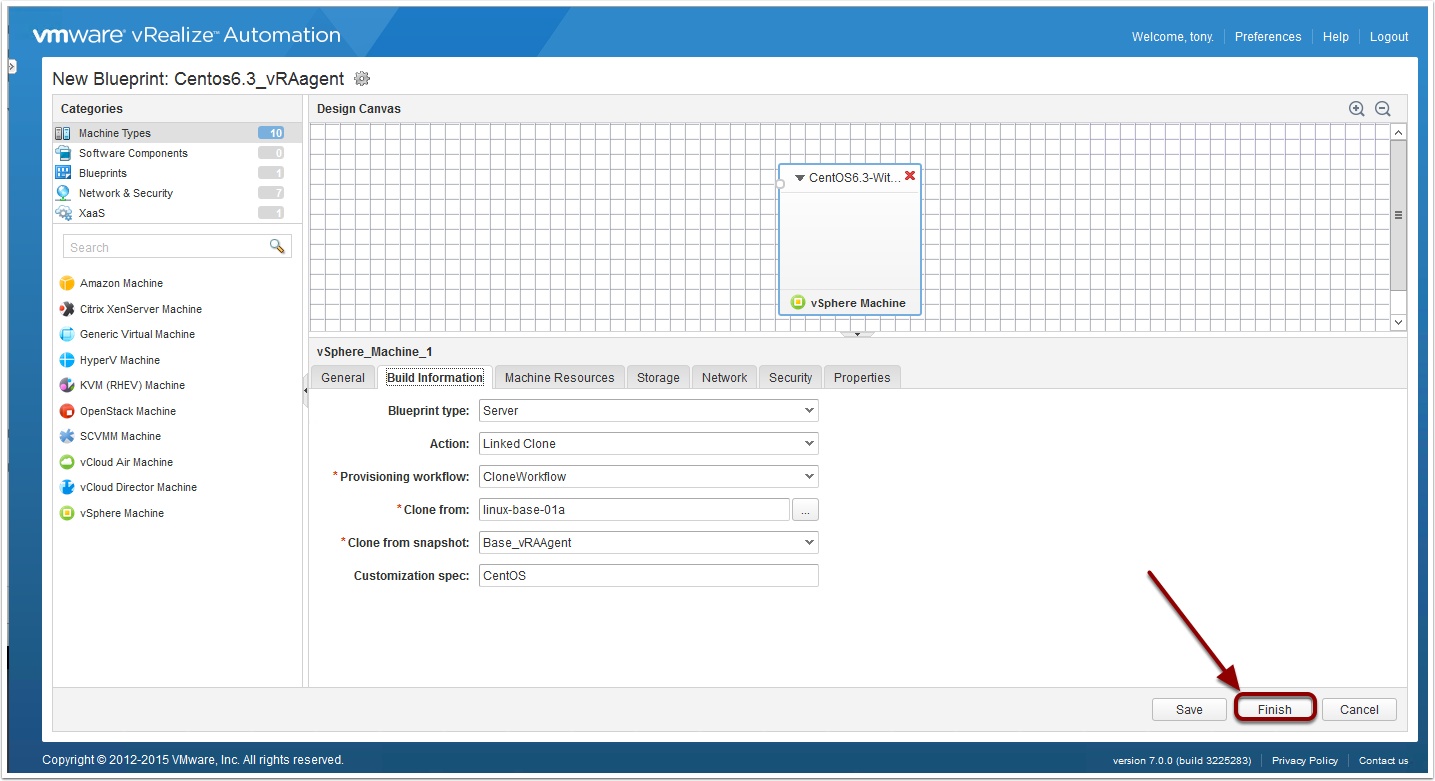
Now click Build information tab and enter the following. Be sure to choose the template we created earlier or if using Linked clone choose the snapshot we created.
Now click Finish
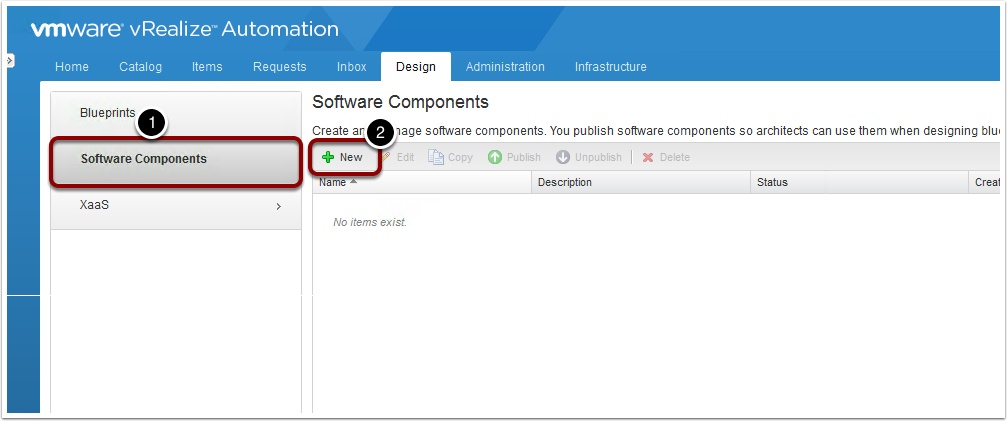
Now click Software Components, then click New
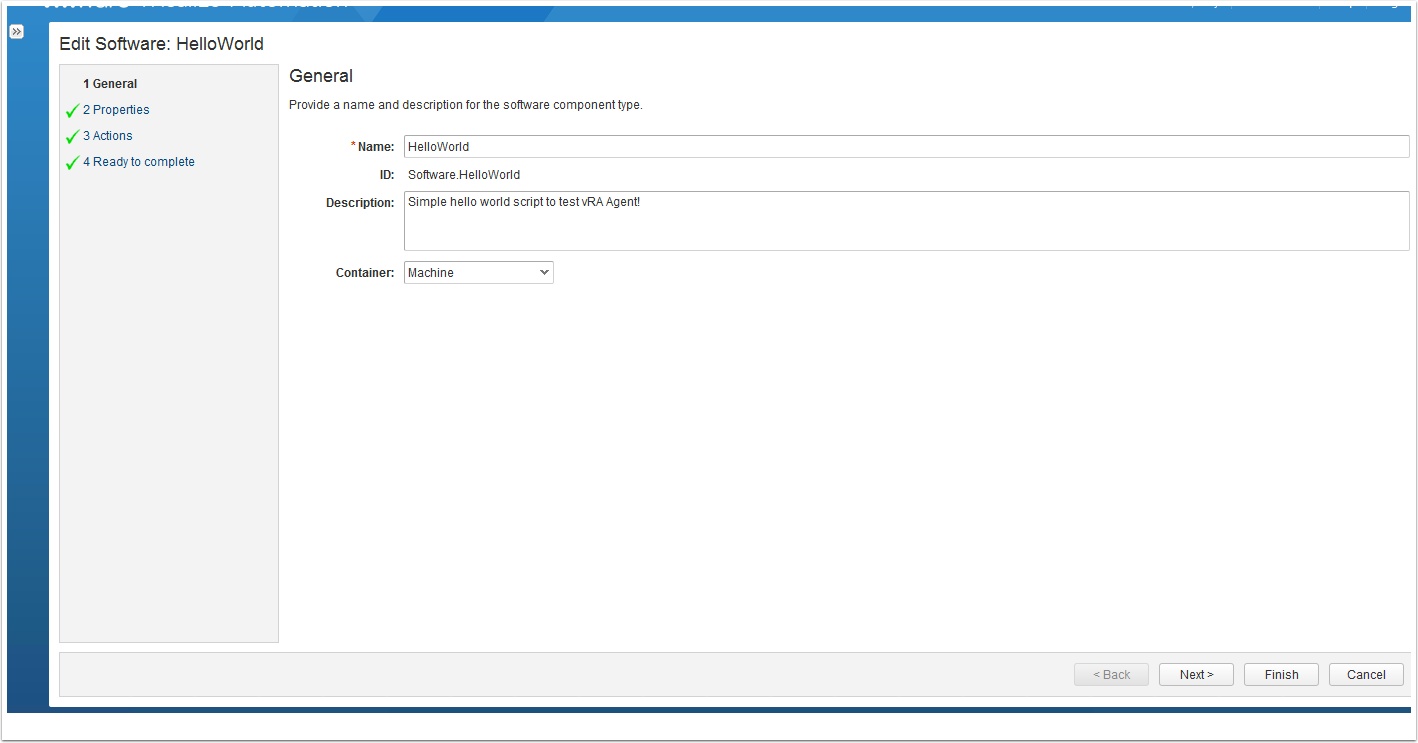
Enter the following and press next
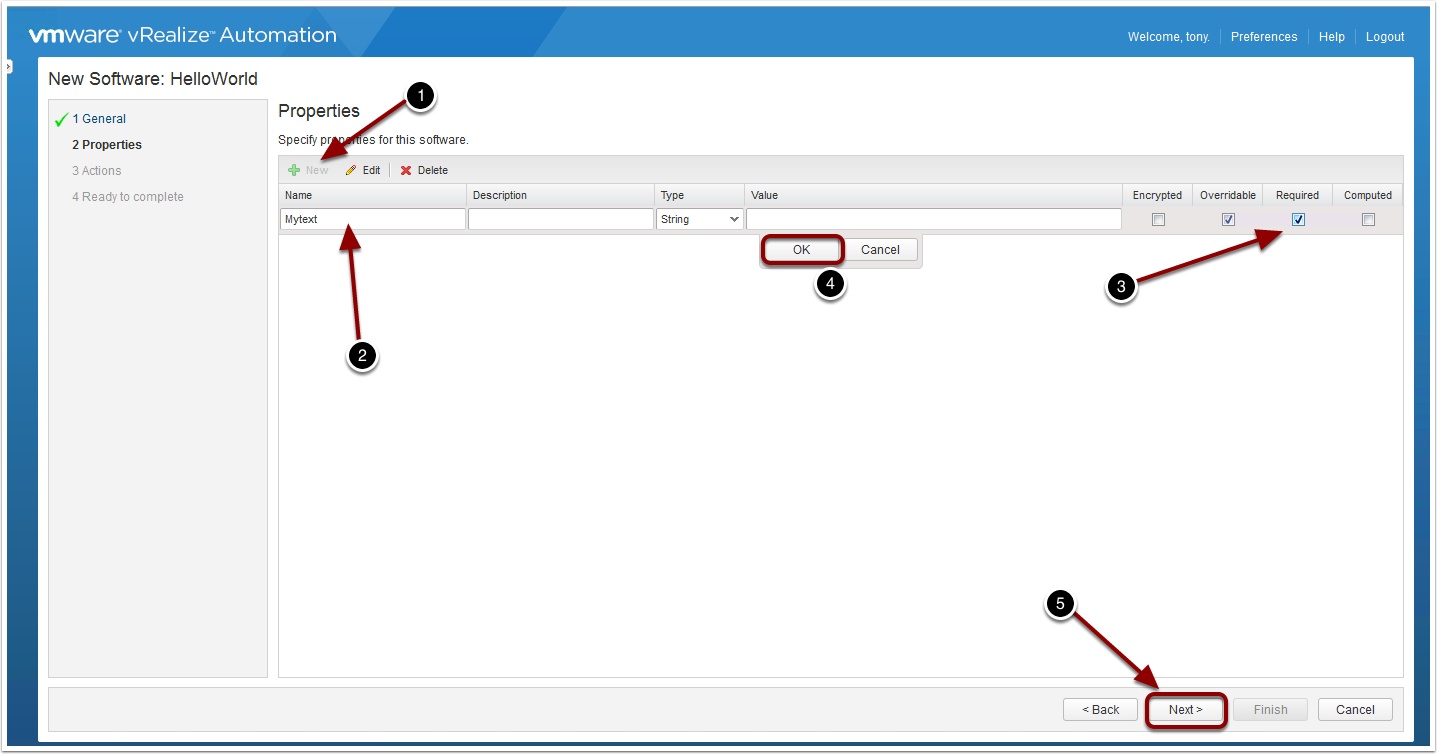
Click New to create a new property. For Name type in Mytext, click the required check box then click OK.
The following screen shows the multiple stages you can program into a Software Component. We will just use install to run our simple script. Next to Install Click to edit.
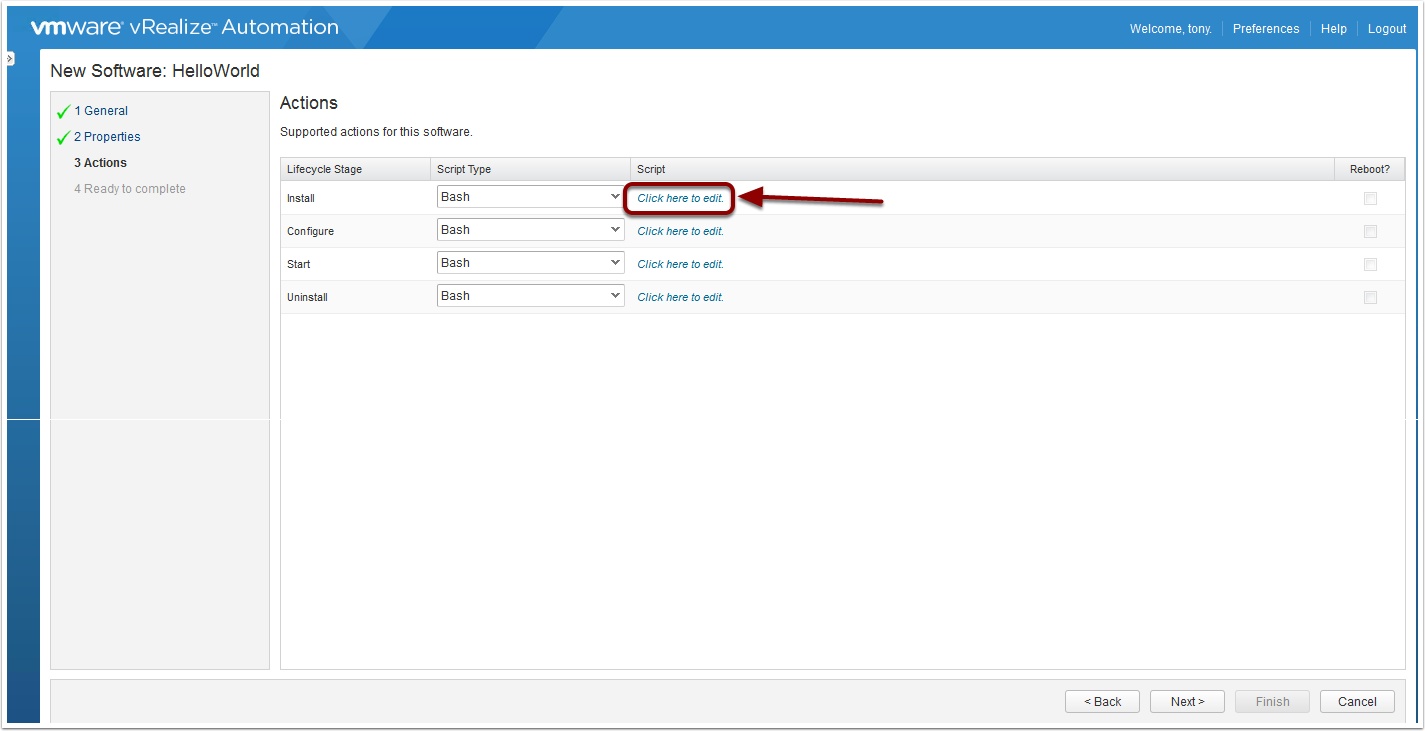
Type echo “Hello then a space and click the drop down to enter our property
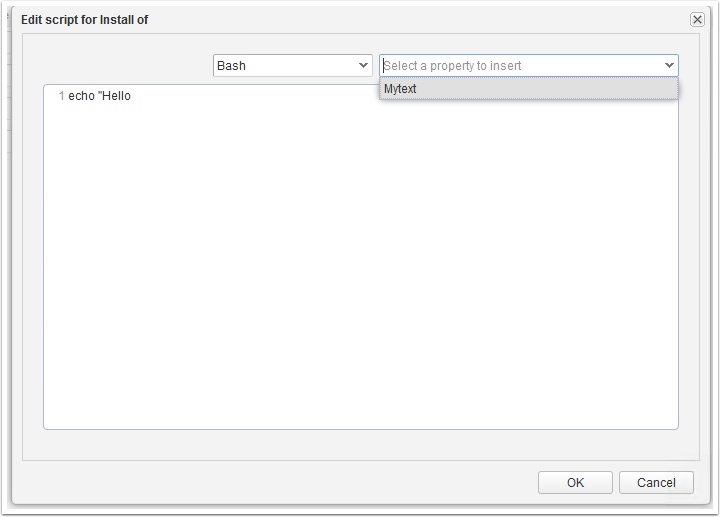
Enter the following and press ok.

Click Next

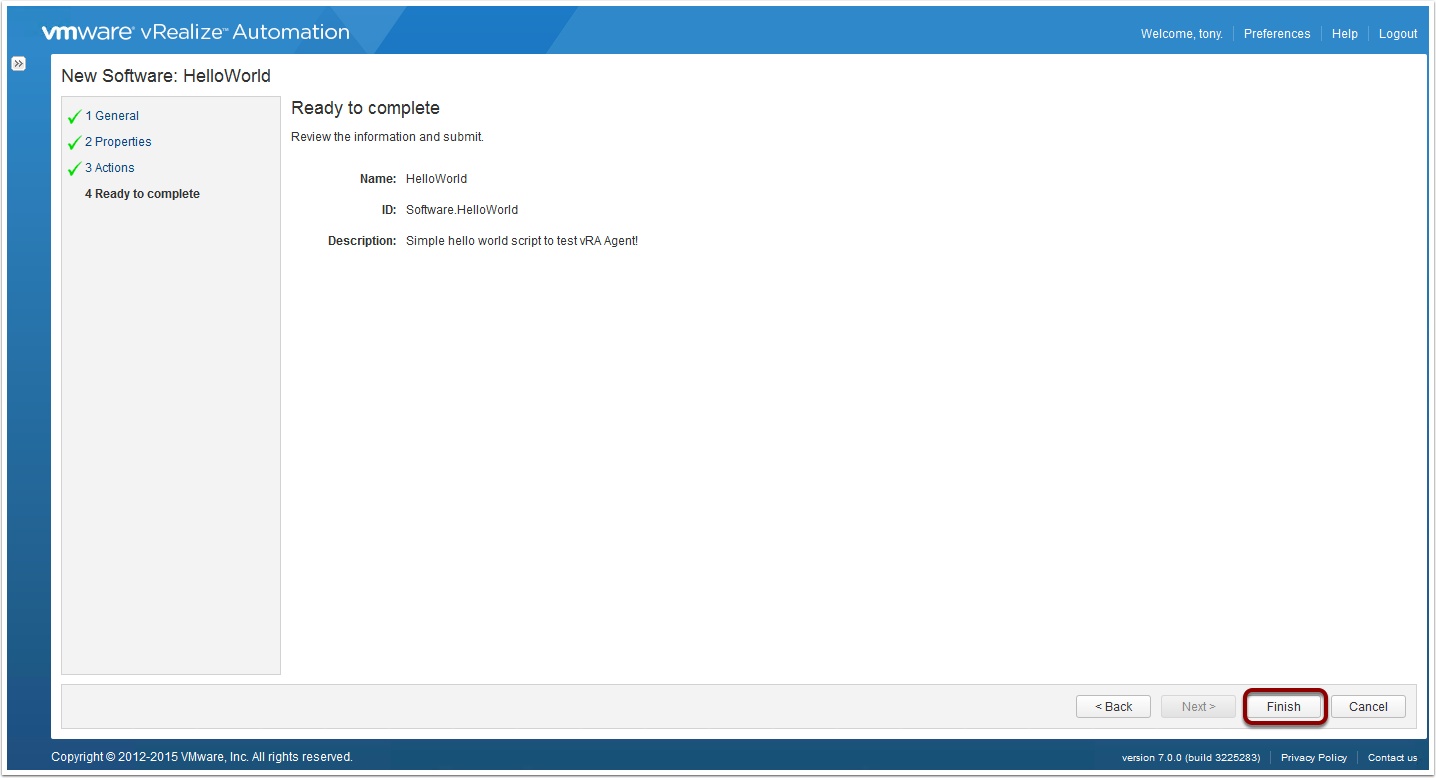
Now click finish
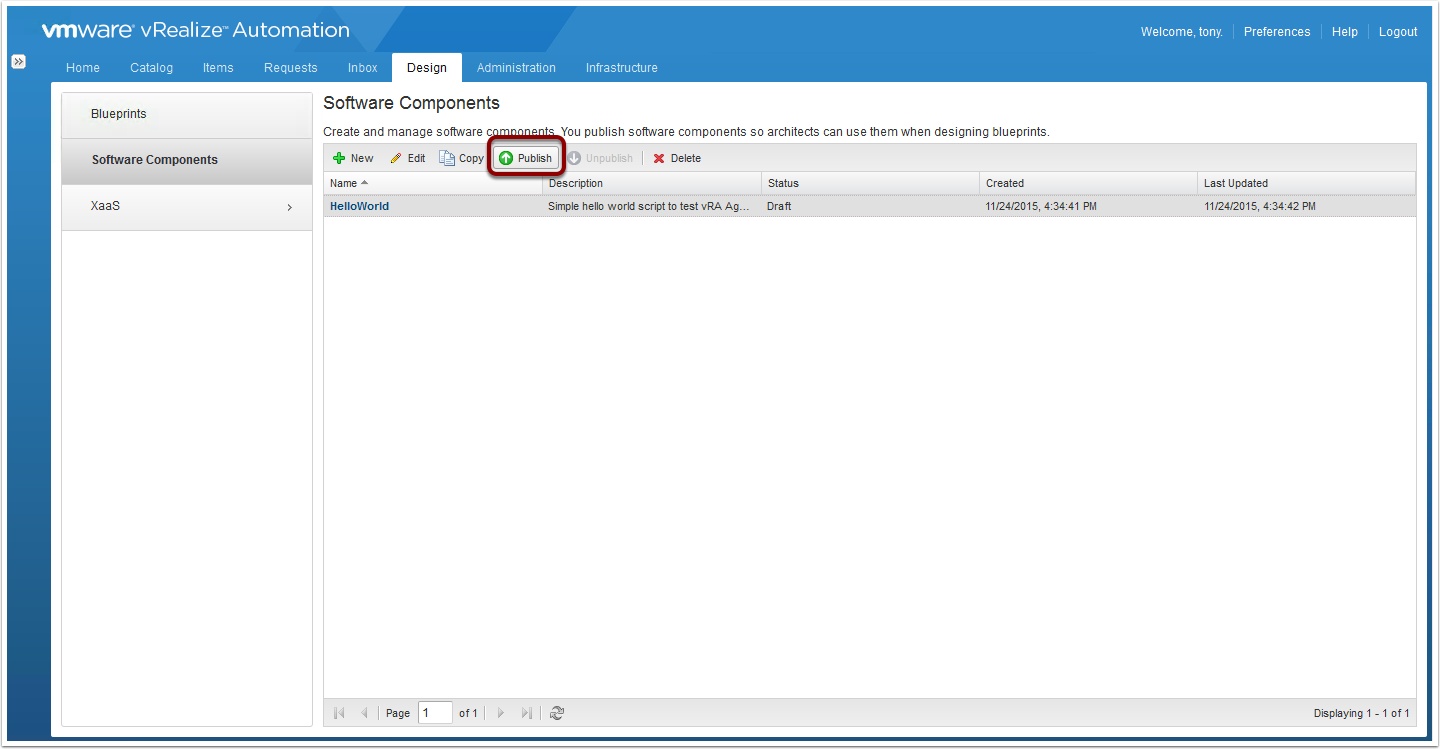
Highlight your HellowWorld Software Component and click Publish
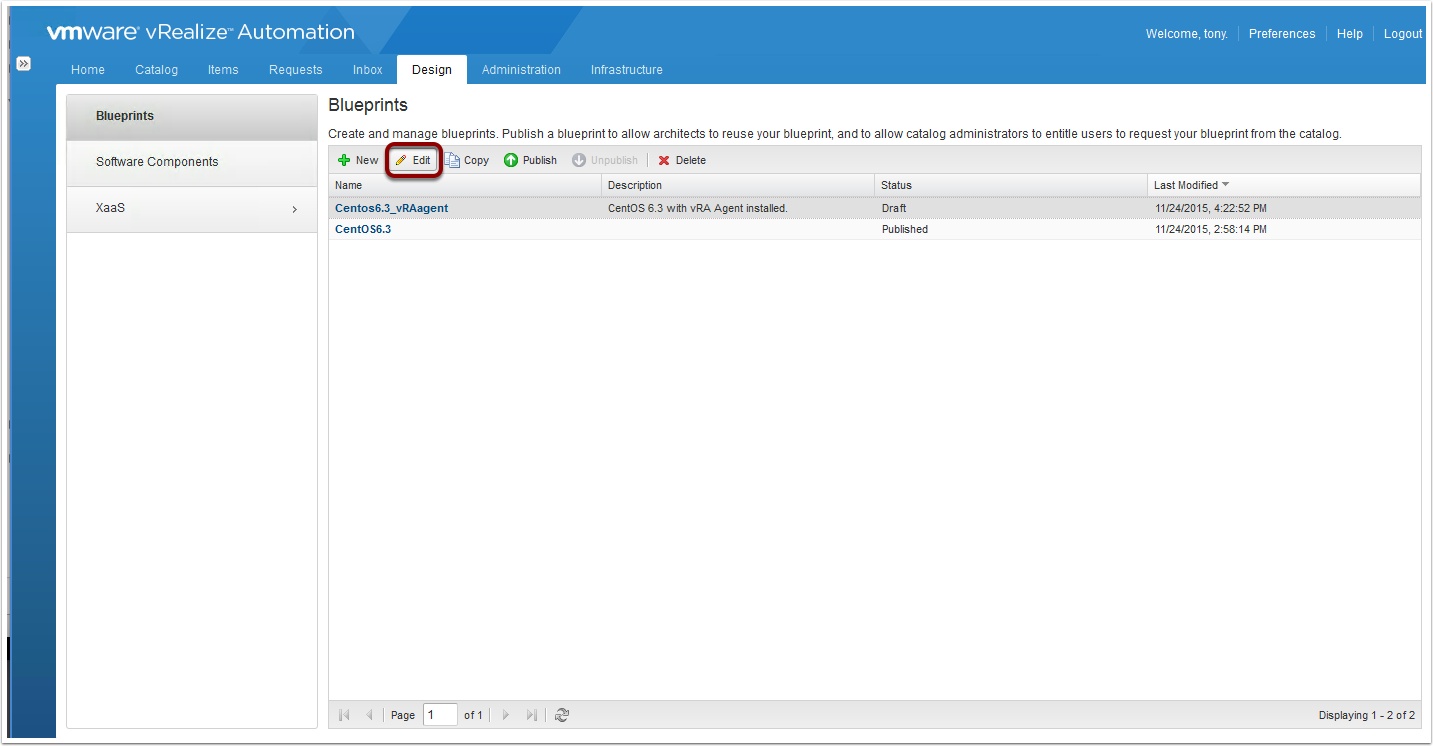
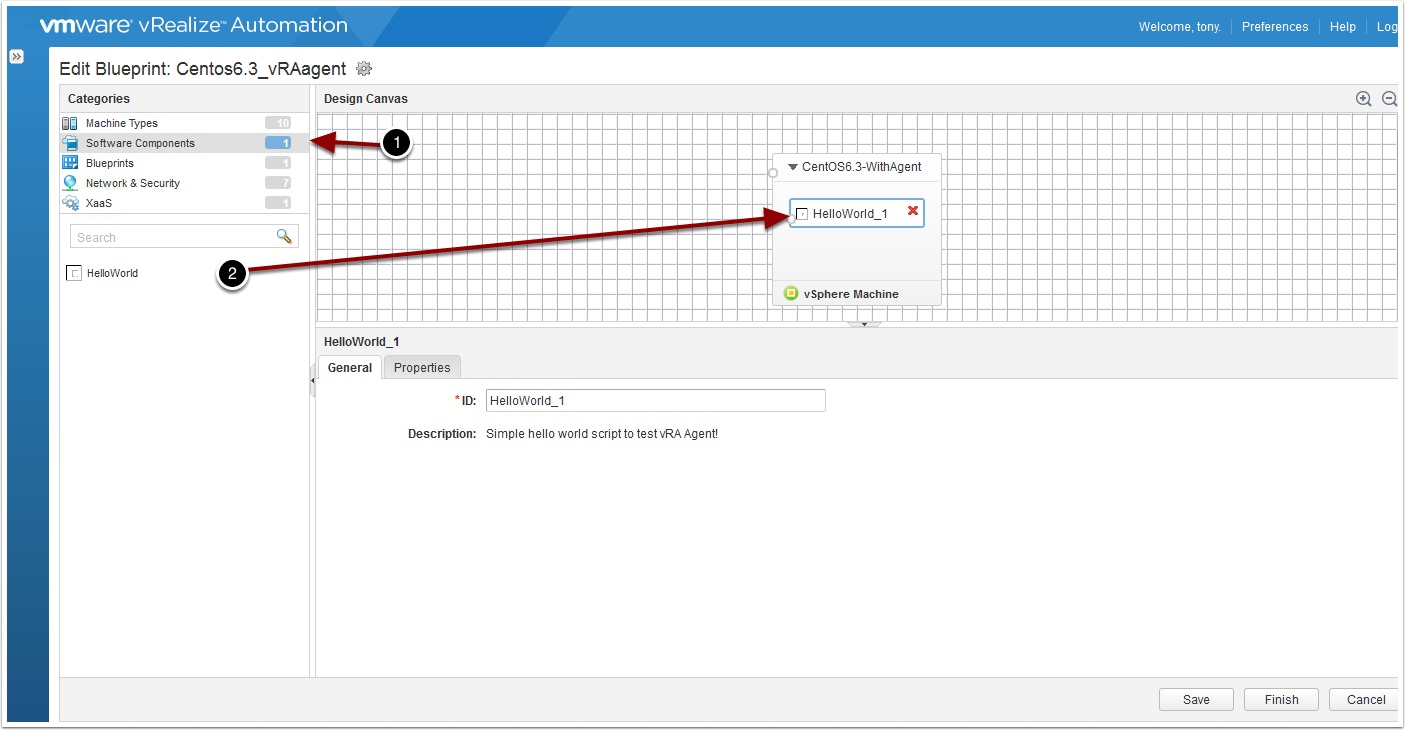
Click back on Blueprints, highlight your LinuxBlueprint with the Agent and click edit
Click on Software Components then drag and drop your HelloWorld Software component onto your vSphere machine
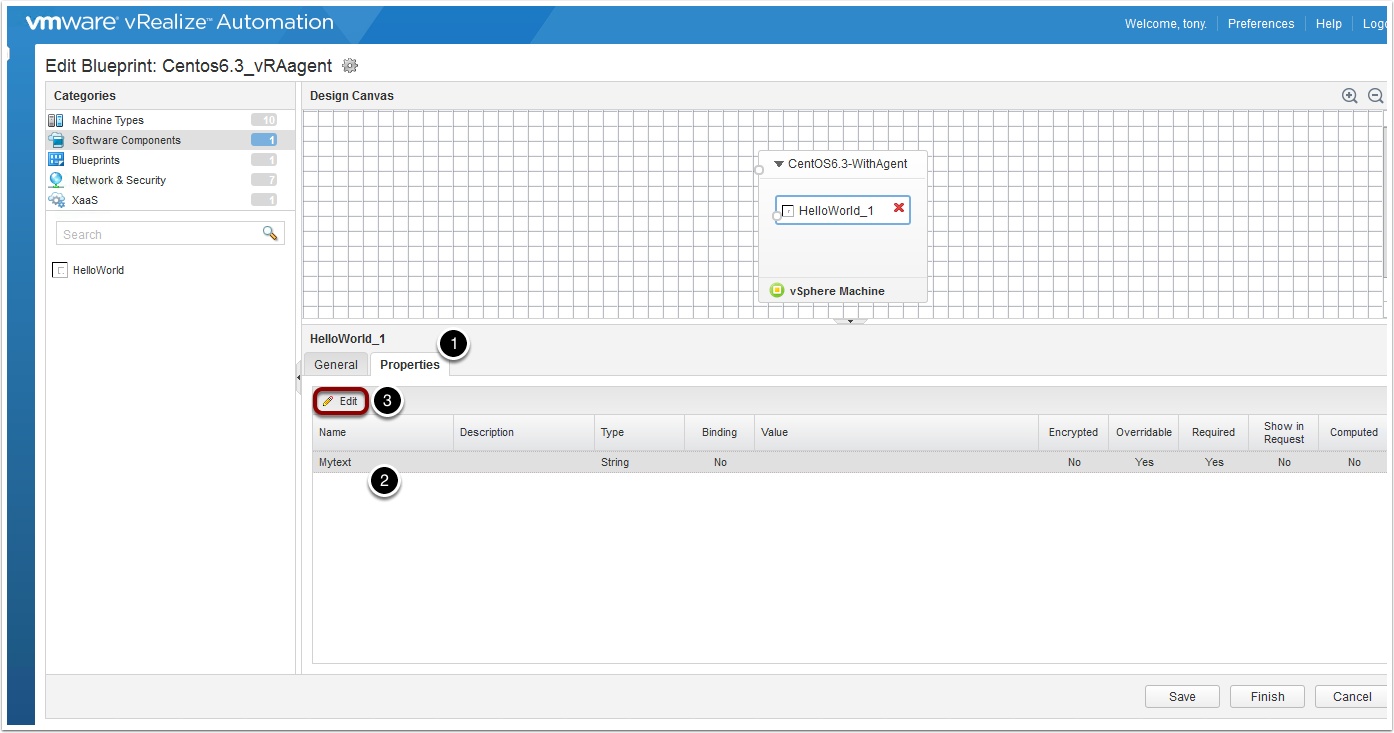
Click on the properties Tab then highlight Mytext and click Edit
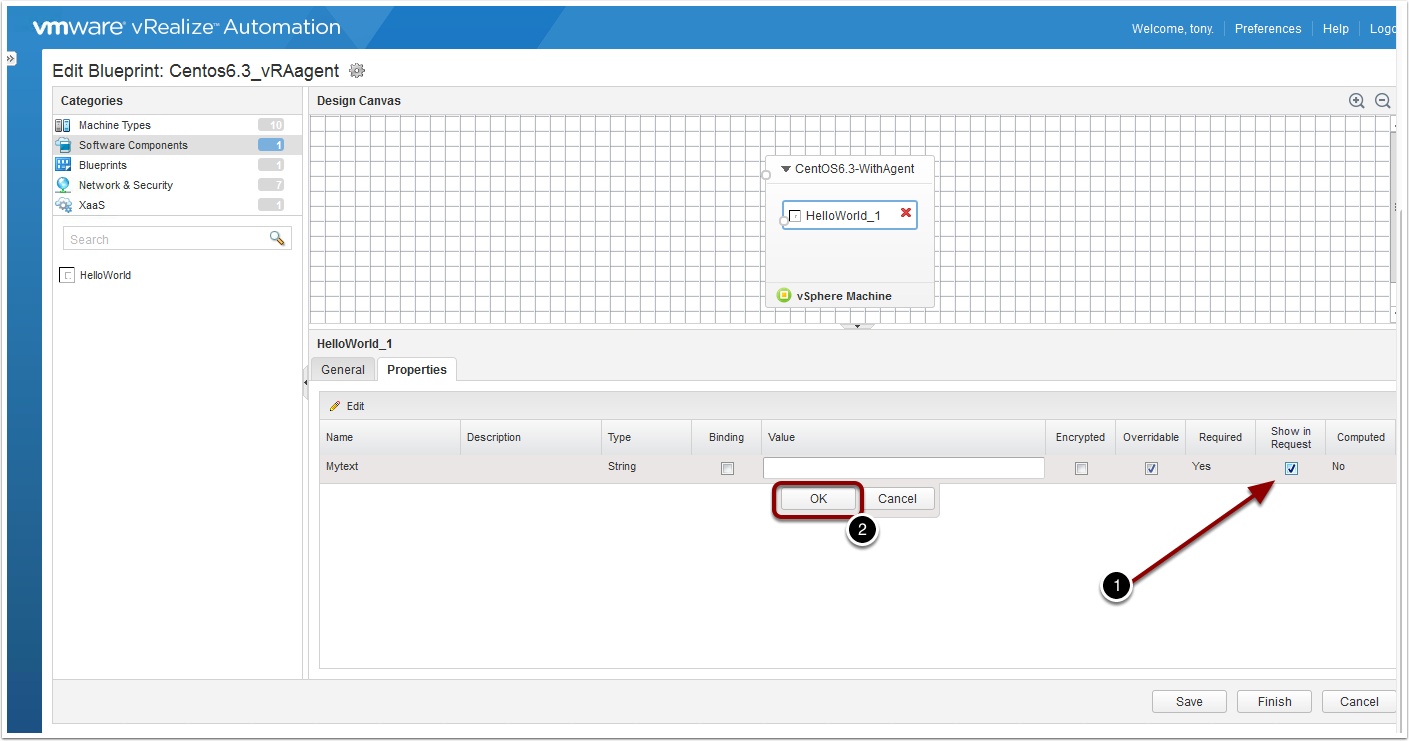
Click the checkmark Show in request then click OK
Click Finish

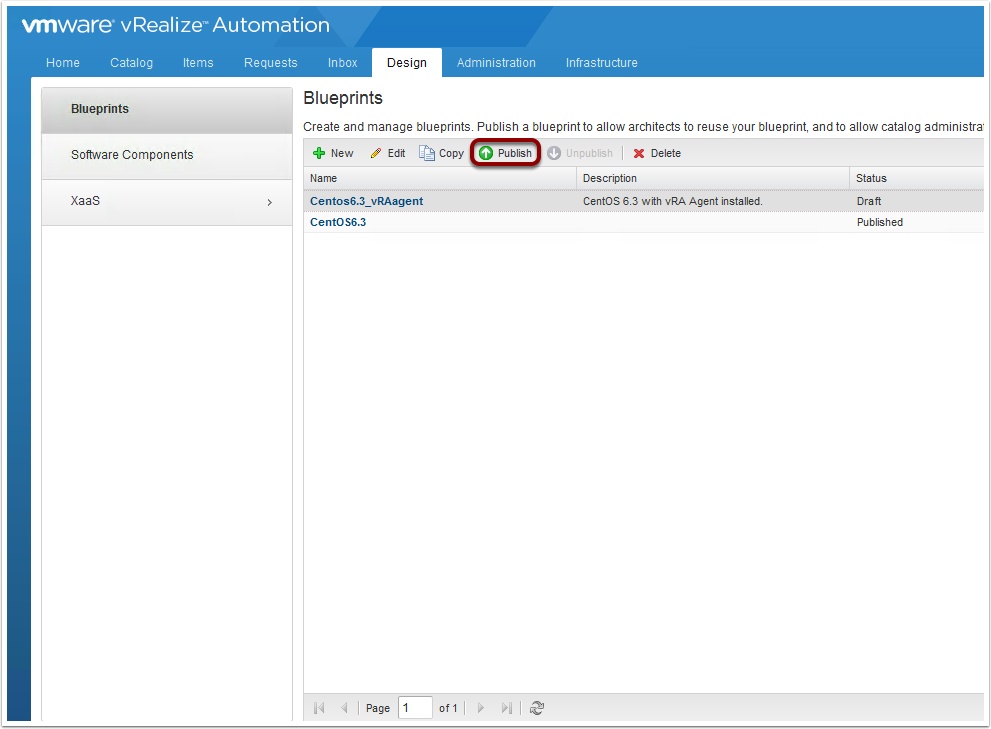
Highlight the blueprint and Click Publish
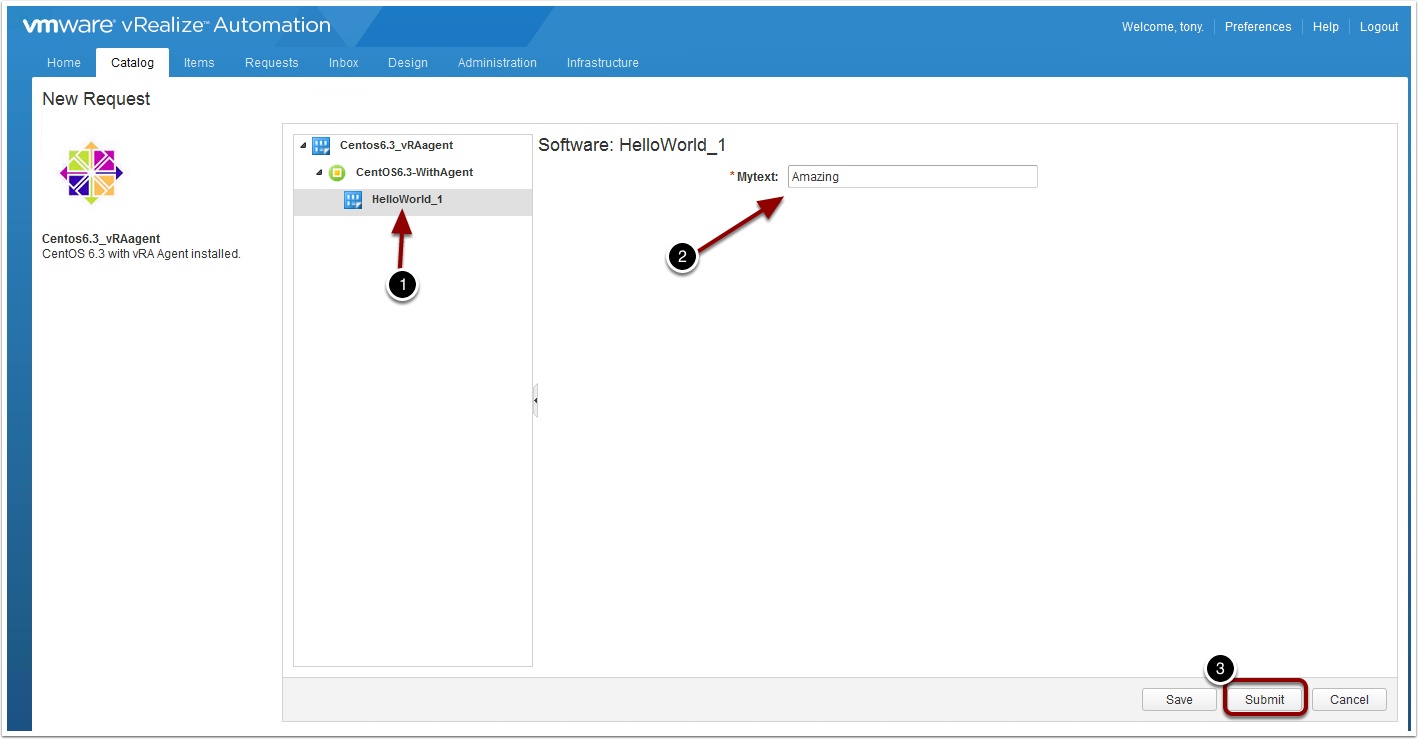
Entitle the new blueprint to the catalog and fire off a new request. Enter a description and reason for request then click the Hello World Software Component and enter the following and click Submit
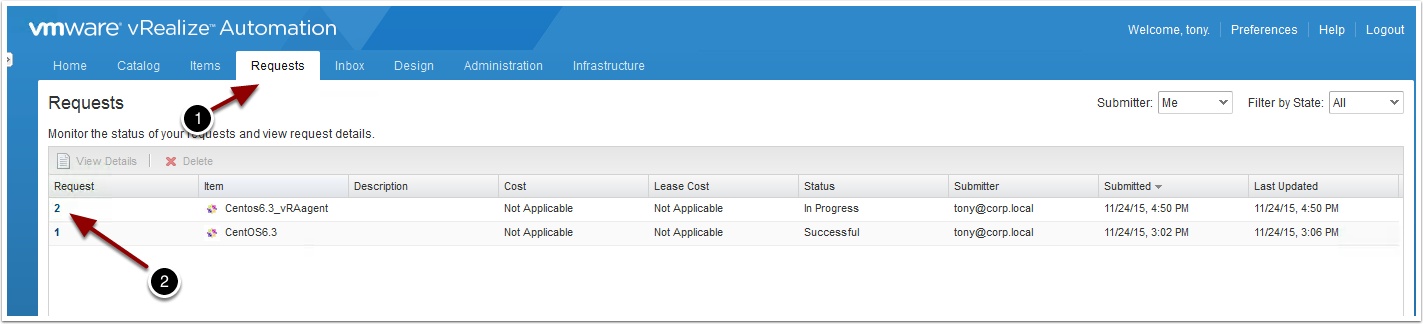
You can watch the execution of this script by going to the Requests Tab and clicking on your request
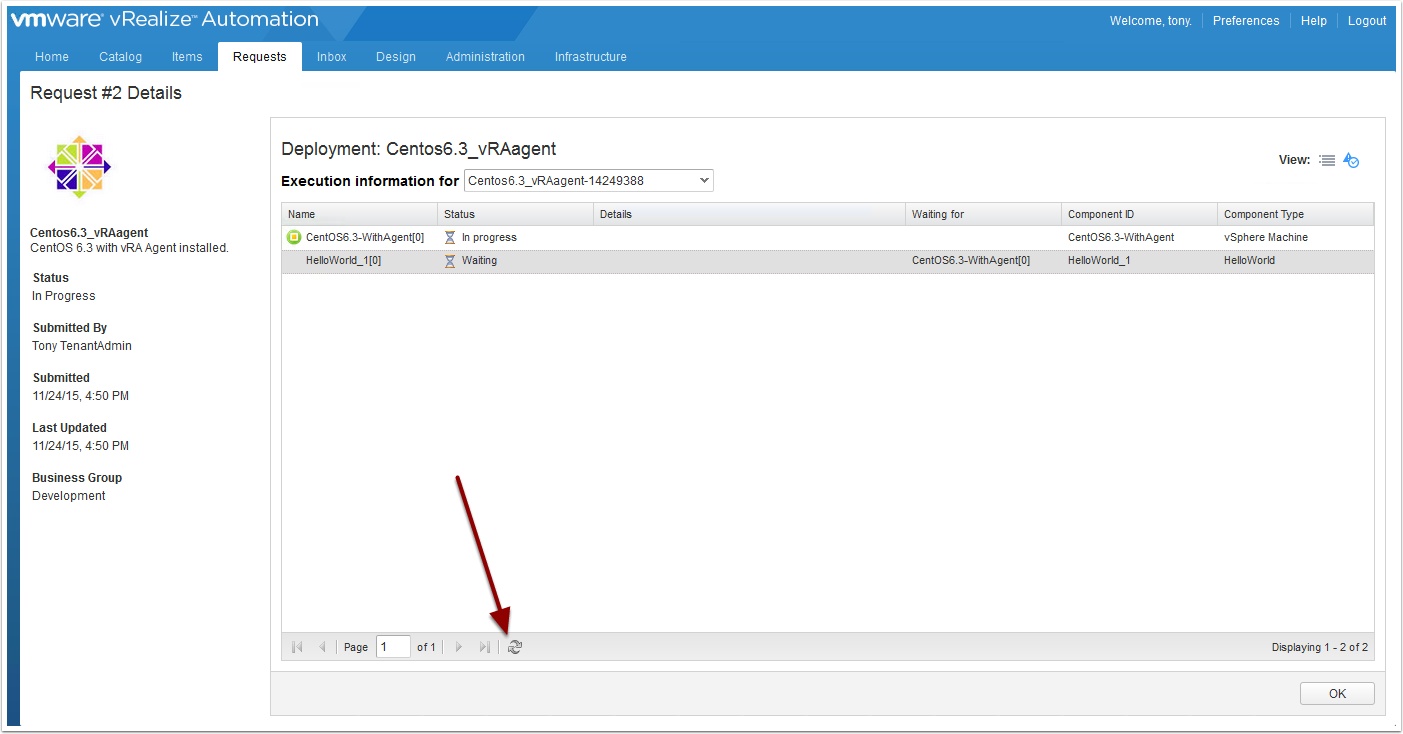
On the next screen click the status icon
You can now see the entire process, click refresh button to update this screen.
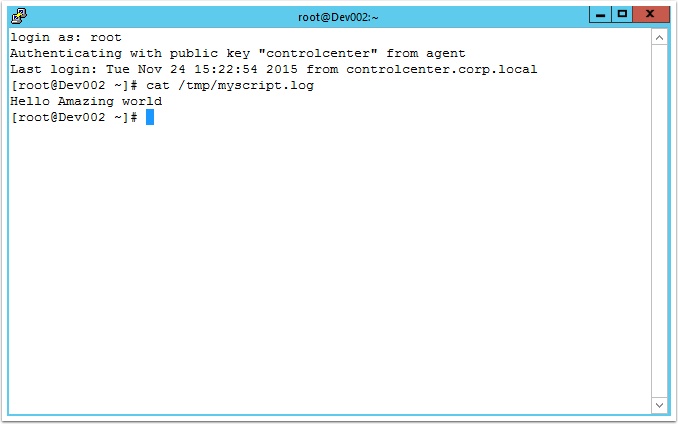
If all went successful, SSH into the newly provisioned VM and type cat /tmp/myscript.sh and you should see the following:
Pingback: How to create a vRA 7 Automation Agent Linux Template – Part I – VMtoCloud.com
Pingback: vRealize Automation 7 Application Authoring DeepDive – VMtoCloud.com
Pingback: How to import vRA7 Blueprints as code – VMtoCloud.com