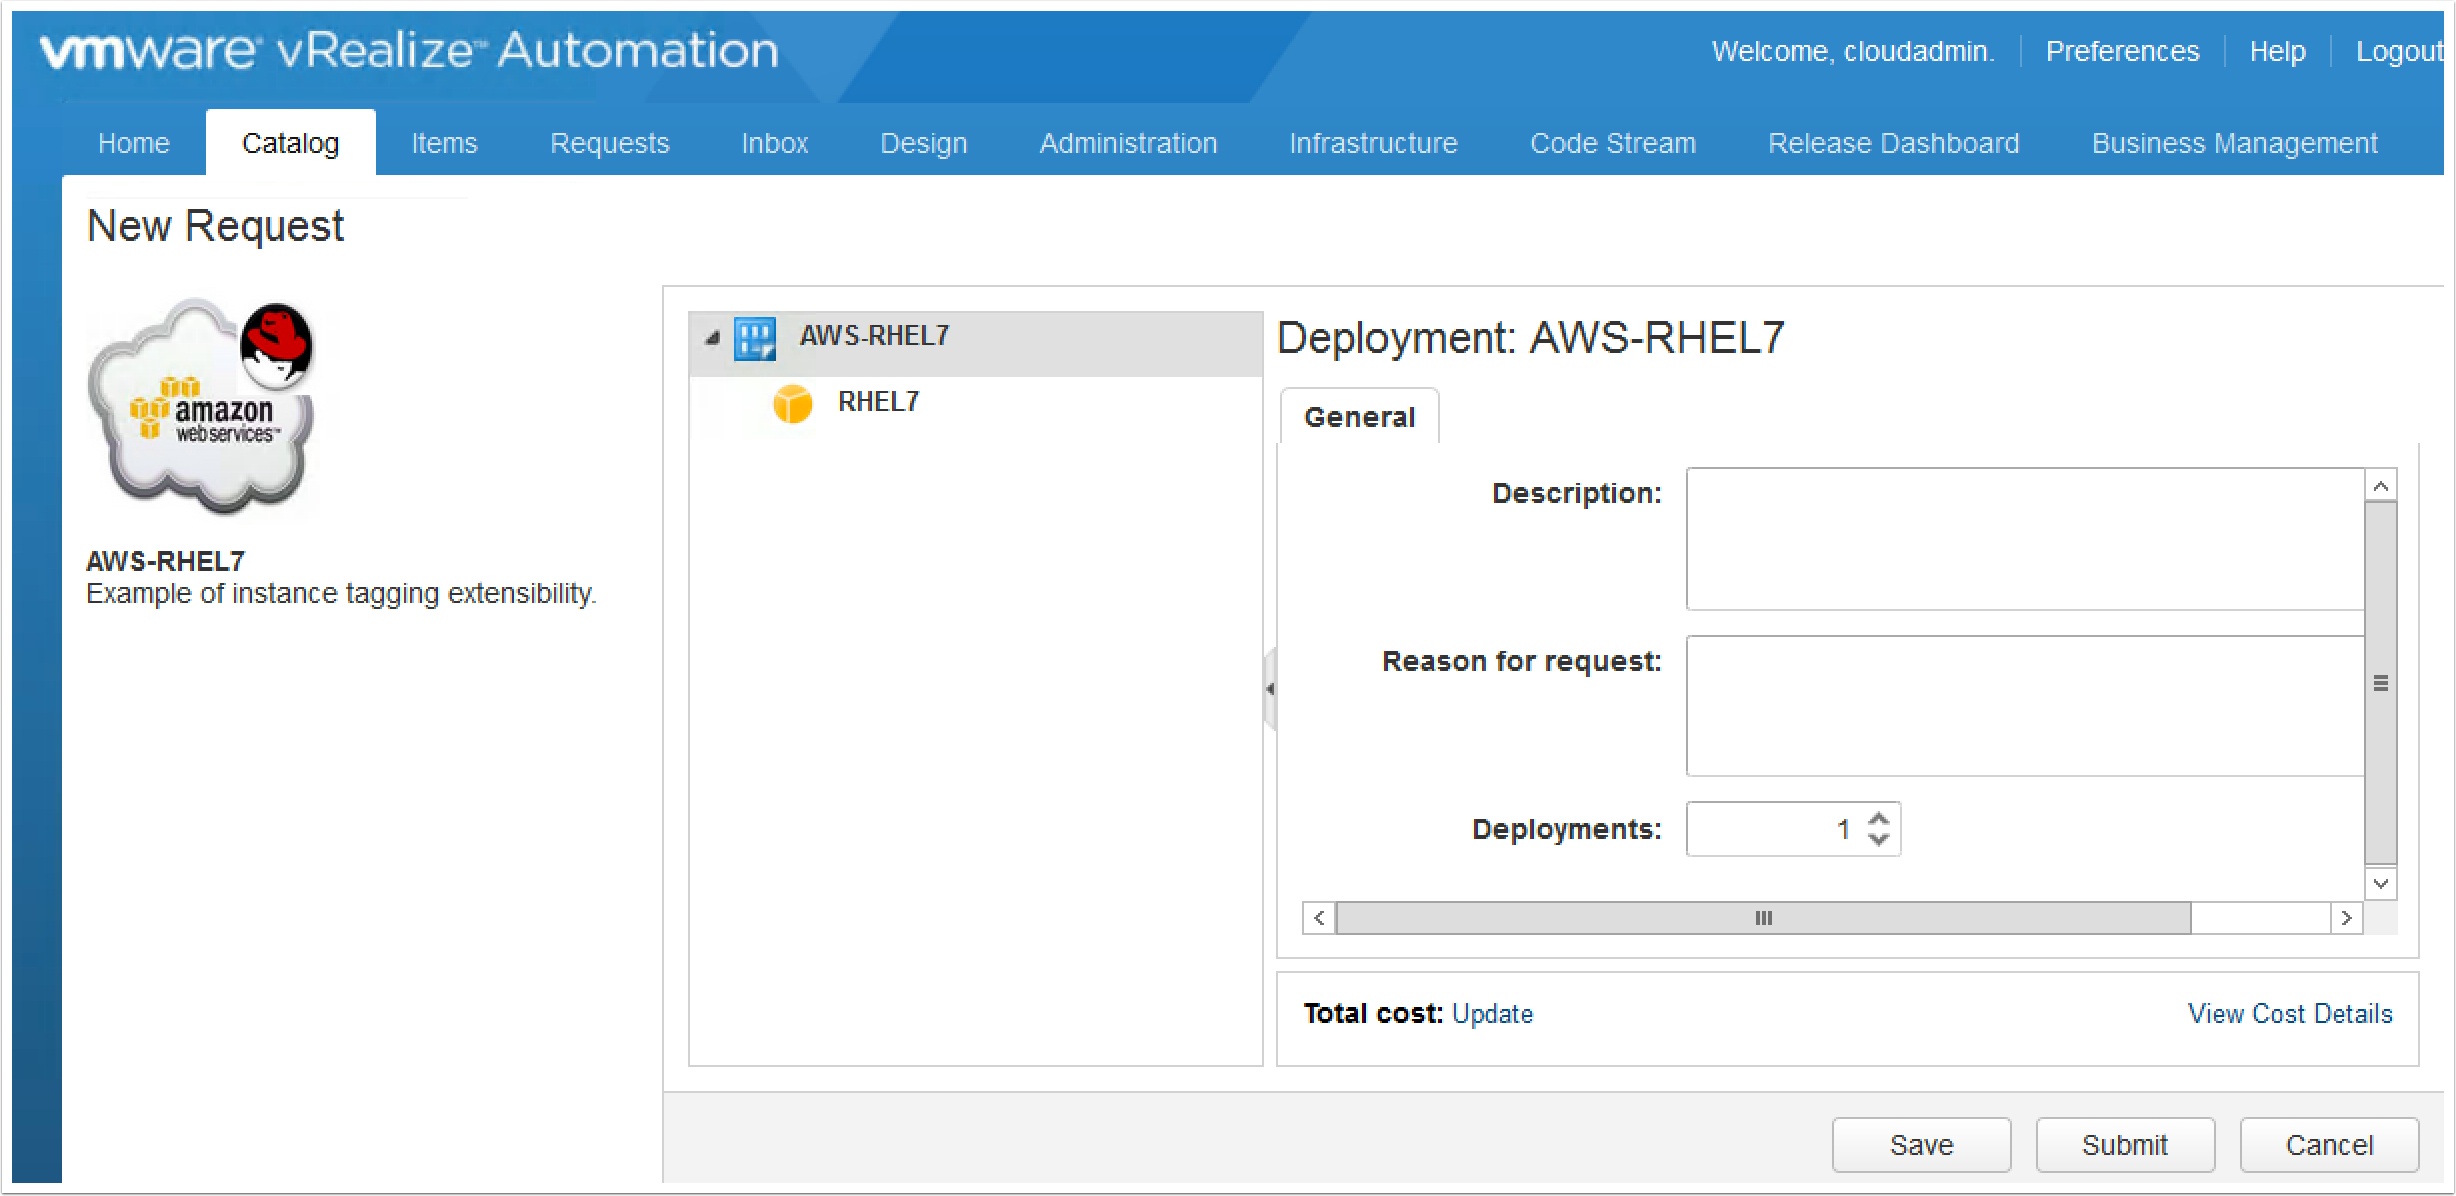
Updated for vRealize Automation 7 Event Broker A common request we get from customers is the ability to add tags to instances that are provisioned to Ec2 from vRA. Customers tag the instances for various reasons, for example reporting, billing, building app relationships etc. This guide will walk you through the installation and configuration to extend vRealize Automation to tag instances that are provisioned to Amazon EC2. The instructions and workflow provided are a building blocks for you to further build from. This guide is just one example. Please post comments if you plan to extend this further or need tips for doing so.
Installation pre-reqs
- vRealize Automation 7 installed and configured. For previous versions of vRA see this guide.
- EC2 endpoint configured in vRA Guide here
- At least one AWS blueprint sucessfuylly provisioning and available in the catalog
- AWS plugin downloaded installed and configured per the guide here
- The sample workflow package I created here
- A nice quite place to work for a few hours where you will not be interrupted.
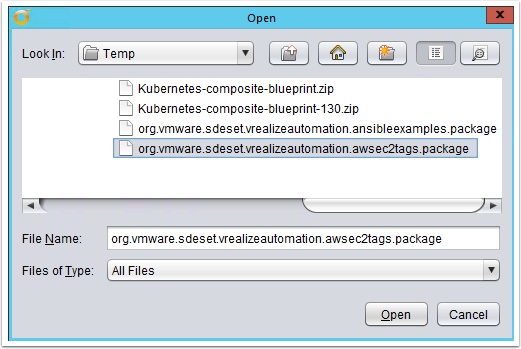
Start by importing the vRealize Orchestrator Workflow package
Open the vRO client and change to Administer then go to the packages tab and click import
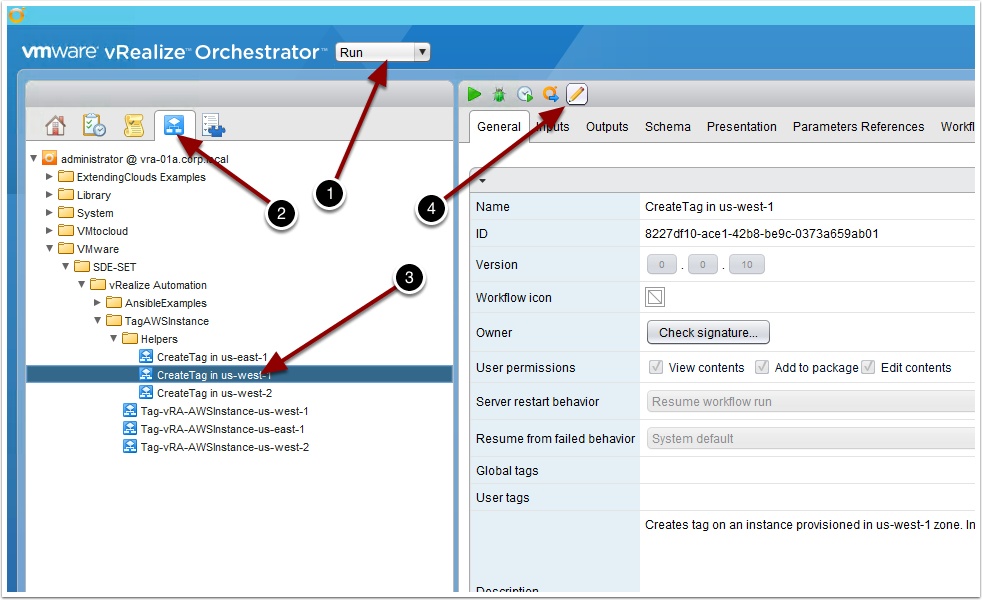
Now let’s update the workflow with your AWS client
Change view to Run, then go to the workflows tab and browse to the CreatTag in us-west-1 Helper workflow and click edit
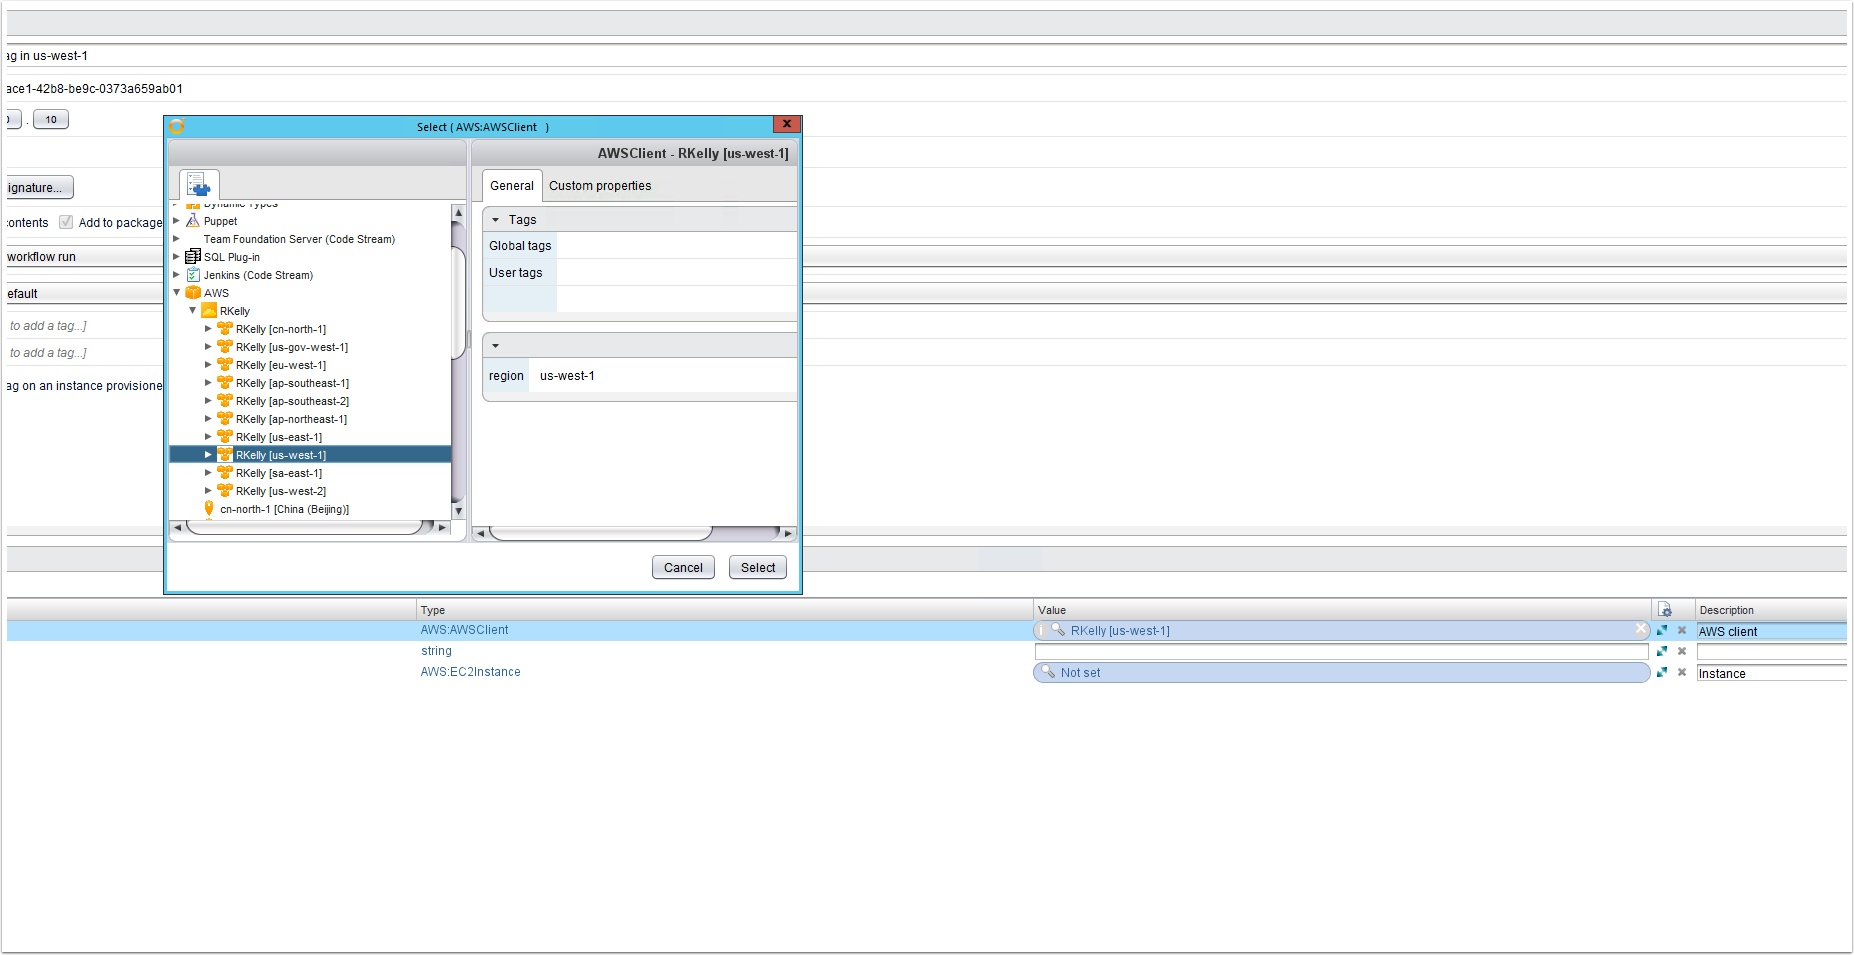
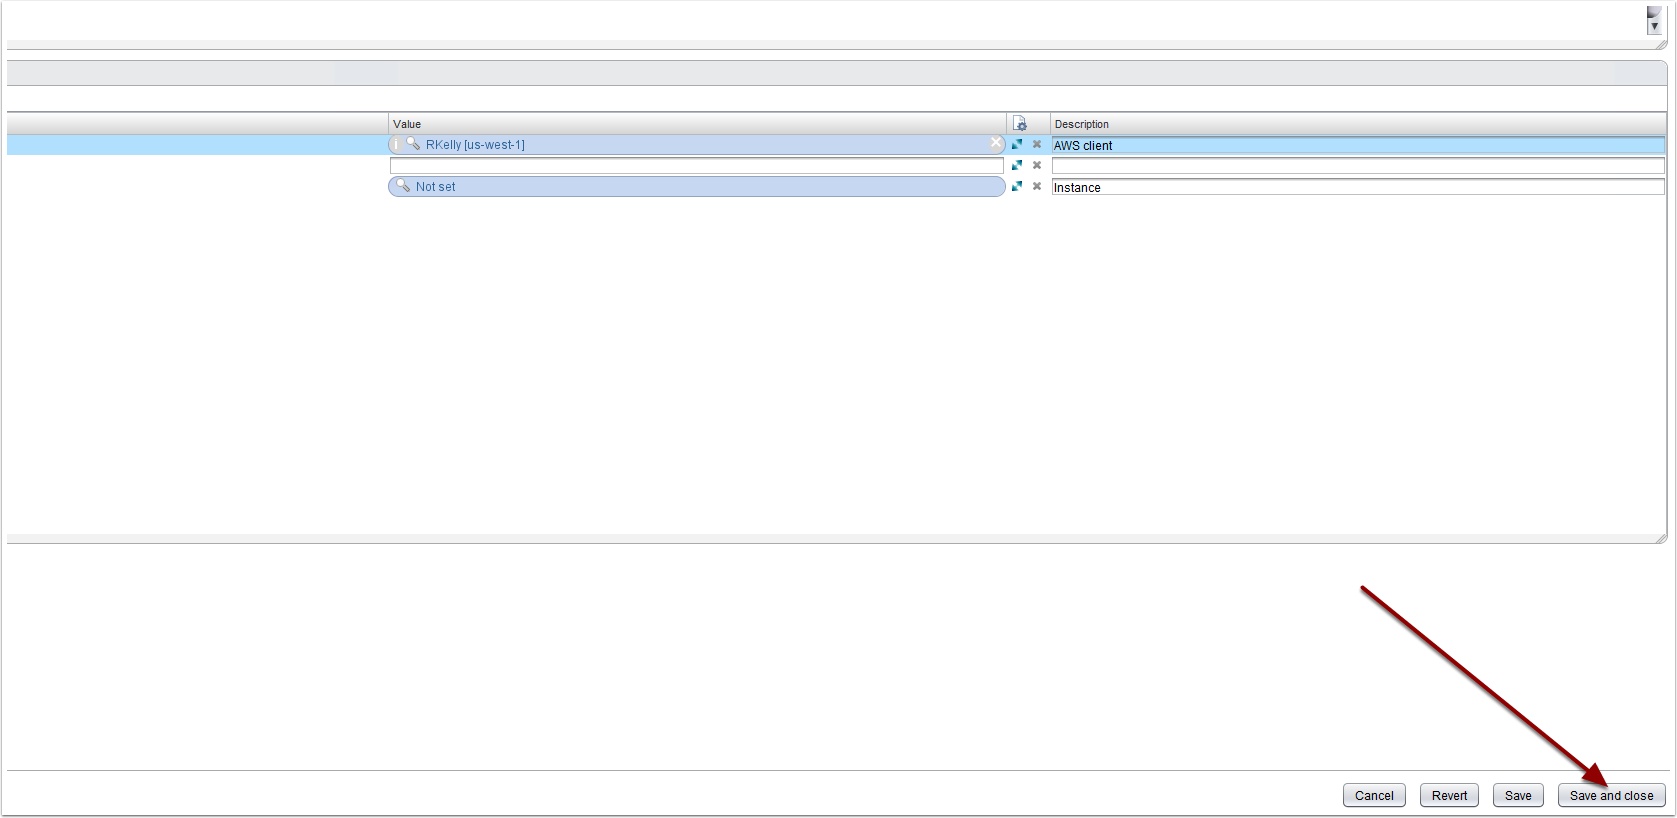
Now change the client to match your AWS client
Click the client value then browse to your AWS plugin and your us-west-1 zone and click select
Now let’s add the properties we need to the blueprint
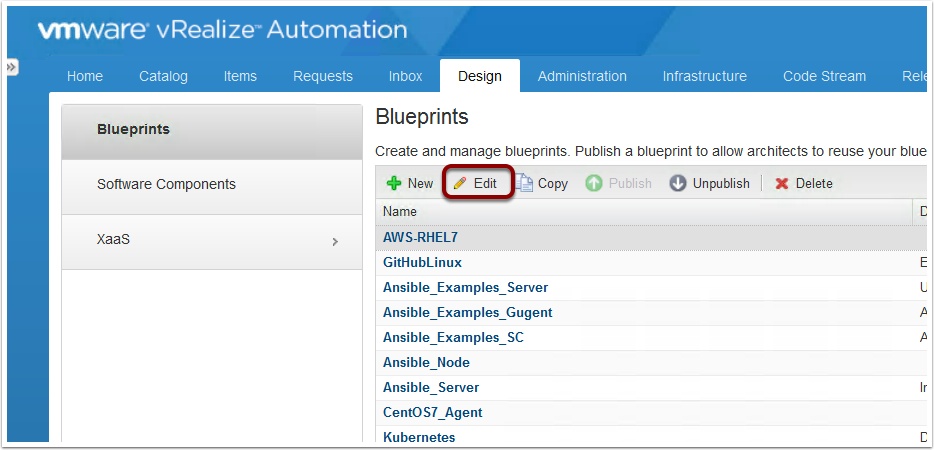
ON the Design tab, Highlight the blueprint and click edit
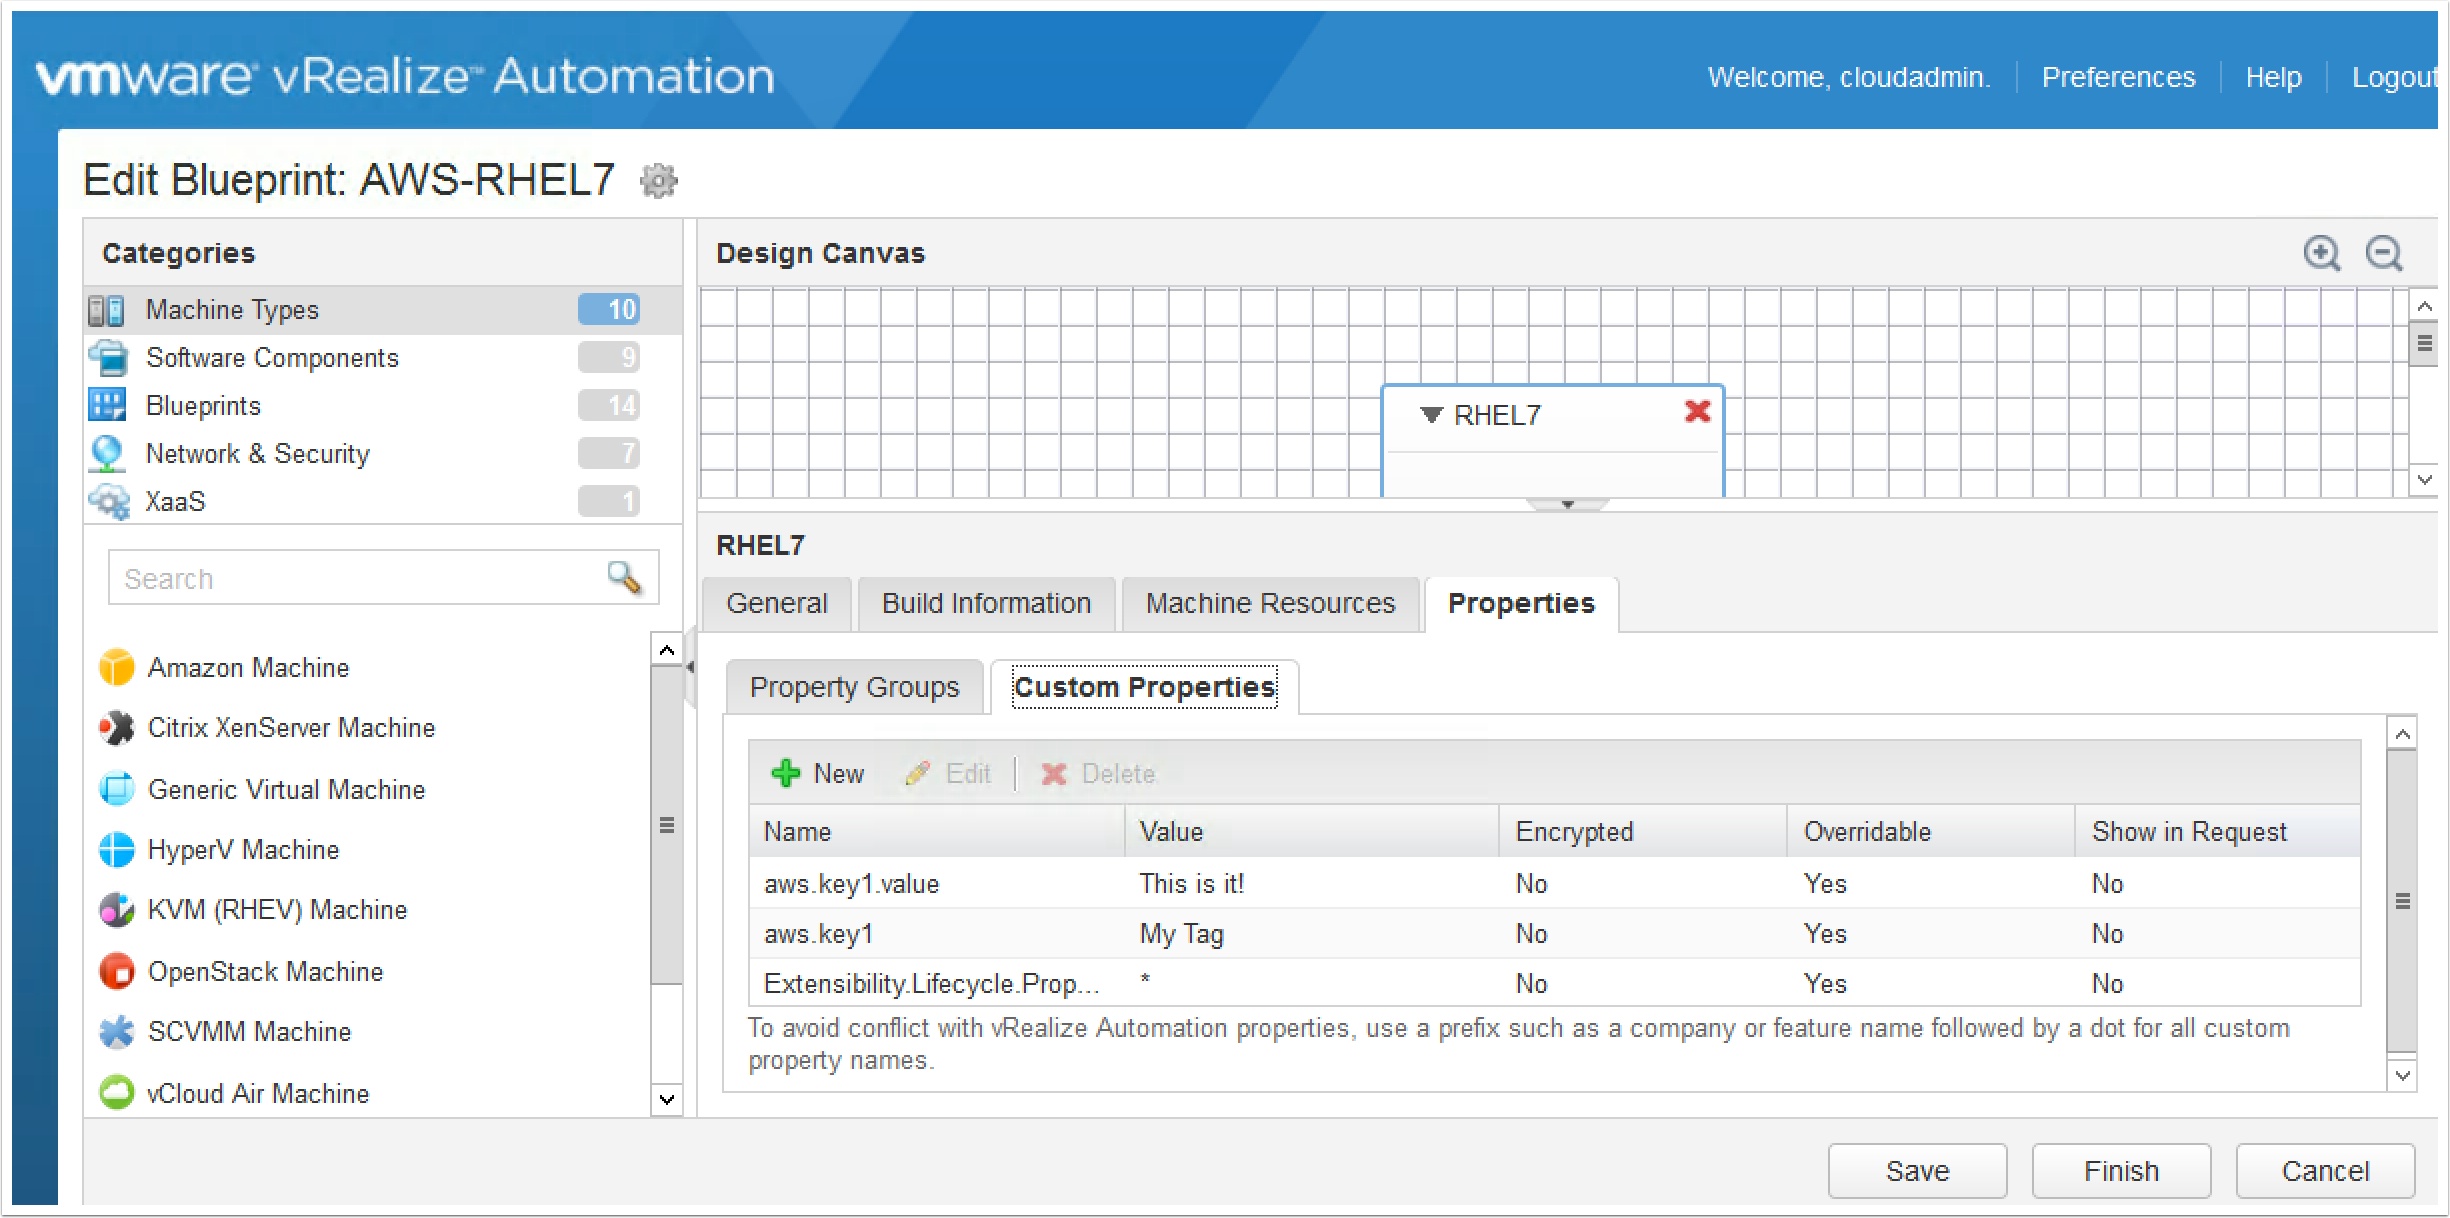
Click on the blueprint and then Properties, Custom Properties
Enter the following properties and click finish
aws.key1.value  this is it
aws.key1 My Tag
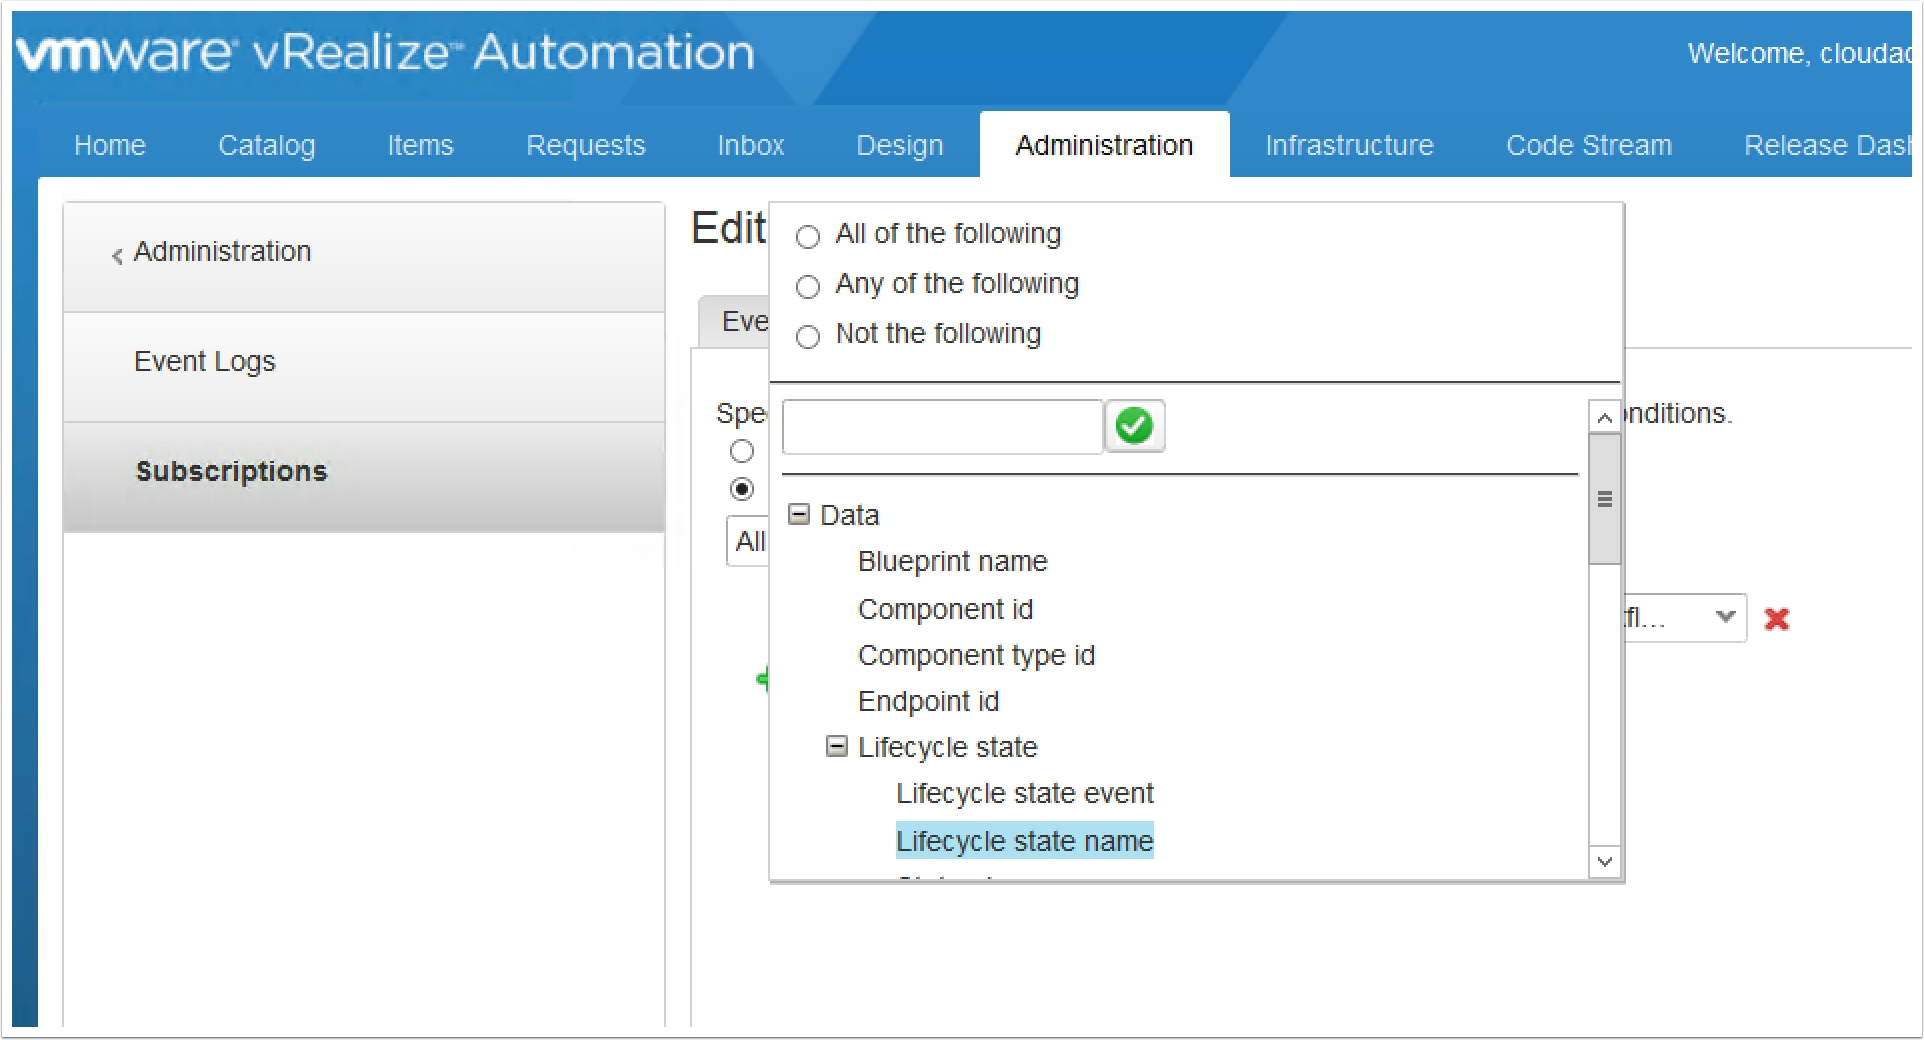
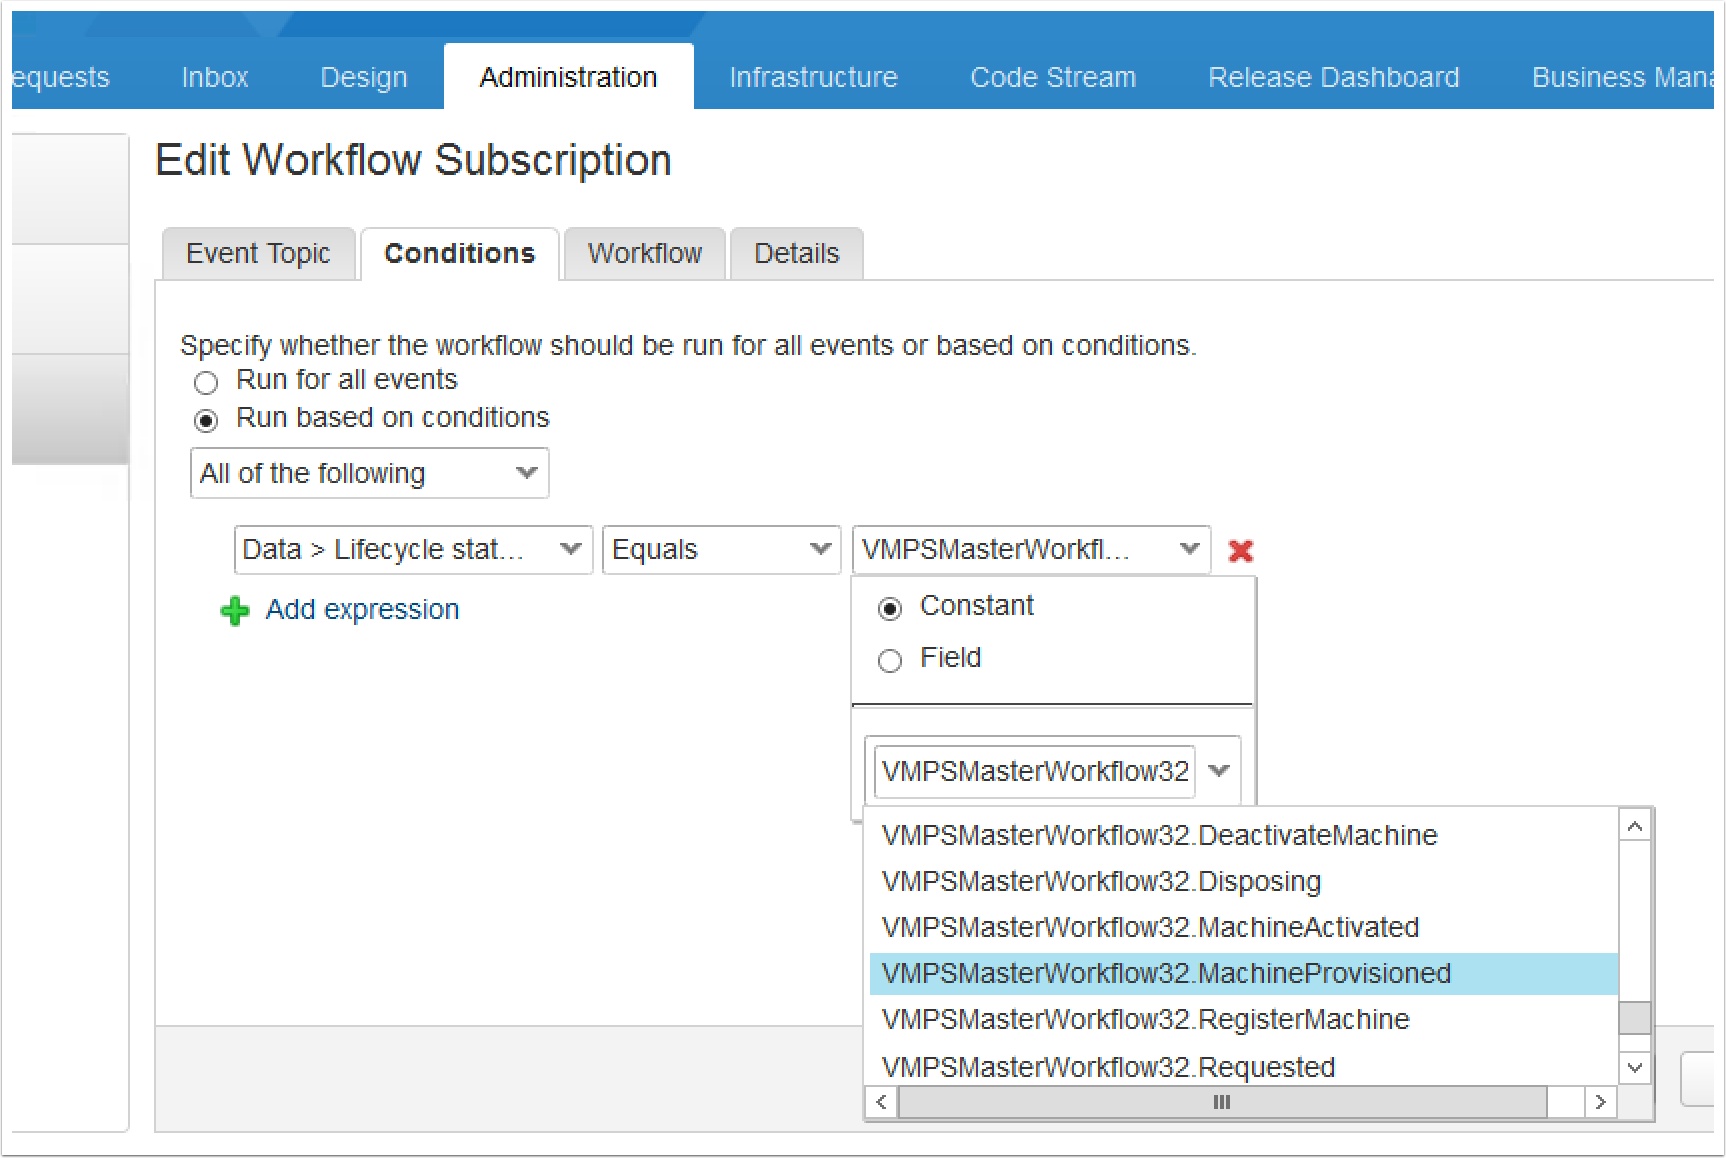
Extensibility.Lifecycle.Properties.VMPSMasterWorkflow32.MachineProvisioned  *
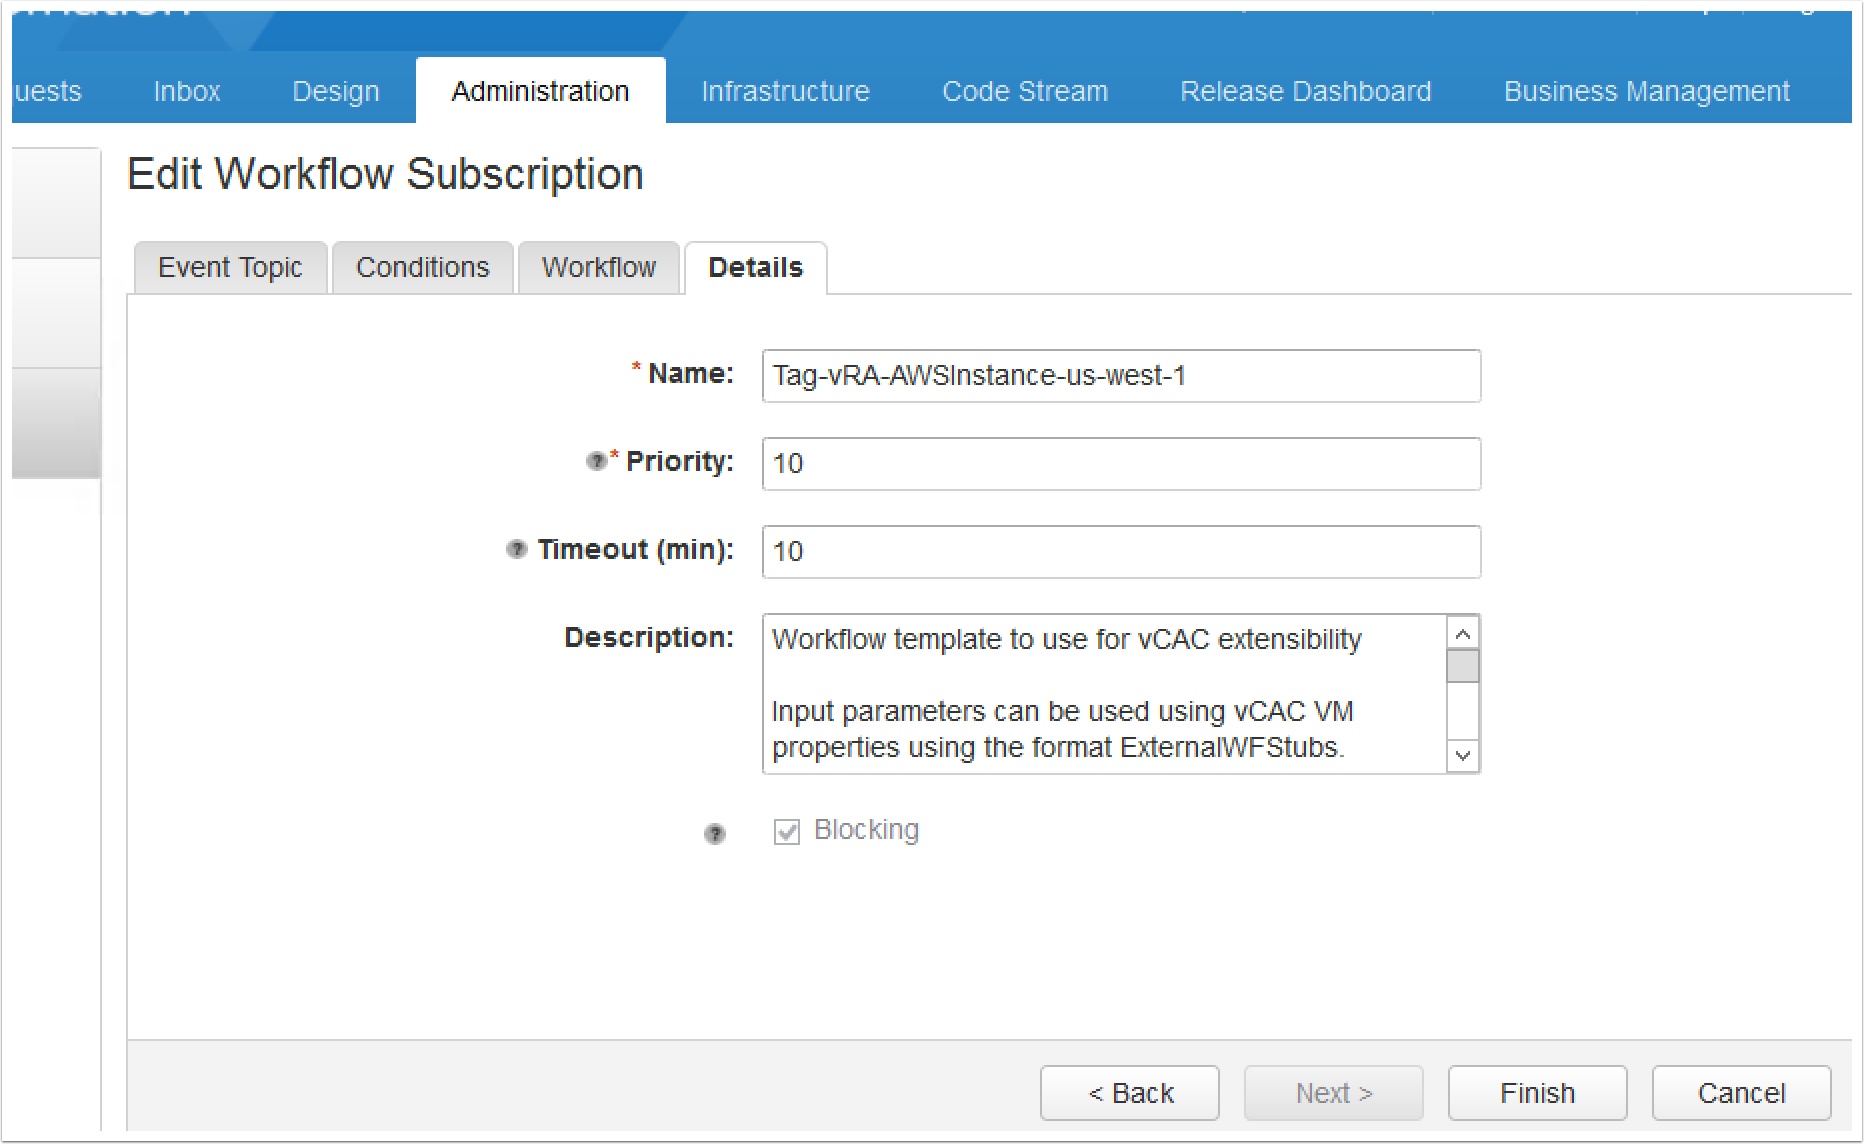
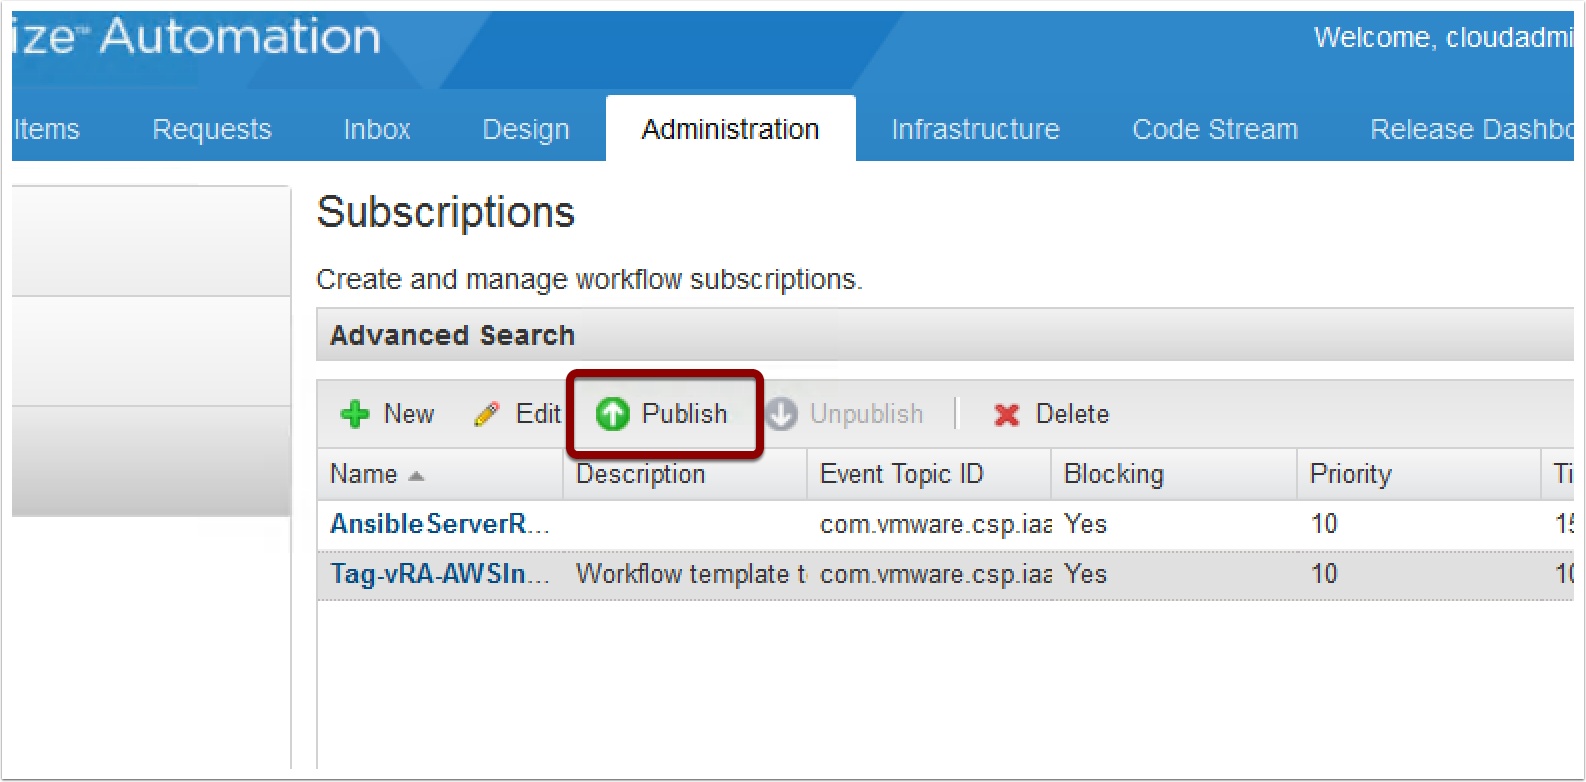
Now let’s create the Event Subscription
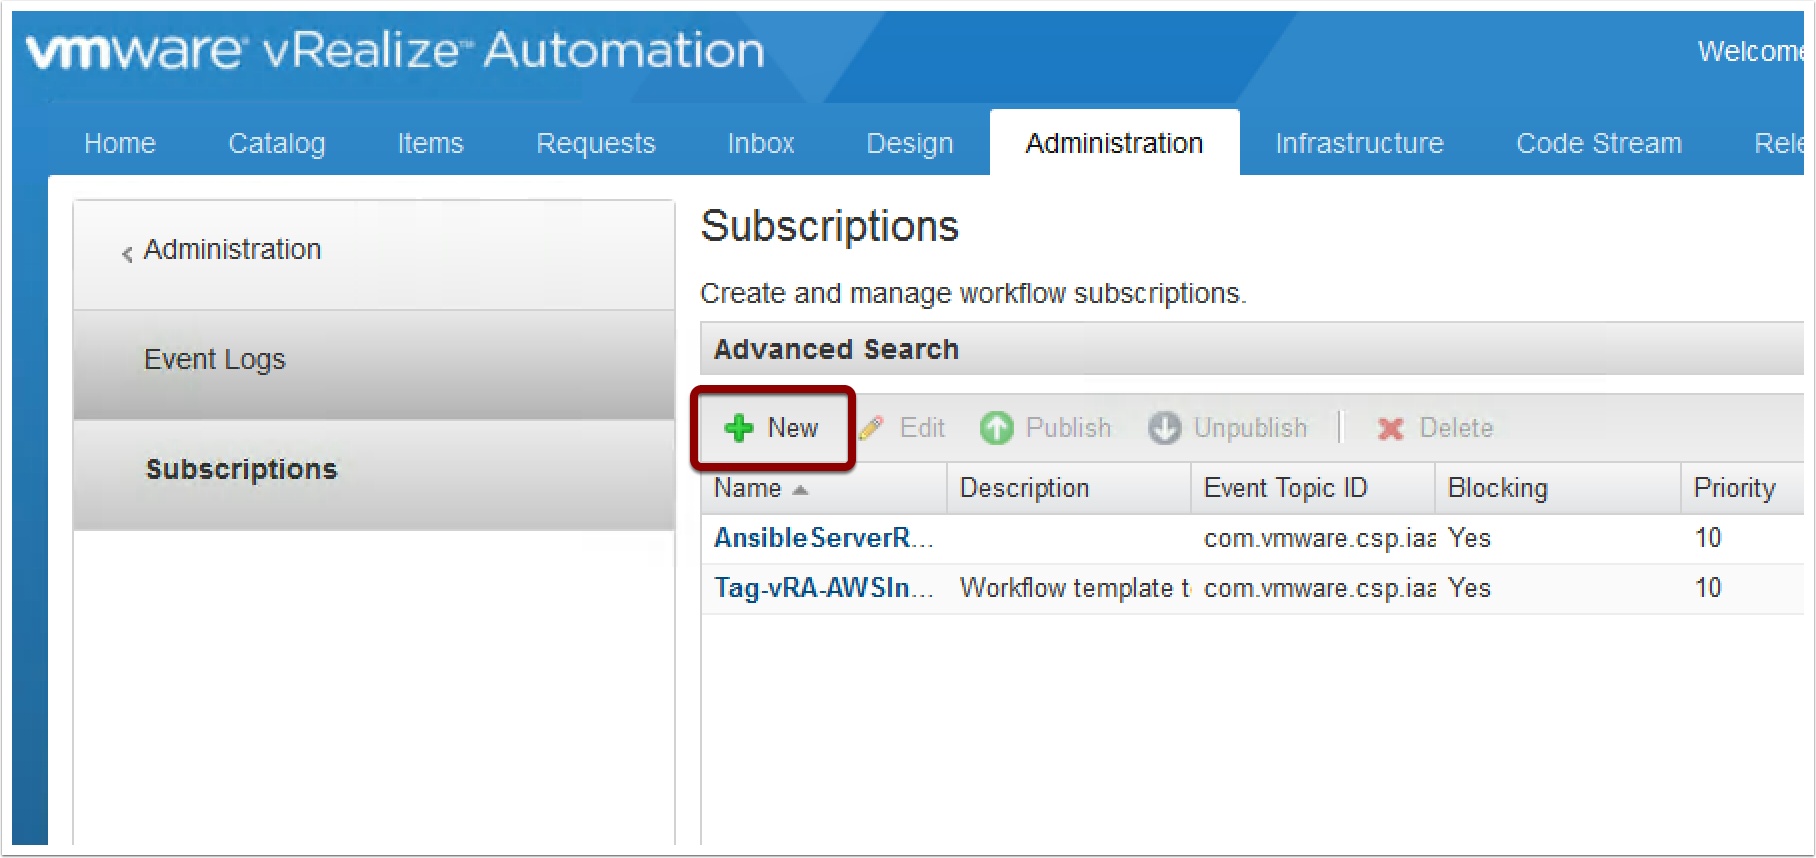
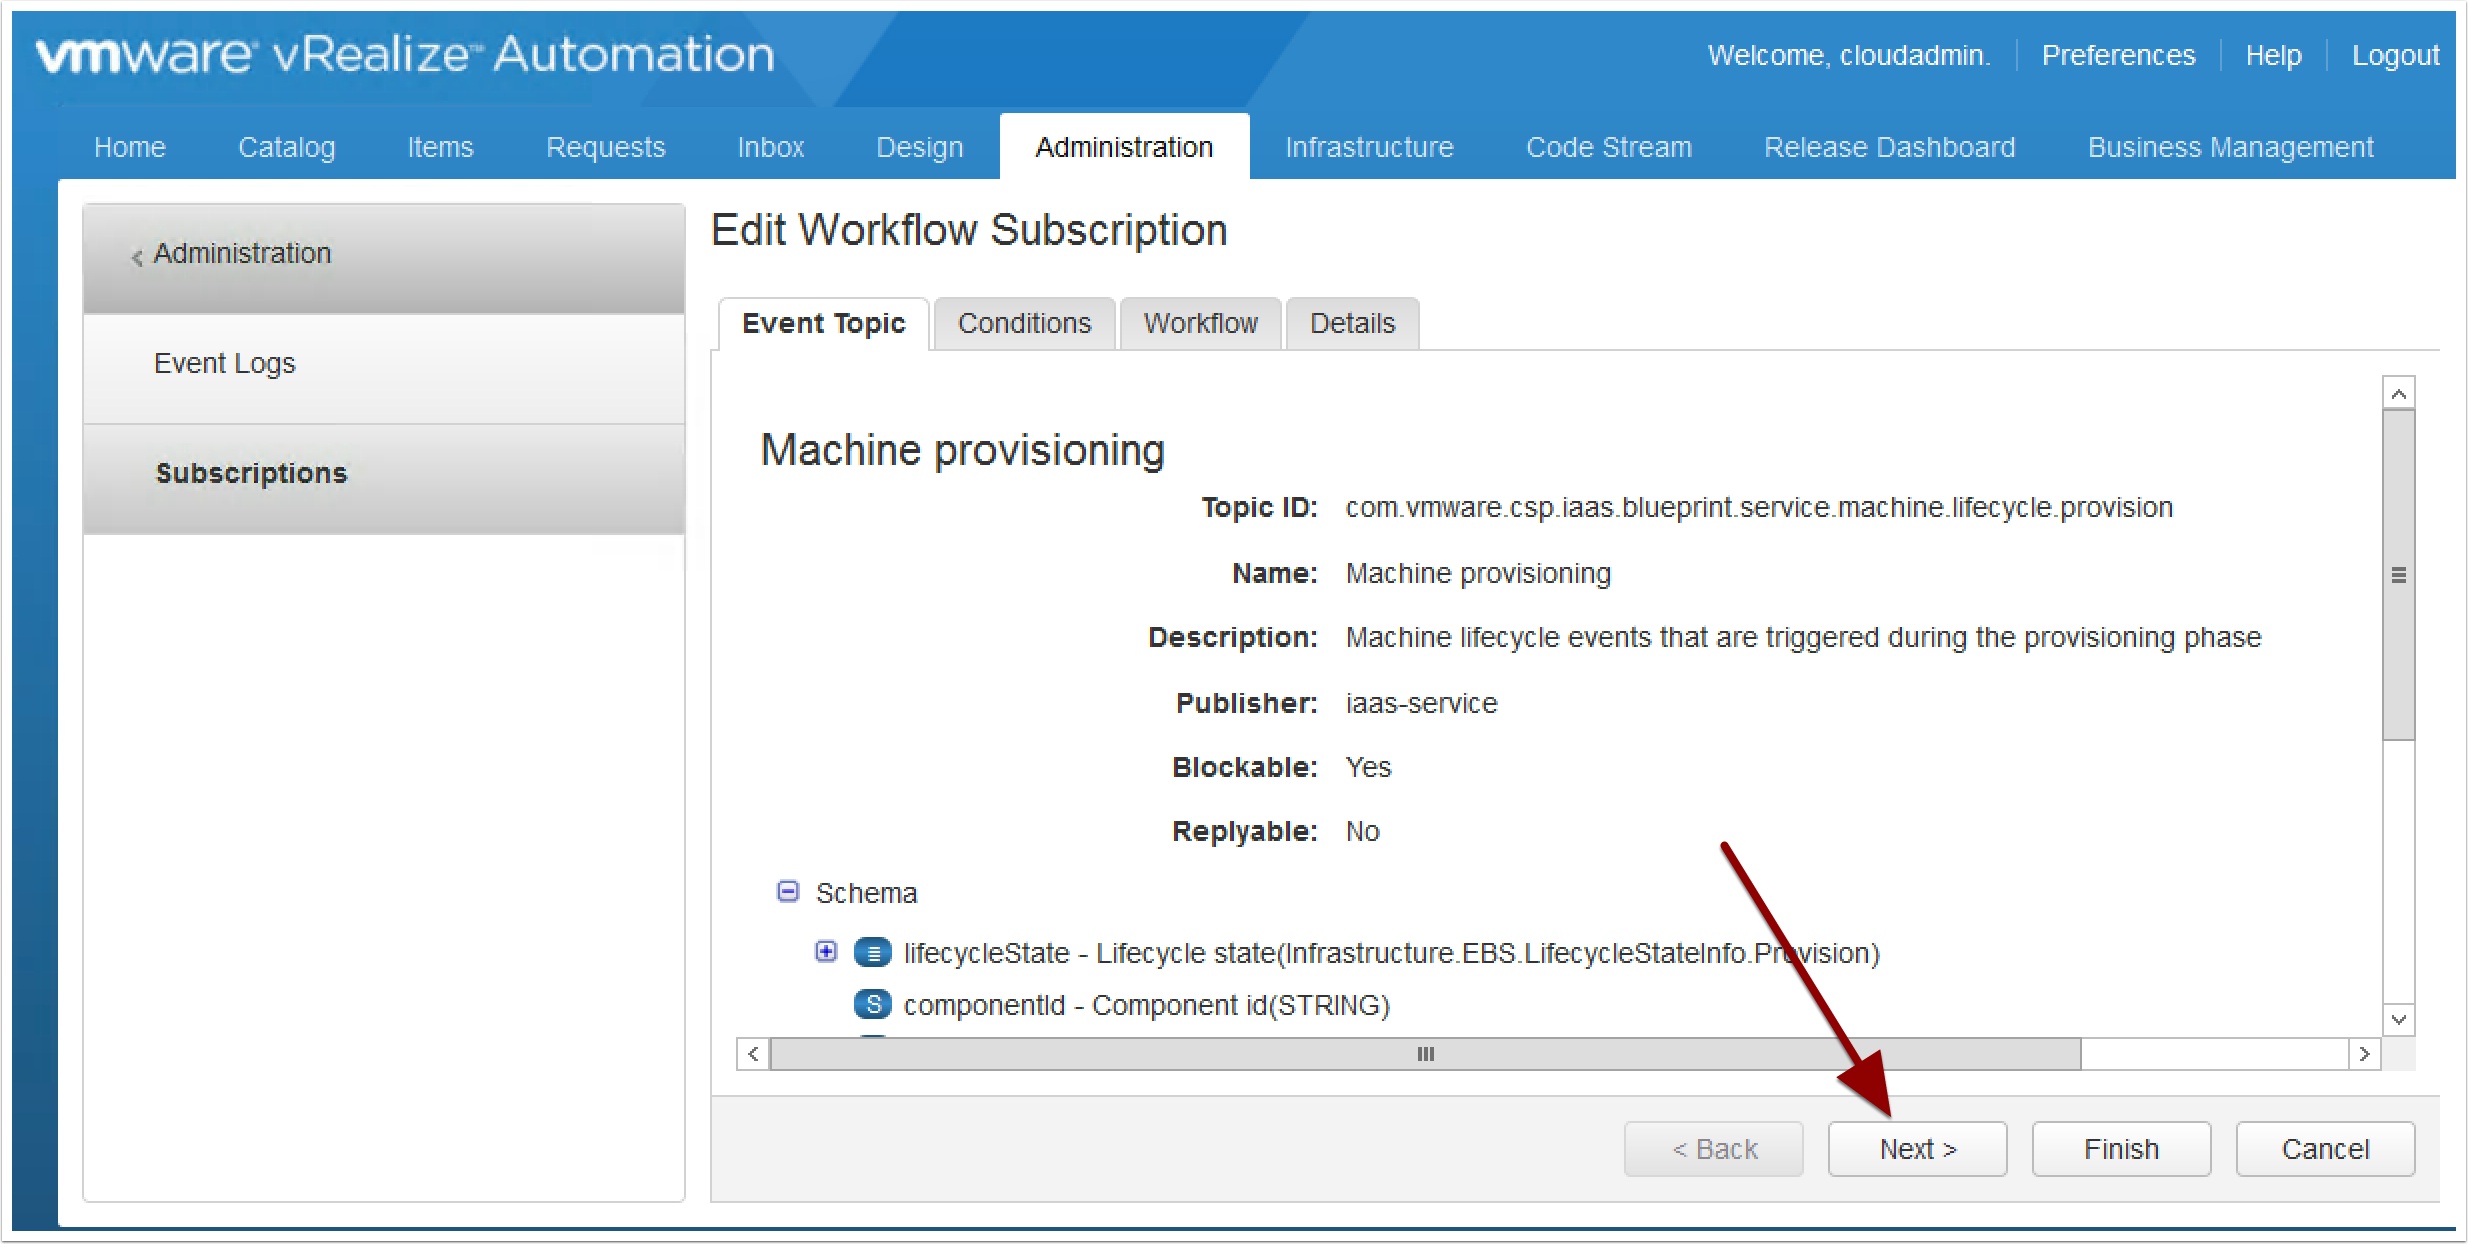
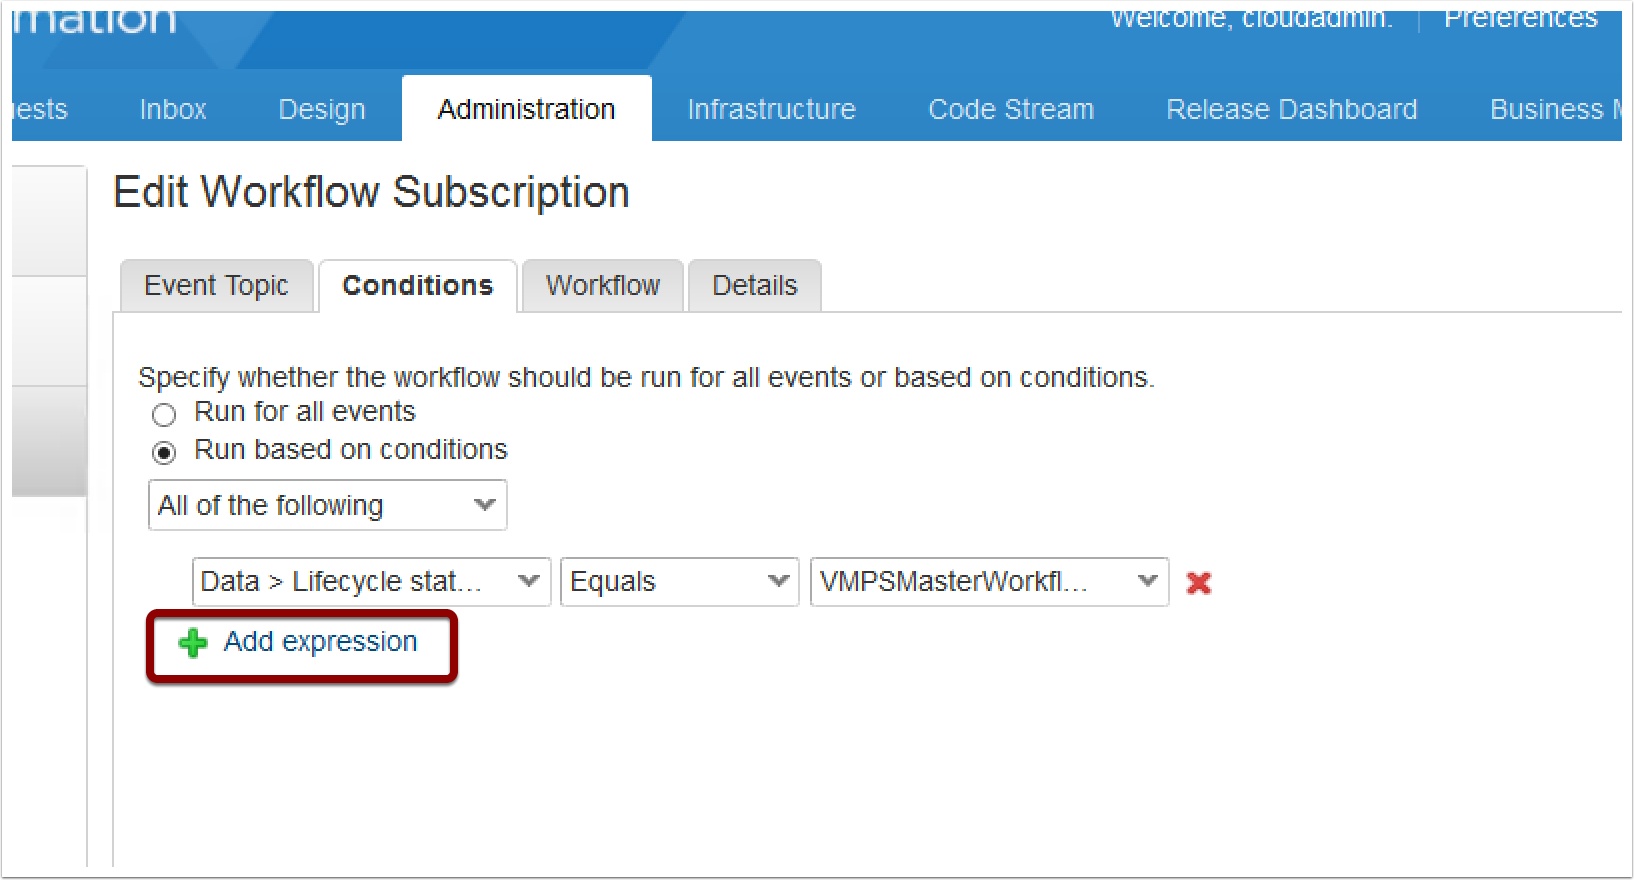
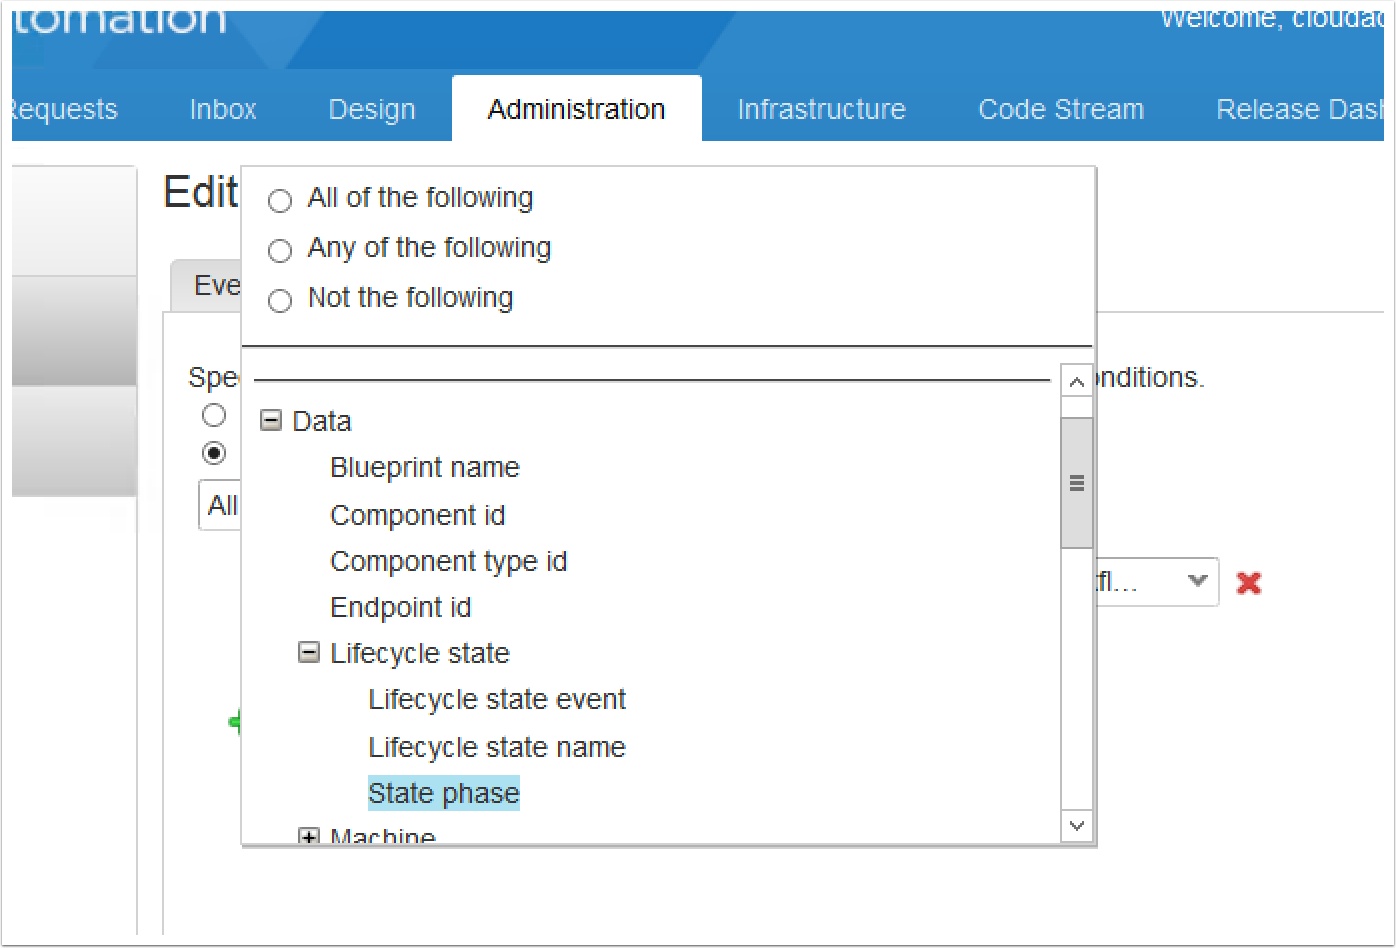
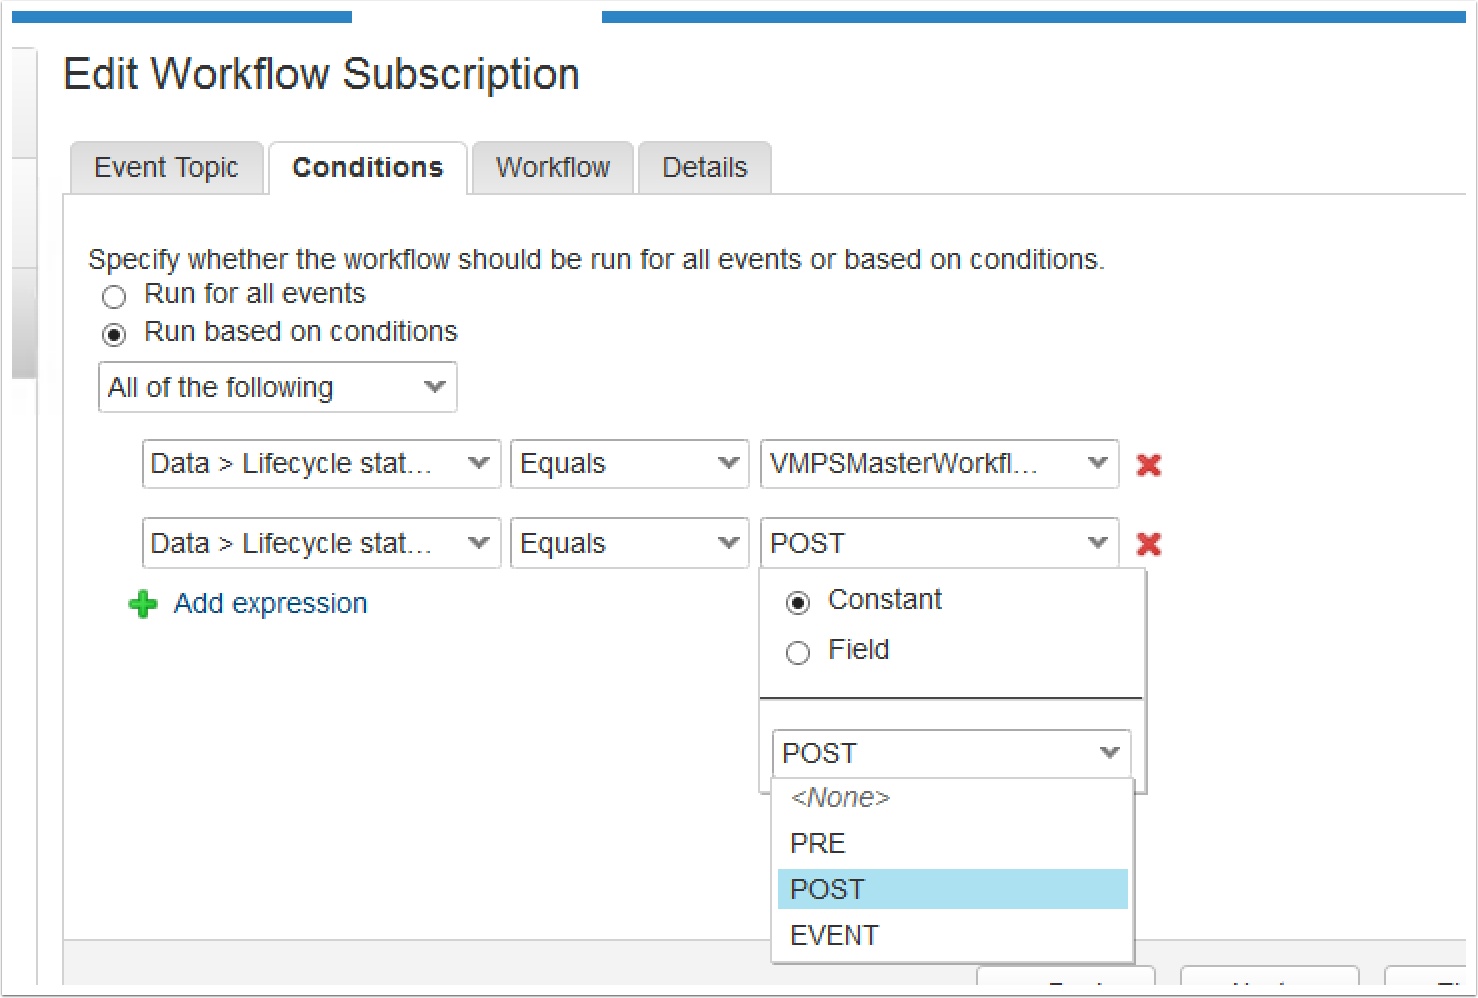
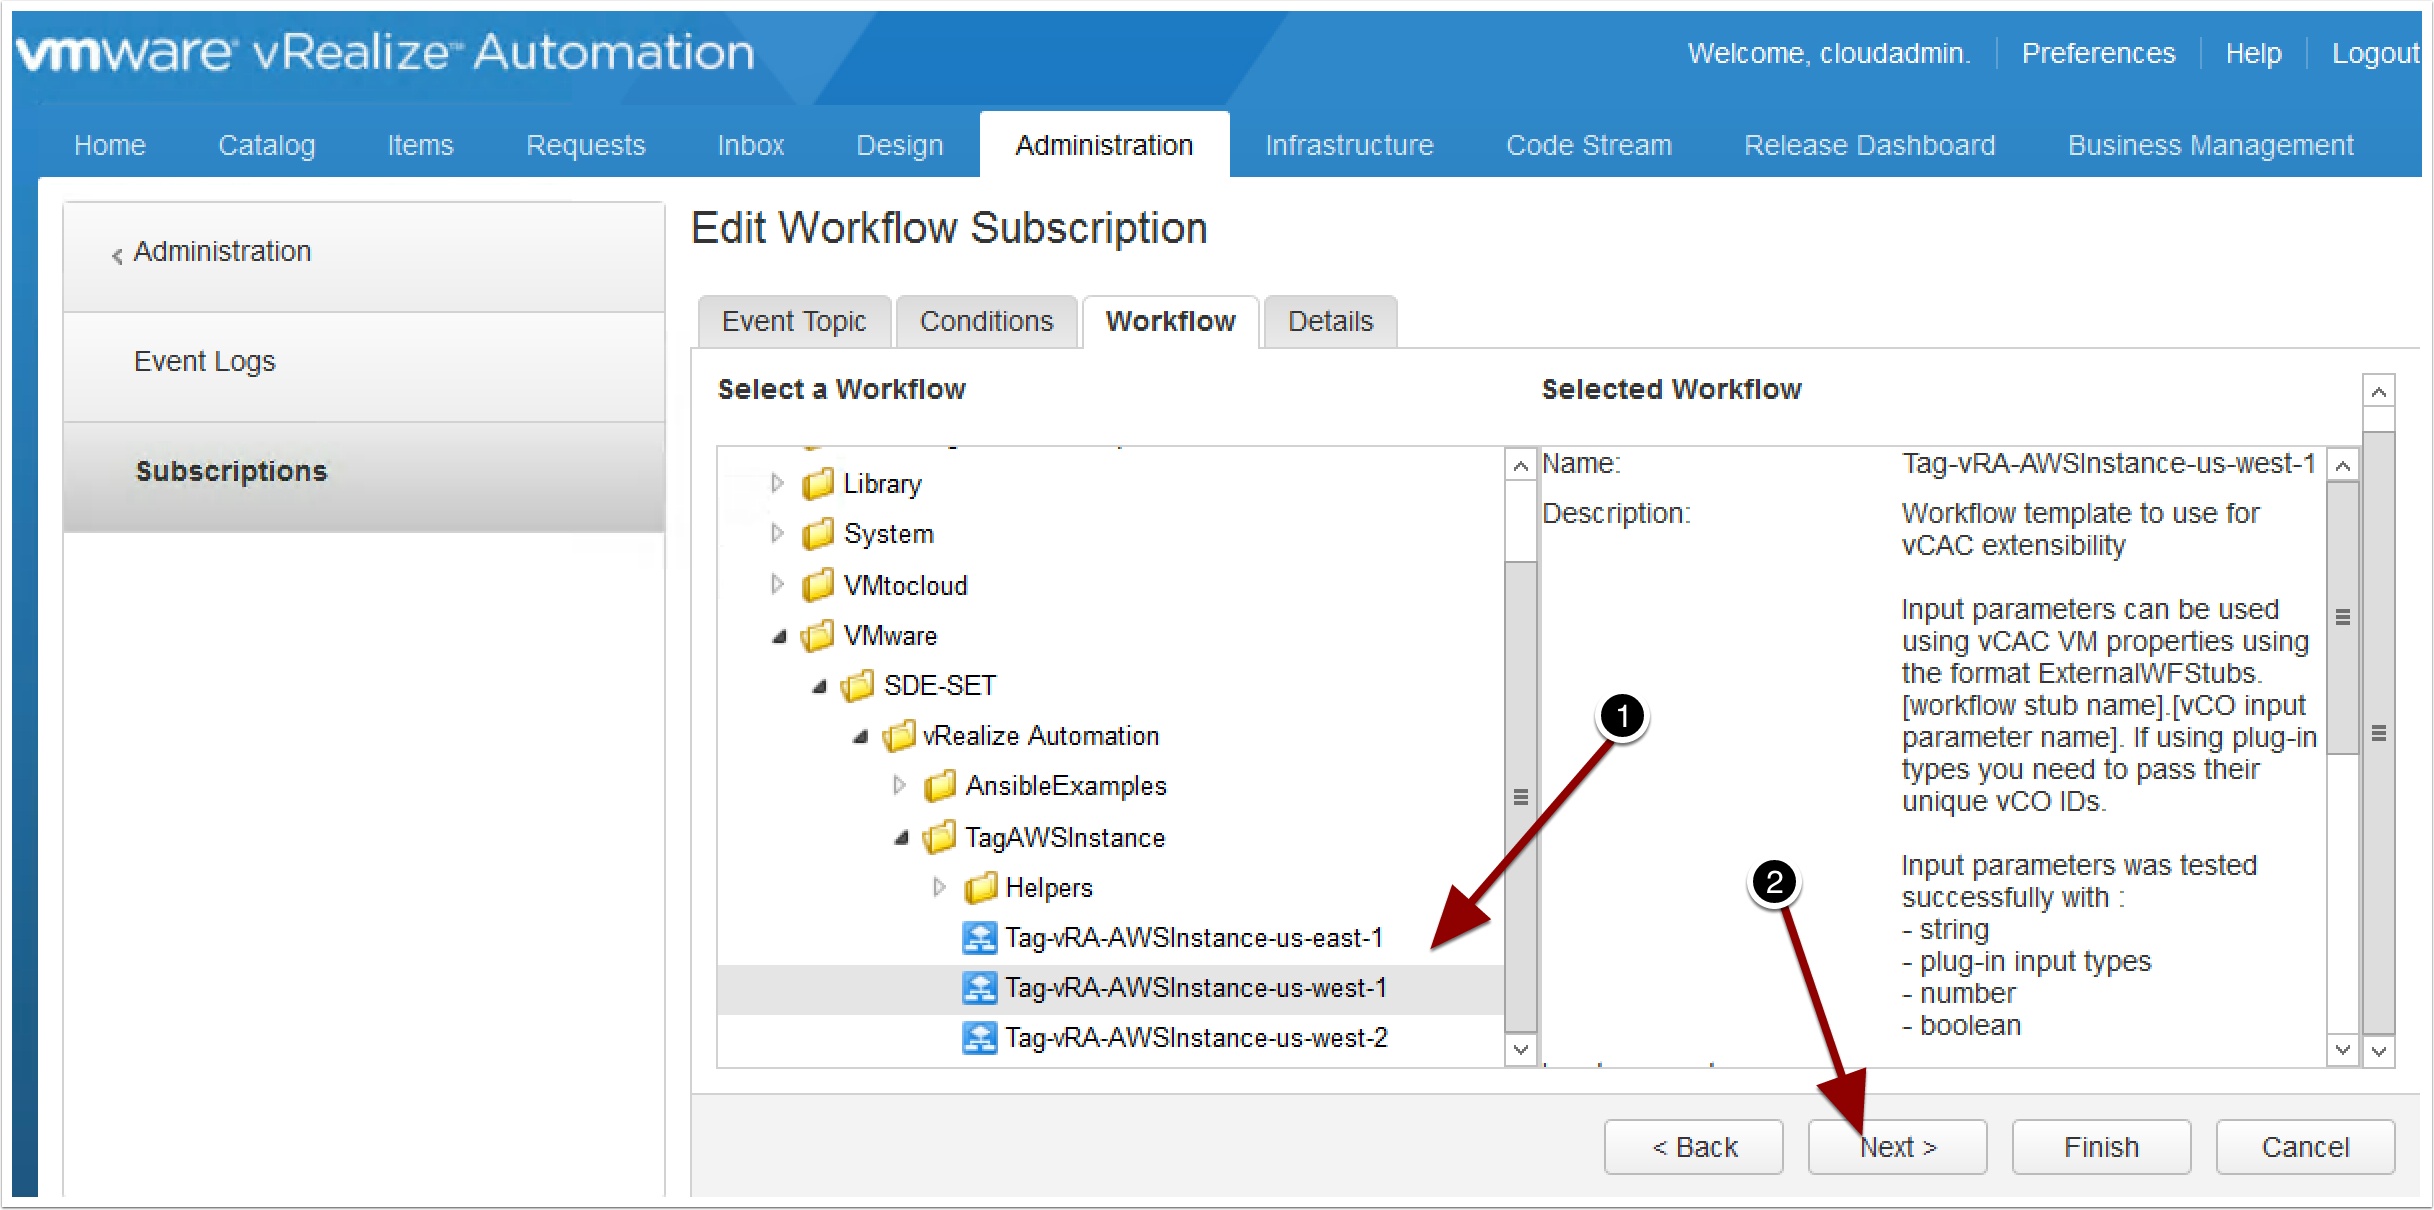
On the Administration Tab click Events, then Subscriptions then Click +New




Great article, thanks Ryan! I’m having an issue importing the package however; is that something VMware Support would have to resolve or is there an alternative location to download it from?
You can disregard my issue here. The plugin needed to be installed via the orchestrator website rather than importing the package
This is great,
How can I do the same for backup tagging? Basically create two tags, No_Backup and Prod_backup, in vRA custom form.