Ok, you have made it this far, you setup Tanzu with vSphere, you deployed a namespace and configured the VM Service and deployed your first VM. Now you want to actually deploy some applications inside the VM? Well you have come to the right place! !
In this guide I will show you how to use cloud-init and user data to run commands in the provisioned VM as part of the same request in the YAML file. This way you can create yaml files to deploy an Apache Web Server, MySQL server or what ever you want.
Pre-Reqs
Before we begin you should watch and overview of how this works in this video from Michael west here
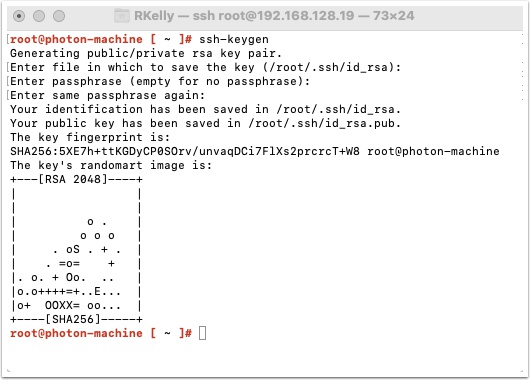
Login to your Linux workstation and generate a new ssh public key.
Type ssh-keygen and press enter. Accept the default location and enter a passphrase that you will remember.
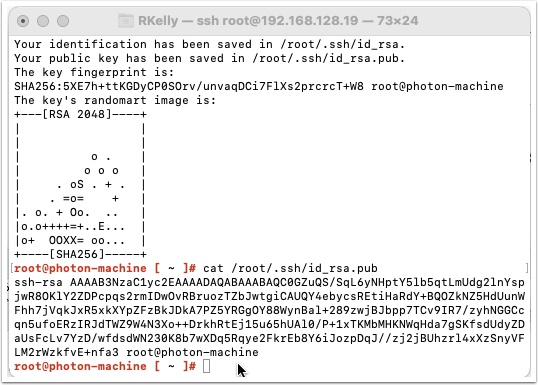
Now display your public key using the cat command
Type cat location/of/your.sshid and press enter. Copy and paste this to a safe location. We will use this later
Now let’s create our Yaml file and user-data that we are going to use to request a new VM and run commands in.
First let’s create the user data we are going to attach to our yaml file. Create a new file named user-data using the vi editor. Type vi user-data and press enter

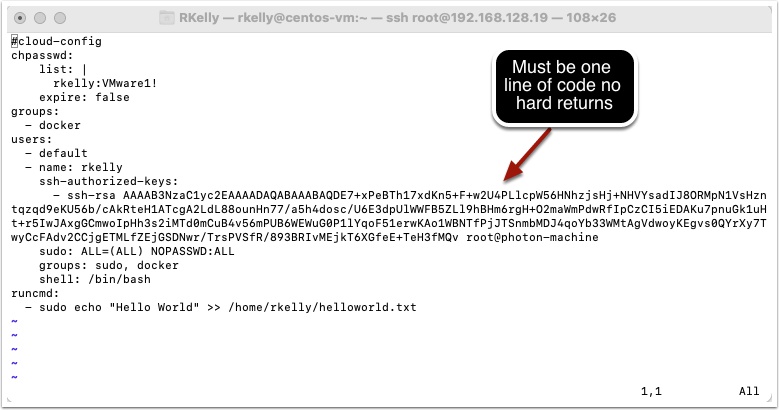
Press i to enter insert mode and enter the following code and save the file.
Remember you will need to enter your SSH Public key you created earlier and make sure it is one line of code with no hard returns in it. Also change the user rkelly and password to your choosing and make sure to edit the runcmd to reflect your user: example -> sudo echo “Hello World” >> /home/diane/helloworld.txt
cloud-config
chpasswd:
    list: |
      rkelly:VMware1!
    expire: false
groups:
  - docker
users:
  - default
  - name: rkelly
    ssh-authorized-keys:
      - ssh-rsa AAAAB3NzaC1yc2EAAAADAQABAAABAQDE7+xPeBTh17xdKn5+F+w2U4PLlcpW56HNhzjsHj+NHVYsadIJ8ORMpN1VsHzntqzqd9eKU56b/cAkRteH1ATcgA2LdL88ounHn77/a5h4dosc/U6E3dpUlWWFB5ZLl9hBHm6rgH+O2maWmPdwRfIpCzCI5iEDAKu7pnuGk1uHt+r5IwJAxgGCmwoIpHh3s2iMTd0mCuB4v56mPUB6WEWuG0P1lYqoF51erwKAo1WBNTfPjJTSnmbMDJ4qoYb33WMtAgVdwoyKEgvs0QYrXy7TwyCcFAdv2CCjgETMLfZEjGSDNwr/TrsPVSfR/893BRIvMEjkT6XGfeE+TeH3fMQv root@photon-machine
    sudo: ALL=(ALL) NOPASSWD:ALL
    groups: sudo, docker
    shell: /bin/bash
runcmd:
  - sudo echo "Hello World" >> /home/rkelly/helloworld.txt
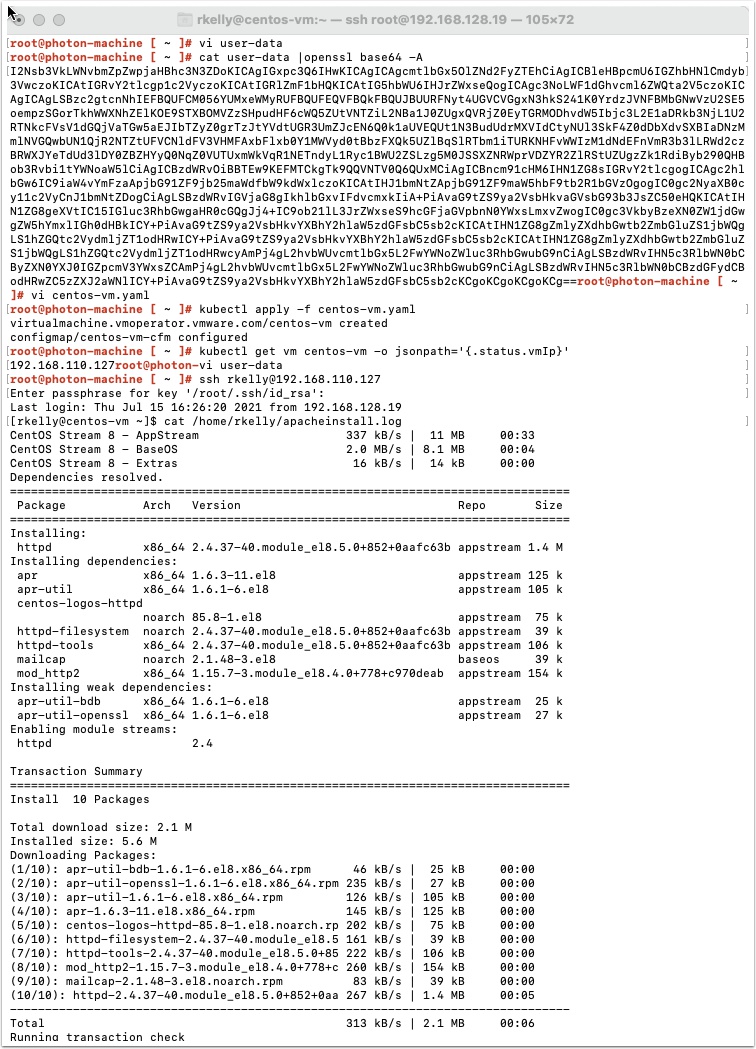
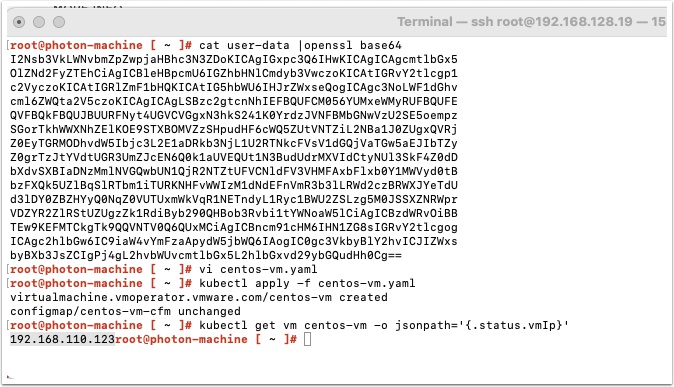
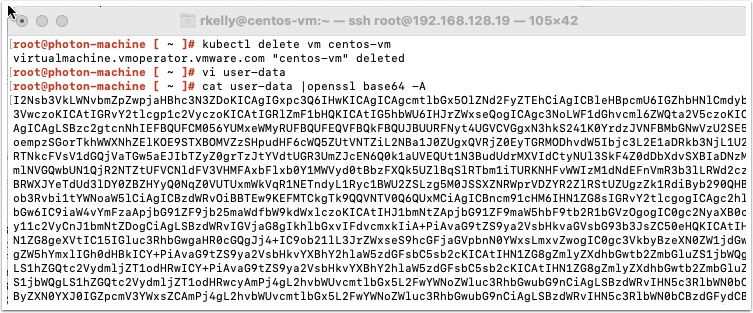
Now export the user data to base64 by typing the following and pressing enter
cat user-data |openssl base64 -A
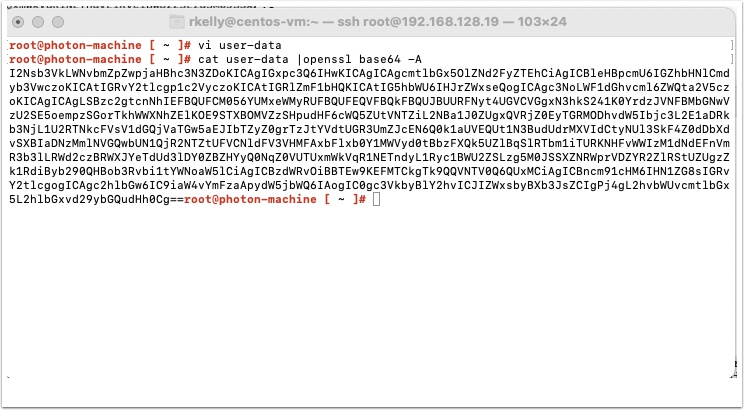
copy and paste the code somewhere safe.
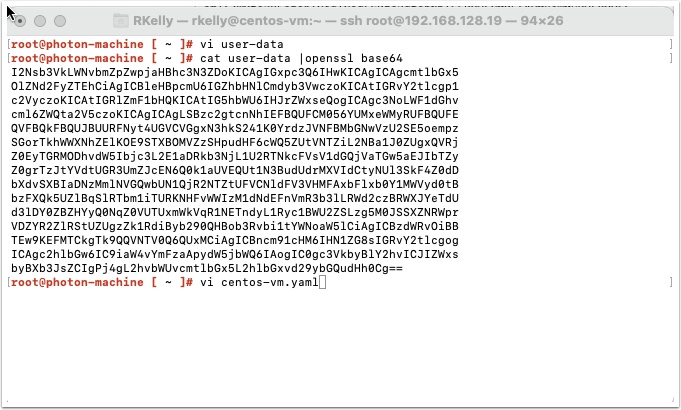
Now let’s create our YAML file for the new VM request that will use the user-data we just created
type vi cento-vm.yaml
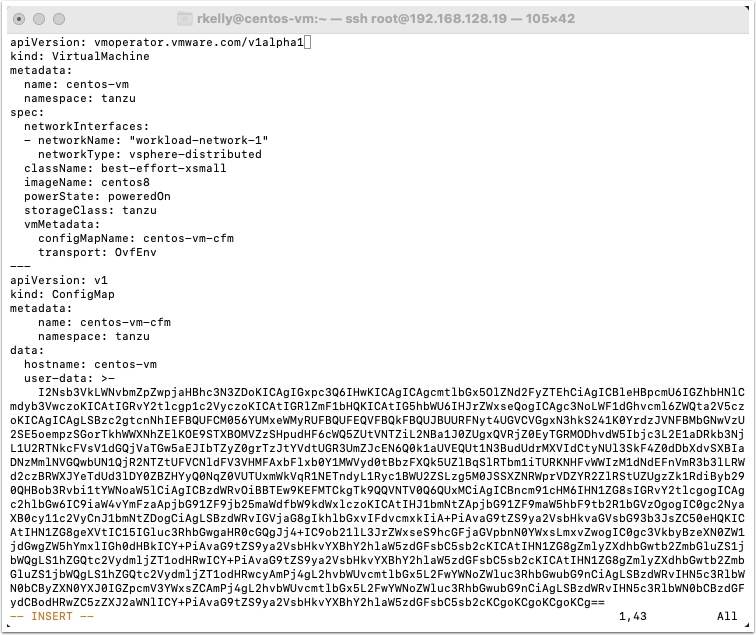
Enter the following and save the file

Copy and past friendly, double click to edit in this page and copy to your file
apiVersion: vmoperator.vmware.com/v1alpha1
kind: VirtualMachine
metadata:
  name: centos-vm
  namespace: tanzu
spec:
  networkInterfaces:
  - networkName: "workload-network-1"
    networkType: vsphere-distributed
  className: best-effort-xsmall
  imageName: centos8
  powerState: poweredOn
  storageClass: tanzu
  vmMetadata:
    configMapName: centos-vm-cfm
    transport: OvfEnv
---
apiVersion: v1
kind: ConfigMap
metadata:
    name: centos-vm-cfm
    namespace: tanzu
data:
  hostname: centos-vm
  user-data: >-
    I2Nsb3VkLWNvbmZpZwpjaHBhc3N3ZDoKICAgIGxpc3Q6IHwKICAgICAgcmtlbGx5OlZNd2FyZTEhCiAgICBleHBpcmU6IGZhbHNlCmdyb3VwczoKICAtIGRvY2tlcgp1c2VyczoKICAtIGRlZmF1bHQKICAtIG5hbWU6IHJrZWxseQogICAgc3NoLWF1dGhvcml6ZWQta2V5czoKICAgICAgLSBzc2gtcnNhIEFBQUFCM056YUMxeWMyRUFBQUFEQVFBQkFBQUJBUURFNyt4UGVCVGgxN3hkS241K0YrdzJVNFBMbGNwVzU2SE5oempzSGorTkhWWXNhZElKOE9STXBOMVZzSHpudHF6cWQ5ZUtVNTZiL2NBa1J0ZUgxQVRjZ0EyTGRMODhvdW5Ibjc3L2E1aDRkb3NjL1U2RTNkcFVsV1dGQjVaTGw5aEJIbTZyZ0grTzJtYVdtUGR3UmZJcEN6Q0k1aUVEQUt1N3BudUdrMXVIdCtyNUl3SkF4Z0dDbXdvSXBIaDNzMmlNVGQwbUN1QjR2NTZtUFVCNldFV3VHMFAxbFlxb0Y1MWVyd0tBbzFXQk5UZlBqSlRTbm1iTURKNHFvWWIzM1dNdEFnVmR3b3lLRWd2czBRWXJYeTdUd3lDY0ZBZHYyQ0NqZ0VUTUxmWkVqR1NETndyL1Ryc1BWU2ZSLzg5M0JSSXZNRWprVDZYR2ZlRStUZUgzZk1RdiByb290QHBob3Rvbi1tYWNoaW5lCiAgICBzdWRvOiBBTEw9KEFMTCkgTk9QQVNTV0Q6QUxMCiAgICBncm91cHM6IHN1ZG8sIGRvY2tlcgogICAgc2hlbGw6IC9iaW4vYmFzaApydW5jbWQ6IAogIC0gc3VkbyBlY2hvICJIZWxsbyBXb3JsZCIgPj4gL2hvbWUvcmtlbGx5L2hlbGxvd29ybGQudHh0Cg==
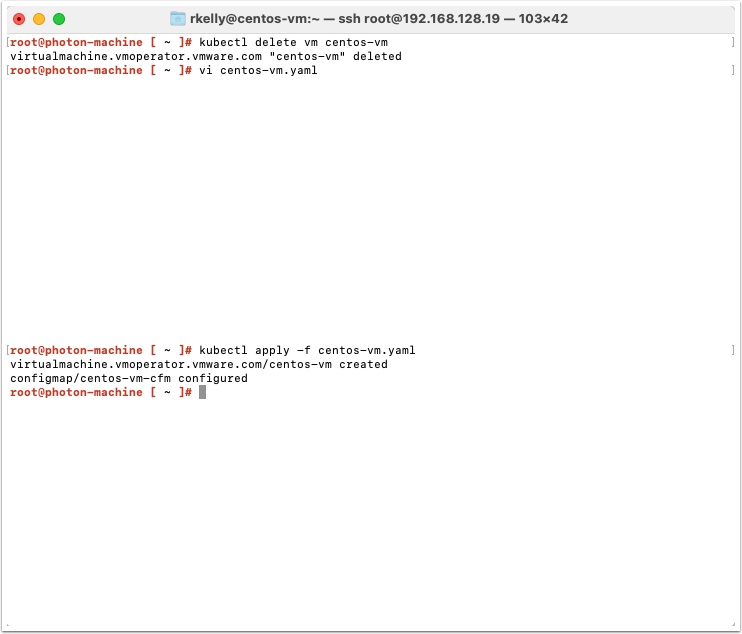
Now login to Tanzu and apply the yaml file using the following:
kubectl apply -f centos-vm.yaml
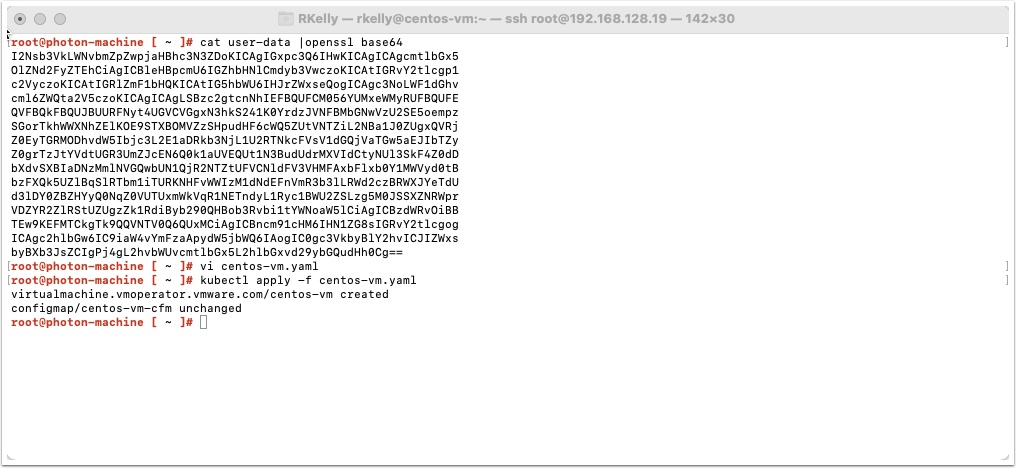
You should see the VM start provisioning in vCenter
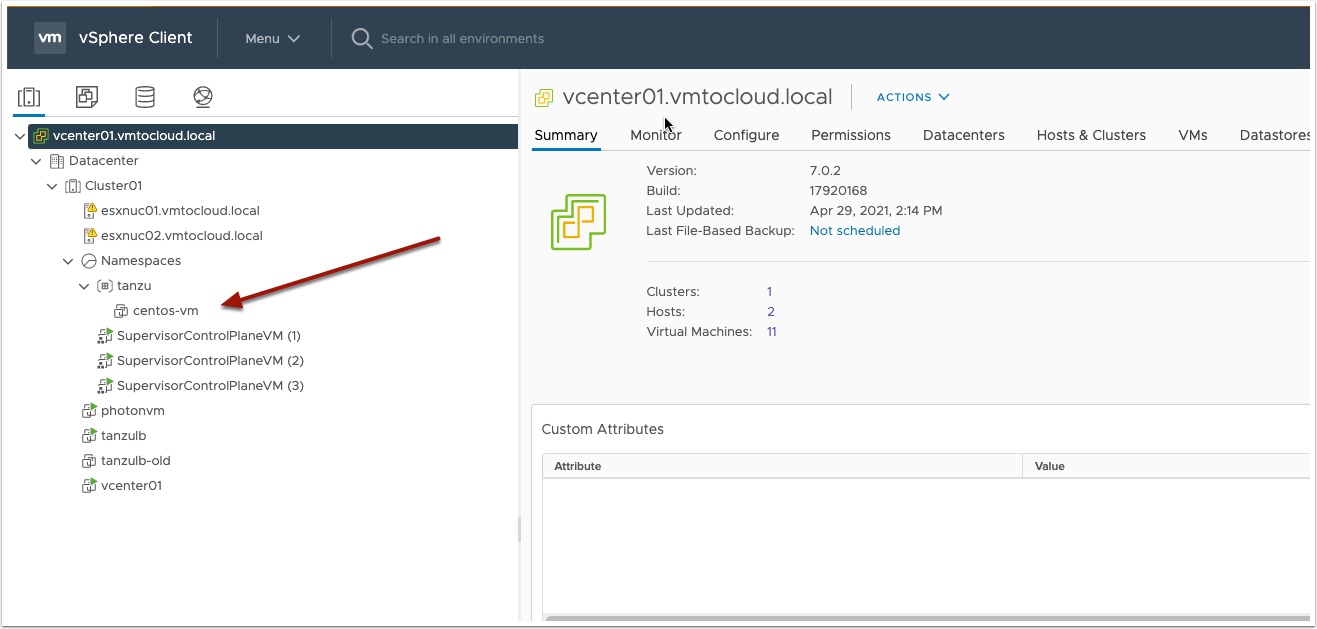
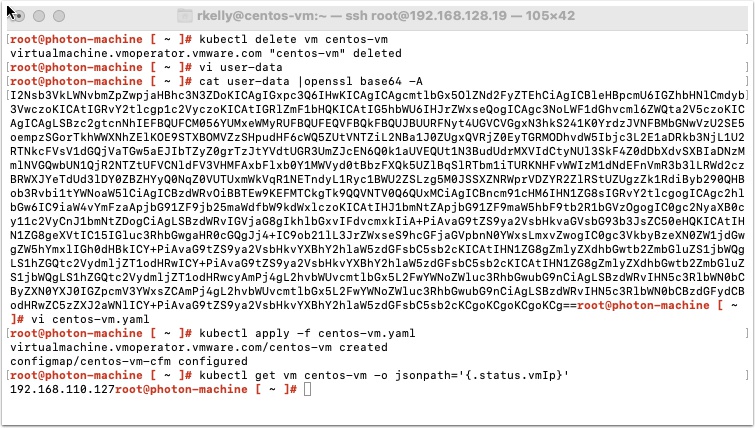
After a few minutes the VM should be provisioned. Get the IP address with the following command
kubectl get vm centos-vm -o jsonpath='{.status.vmIp}'
Now SSH into the new VM as the user you specified in your user-data file earlier and check for the file.
SSH in and enter the passphrase you used to create your SSH key. Then type ls /home/user to see the new file. user is the user you created earlier
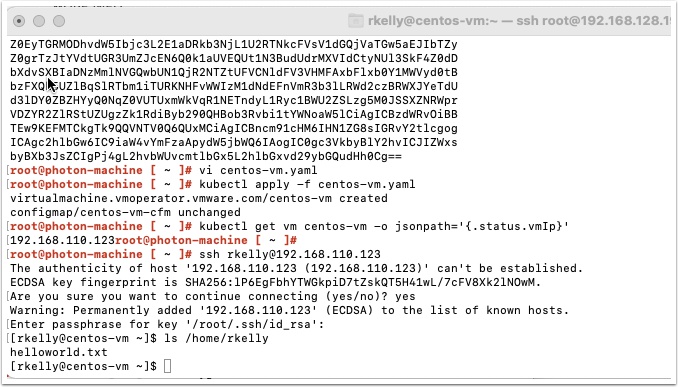
If all worked you should see the helloworld.txt file. Now that we know this works, let’s install an application inside the VM.
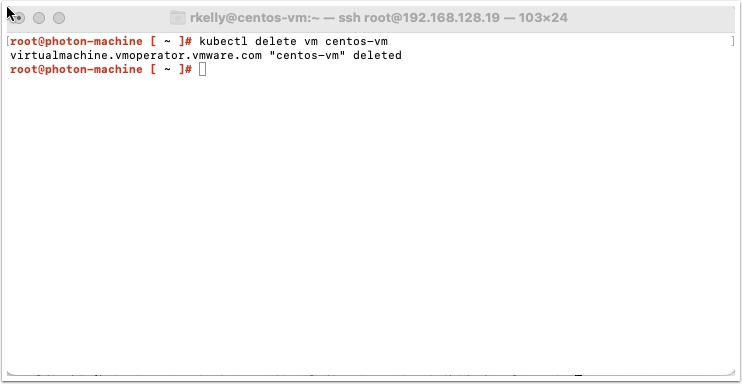
Delete the centos-vm using the following command
kubectl delete vm centos-vm
Edit your user data file and add the following to the runcmd
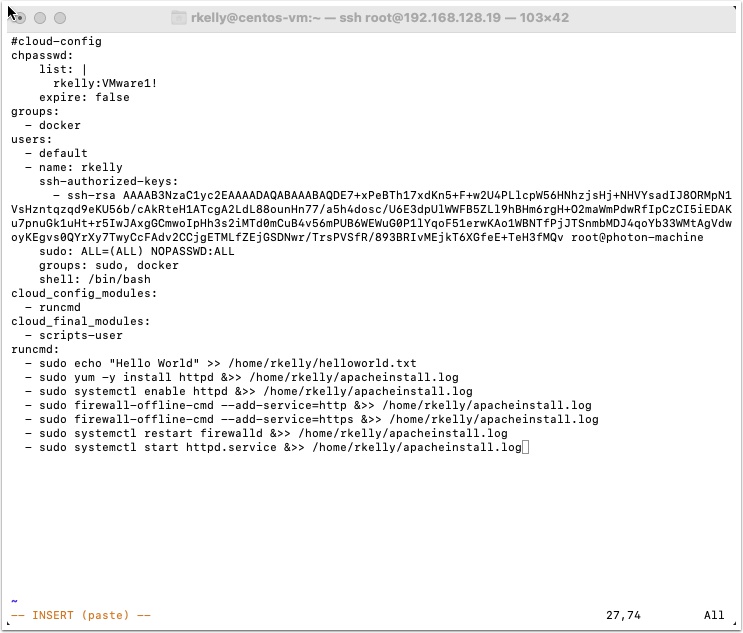
Easy copy and paste or double click and edit here then copy and past
#cloud-config
chpasswd:
    list: |
      rkelly:VMware1!
    expire: false
groups:
  - docker
users:
  - default
  - name: rkelly
    ssh-authorized-keys:
      - ssh-rsa AAAAB3NzaC1yc2EAAAADAQABAAABAQDE7+xPeBTh17xdKn5+F+w2U4PLlcpW56HNhzjsHj+NHVYsadIJ8ORMpN1VsHzntqzqd9eKU56b/cAkRteH1ATcgA2LdL88ounHn77/a5h4dosc/U6E3dpUlWWFB5ZLl9hBHm6rgH+O2maWmPdwRfIpCzCI5iEDAKu7pnuGk1uHt+r5IwJAxgGCmwoIpHh3s2iMTd0mCuB4v56mPUB6WEWuG0P1lYqoF51erwKAo1WBNTfPjJTSnmbMDJ4qoYb33WMtAgVdwoyKEgvs0QYrXy7TwyCcFAdv2CCjgETMLfZEjGSDNwr/TrsPVSfR/893BRIvMEjkT6XGfeE+TeH3fMQv root@photon-machine
    sudo: ALL=(ALL) NOPASSWD:ALL
    groups: sudo, docker
    shell: /bin/bash
cloud_config_modules:
  - runcmd
cloud_final_modules:
  - scripts-user
runcmd:
  - sudo echo "Hello World" >> /home/rkelly/helloworld.txt
  - sudo yum -y install httpd &>> /home/rkelly/apacheinstall.log
  - sudo systemctl enable httpd &>> /home/rkelly/apacheinstall.log
  - sudo firewall-offline-cmd --add-service=http &>> /home/rkelly/apacheinstall.log
  - sudo firewall-offline-cmd --add-service=https &>> /home/rkelly/apacheinstall.log
  - sudo systemctl restart firewalld &>> /home/rkelly/apacheinstall.log
  - sudo systemctl start httpd.service &>> /home/rkelly/apacheinstall.log
Now lets output it to base64 again using the following command
cat user-data |openssl base64 -A
Update your centos-vm.yaml file with the new user-data encoding and save it
Now provision a new VM with the new yaml file
kubectle apply -f centos-vm.yaml
After several minutes you should be able to get the ip address with the following command
kubectl get vm centos-vm -o jsonpath='{.status.vmIp}'
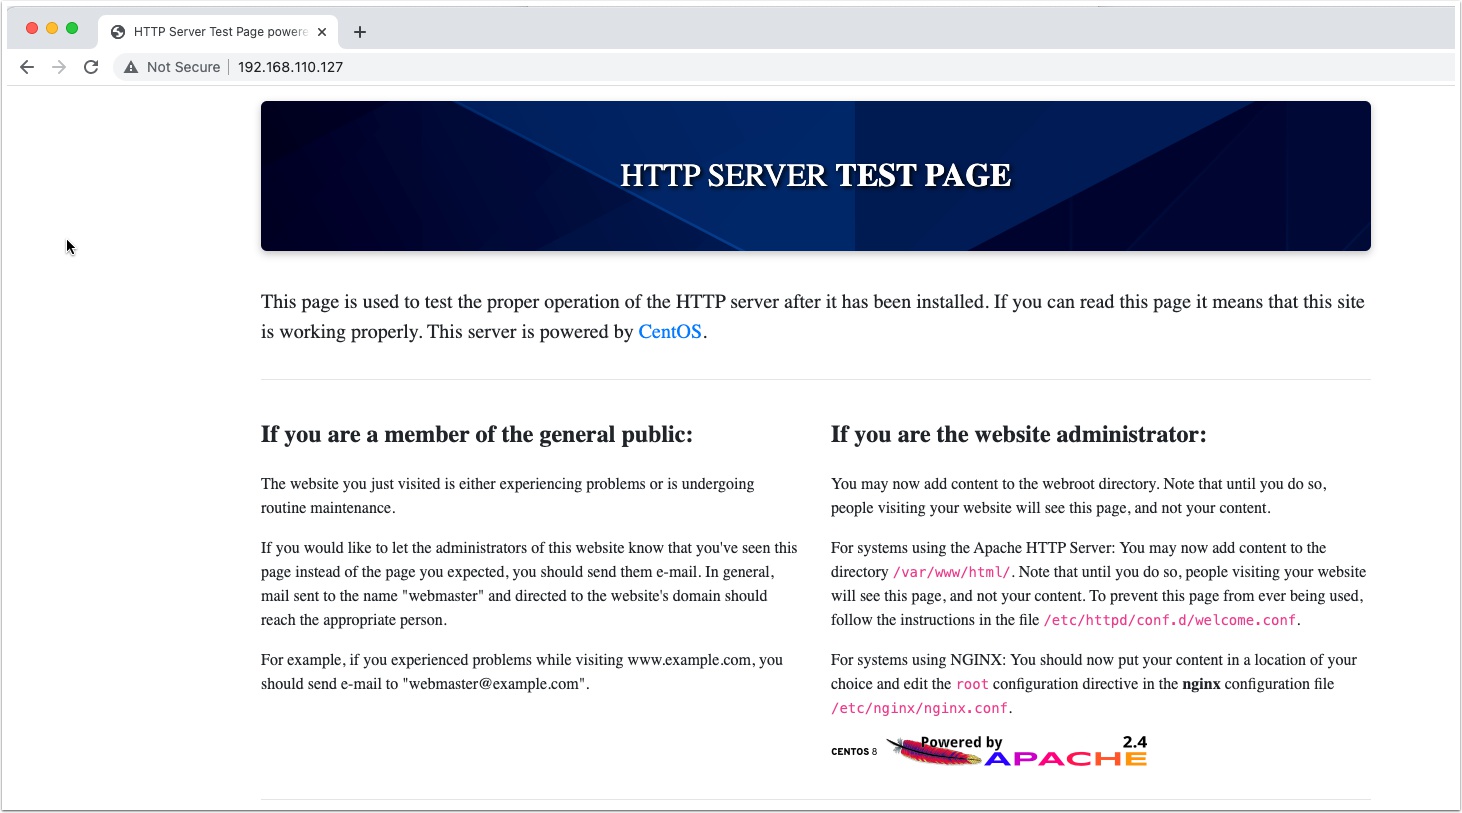
Open a web page to the IP and watch the magic begin!
You can also check the logs by sshing back into the new VM