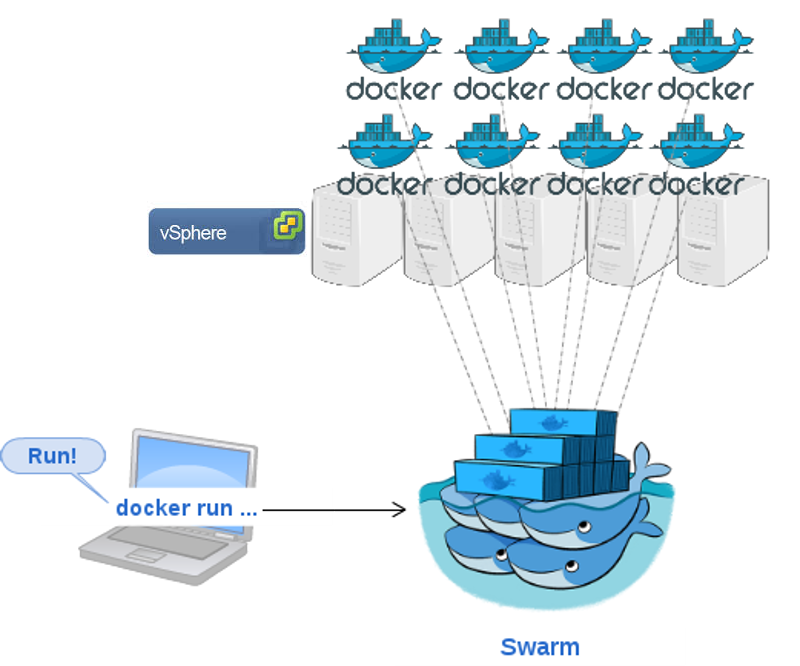
At this point you have been playing around with containers on one VM but you want to take it a step further and orchestrate container deployments across multiple VM’s. In this guide I will show you the fastest way to get up and running with a swarm cluster on vSphere using Project Photon as a container host.
Next, install Photon on a vSphere VM by following this guide
For this exercise we will need a minimum of 2 Photon VM’s and a workstation running docker.
Please NOTE: if you plan on using vCenter to clone your Photon VM you will need to regenerate the Docker ID on each cloned VM. To do this:
1.Login to the Photon VM and remove the key.json file by typeing rm /etc/docker/key.json and press enter
2.Reboot the Photon VM and login and type Docker info and press enter. Verify the ID on both VM’s is different.
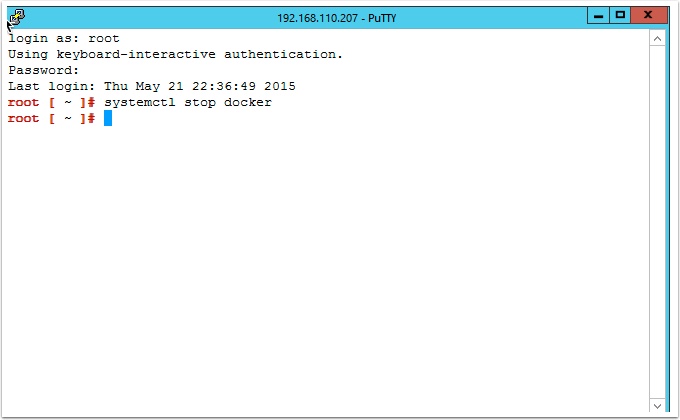
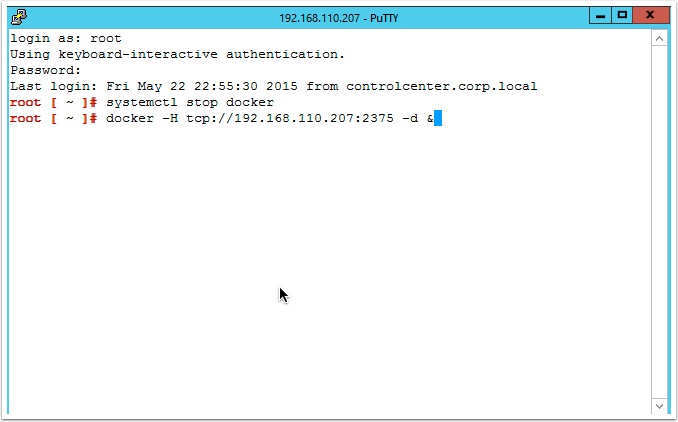
systemctl stop docker
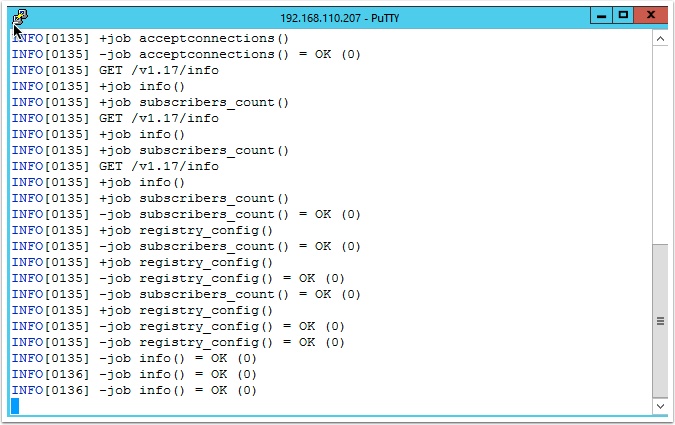
Make sure to do the same on your additional nodes, make sure you use the IP address of the Photon node your on to start the Docker Deamon
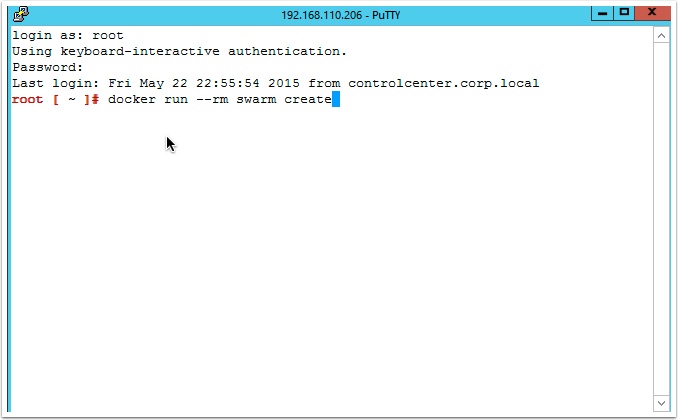
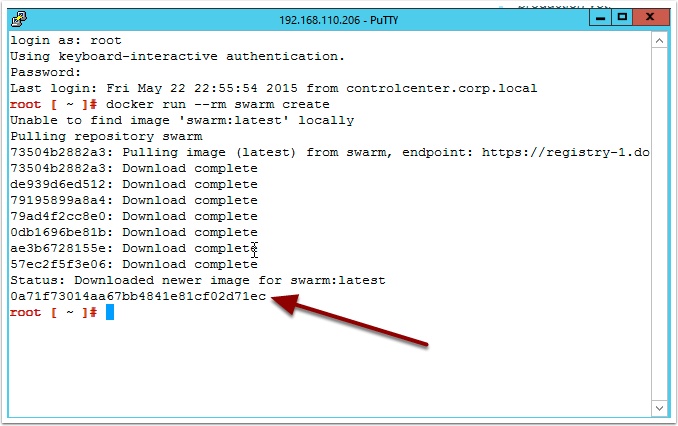
docker run --rm swarm create
Notice the last line after the command completes, this is your cluster ID. Copy and past that to a safe place. You will need it for the rest of the setup.
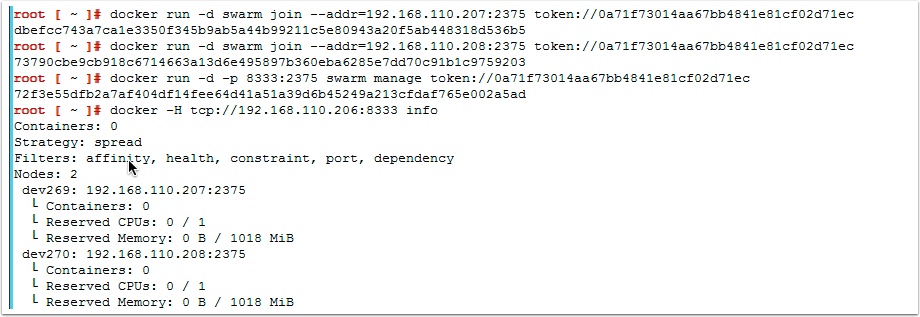
docker run -d swarm join --addr=node_ip:2375 token://cluster_id
docker run -d -p 8333:2375 swarm manage token://cluster_id
Now that the cluster manager is running lets see if our nodes are ready by typing the following and pressing enter
docker -H tcp://yourworkstationIP:8333 info
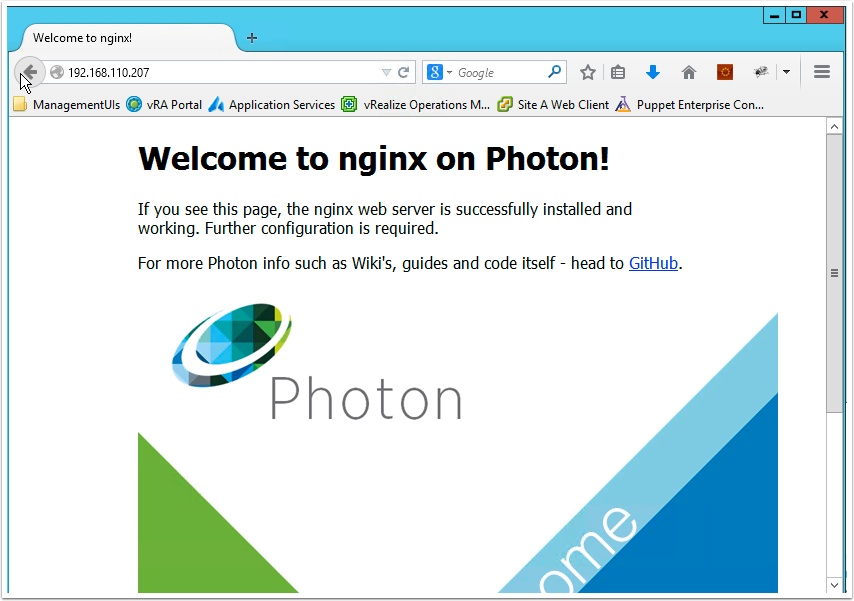
docker -H tcp://yourworkstationIP:8333 run -d -p 80:80 vmwarecna/nginx
docker -H tcp://yourworkstationIP:8333 ps





Pingback: Containers for the vSphere Admin | VMtoCloud.com