
At this point you have already followed my guide to install k8s on VMware Photon
Login to your k8s-server
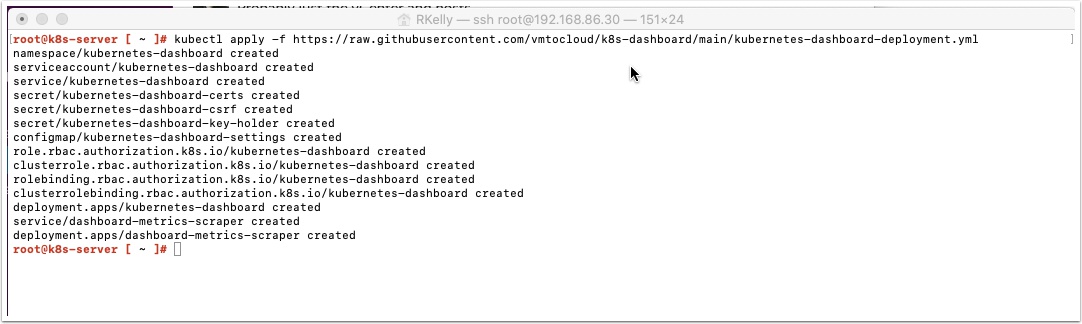
Now, install the dashboard using a modified yaml file I created for you
kubectl apply -f https://raw.githubusercontent.com/vmtocloud/k8s-dashboard/main/kubernetes-dashboard-deployment.yml
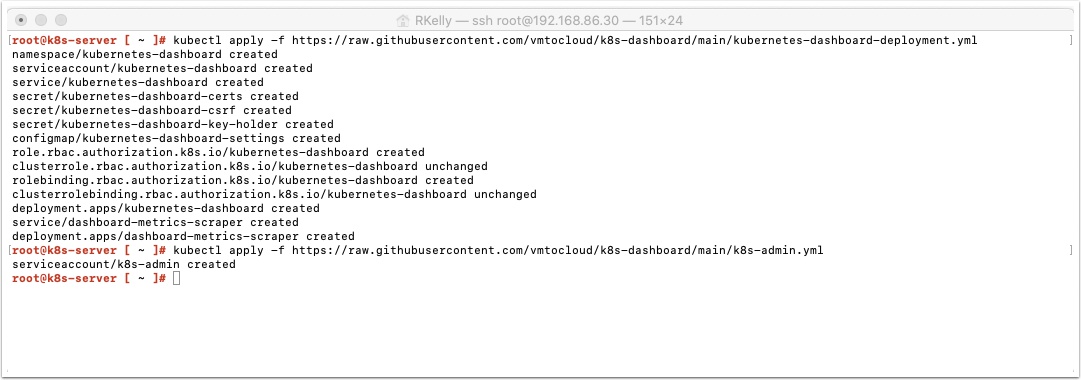
Now let’s add an admin user with the following command
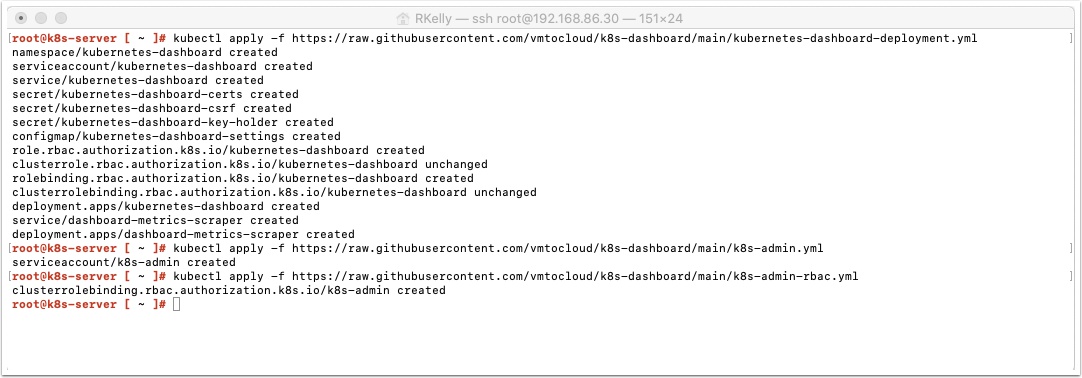
Now let’s add that admin user to a role so they can access the dashboard
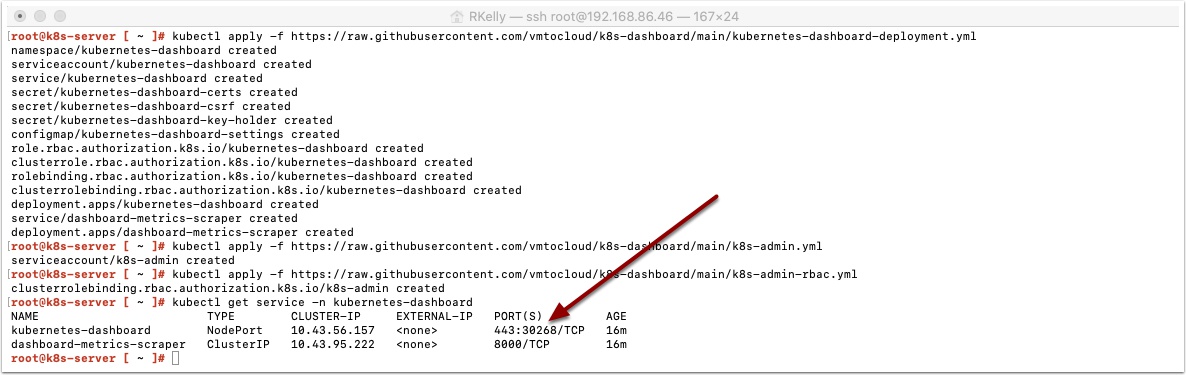
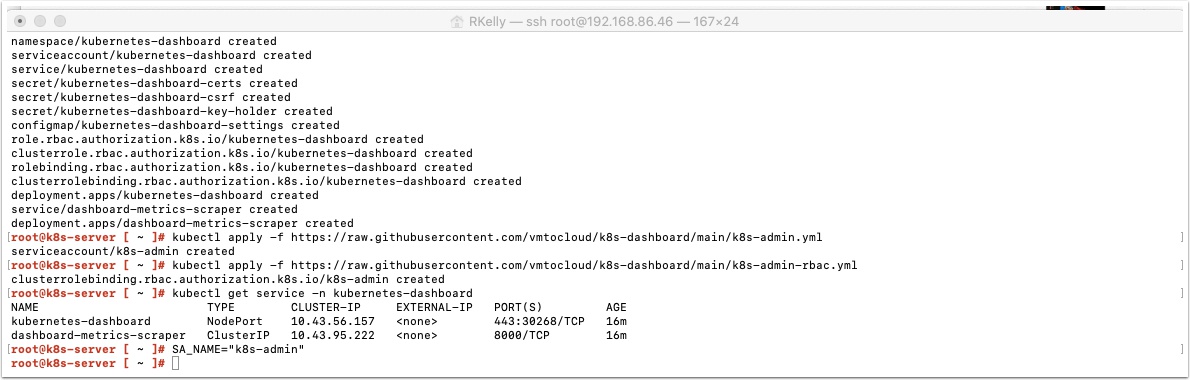
 Now let’s see what node port the dashboard is located at
kubectl get service -n kubernetes-dashboard
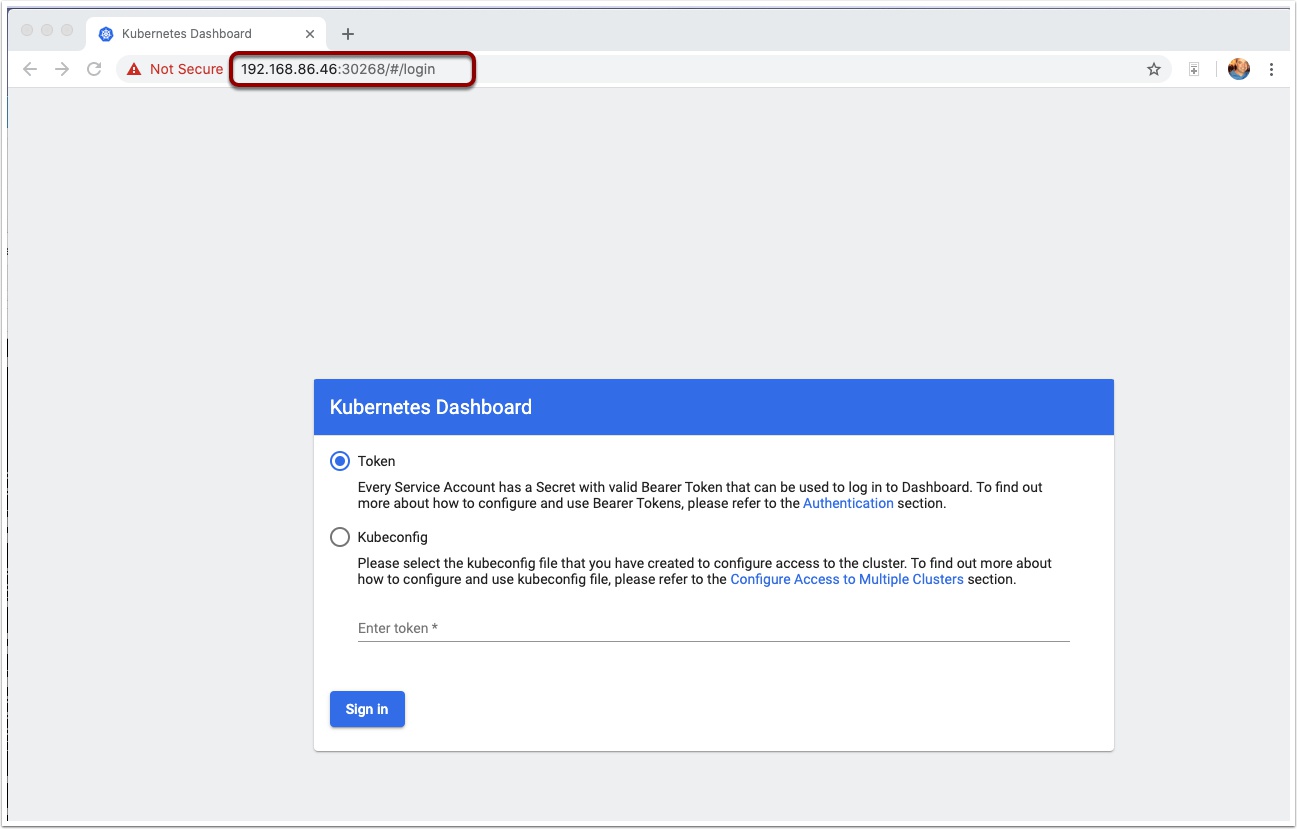
 Now open a browser to https://yourk8s-server:nodeport
For example, mine is https://192.168.86.46:30268
NOTE: Your browser settings may not allow you to access the site because it uses a self signed certificate. I used Chrome and when I got the warning screen I just typed thisisunsafe and press enter and it opened.
We need a token to access the Dashboard, let’s go back to the command line and run the following
SA_NAME="k8s-admin"
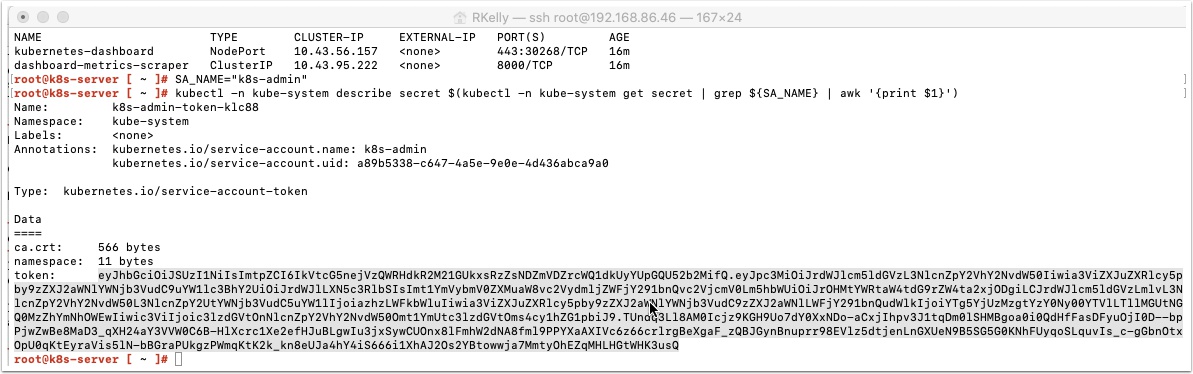
Now let’s print out the token with the following command and copy it to the clipboard
kubectl -n kube-system describe secret $(kubectl -n kube-system get secret | grep ${SA_NAME} | awk '{print $1}')
Now go back to the web browser and paste the token you just copied and click sign-in
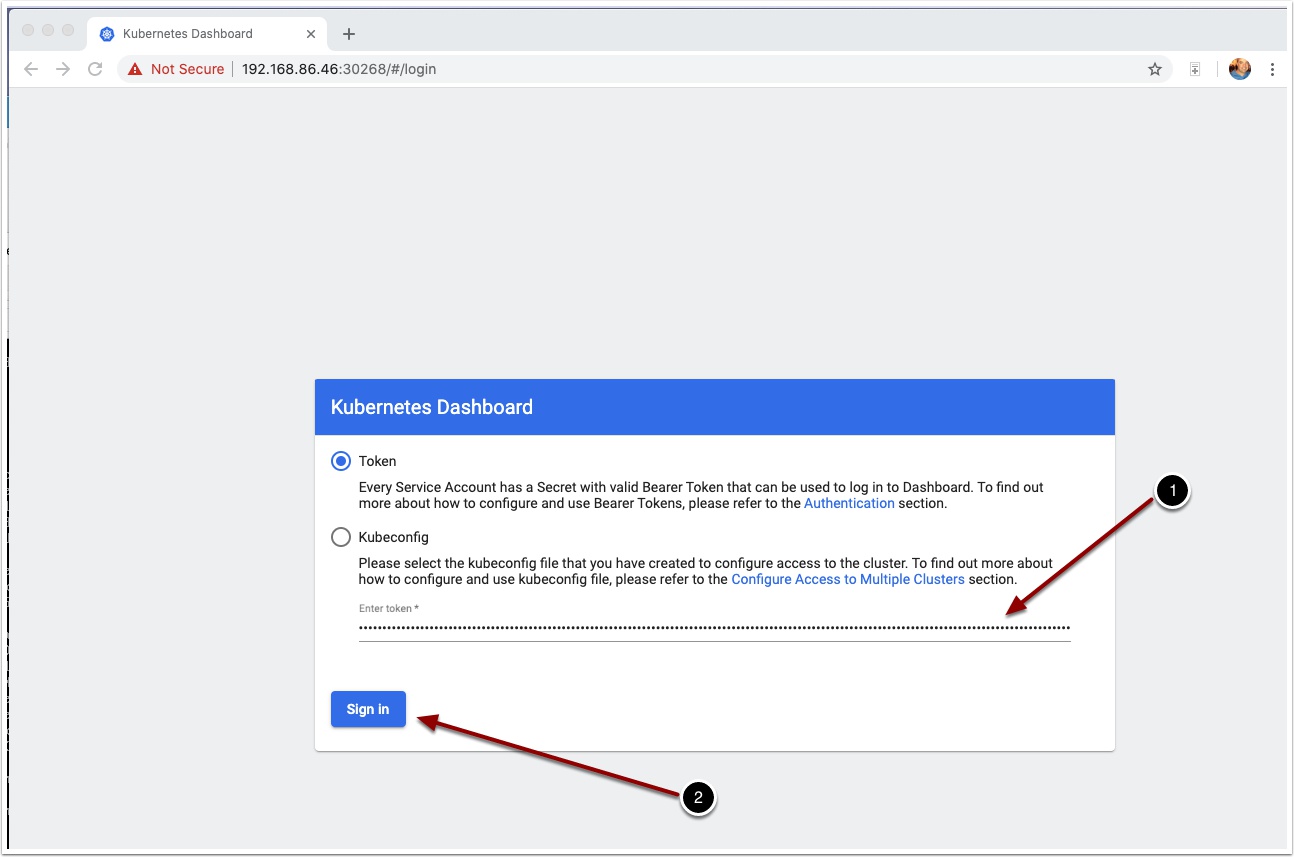
Now you can manage your Kubernetes install from the Dashboard

Pingback: Install Kubernetes on VMware Photon in 15 min. or less! | | VMtoCloud.com
Your tutorials are killer! I was able to spin up a 2 node cluster, deploy the folding at home container and the dashboard in about 45 minutes, with zero knowledge of kubernetes and trying to learn along the way. This was a great help!
Oh man, thank you for the kind words, you made my day and happy it was useful!
excellent guides was able to set most of this up, however, the photon vms don’t show when I type kubectl get nodes
Got it working!! Thanks for the great guide!!
Keep them coming!!
Loving it, easy to follow… I think it would be wise to save the iptables config, so that on reboot of the VM there aren’t any issues.
iptables-save > /etc/systemd/scripts/ip4save
Or isn’t that necessary in this setup ?
Got error:
Error: failed to create containerd container: get apparmor_parser version: exec: “apparmor_parser”: executable file not found in $PATH
Solved by running the following on PhotonOS (v4) host:
yum install apparmor-parser apparmor-utils
Hi Ryan, thanks for this guide – it has enabled me to get a Kubernetes cluster running quickly for a POC we are doing with Ansible AWX.
Just a quick note – your YAML script for the dashboard deployment requests a specific version at 2.0.4 and I had to patch this to request version 2.4.0 To be compatible with my k3s/rancher kubernetes version of v1.22.7+k3s1 when running your install guide at this time. This is to avoid an error with ingress extensions enumeration in the dashboard GUI.
Again thanks for you guide, it has given me a real quick start.
Cheers,
Stefan