
Before you begin, just a disclaimer that at the time of writing this post this is not actually supported by VMware. With that said proceed at your own risk. In this post I will show you how to create a private non-routed network in VMC on AWS. Why would you want to do this you ask? There are certain cases where you may want to duplicate IP addresses and run VM’s in an isolated environment. Other times you may require certain VM’s to be isolated form eachother for testing purposes or to simulate attacks or research a vulnerability in an application or operating system. Other use cases are to duplicate an entire data center environment complete with DNS, Domain controllers and application servers.

Basically we will be deploying a virtual router VM with 2 vNics attached
One nic will be a routed network in VMC and the other will be a disconnected network. We then attach VM’s only to the disconnected network and point their gateway to the virtual router VM’s LAN IP address.
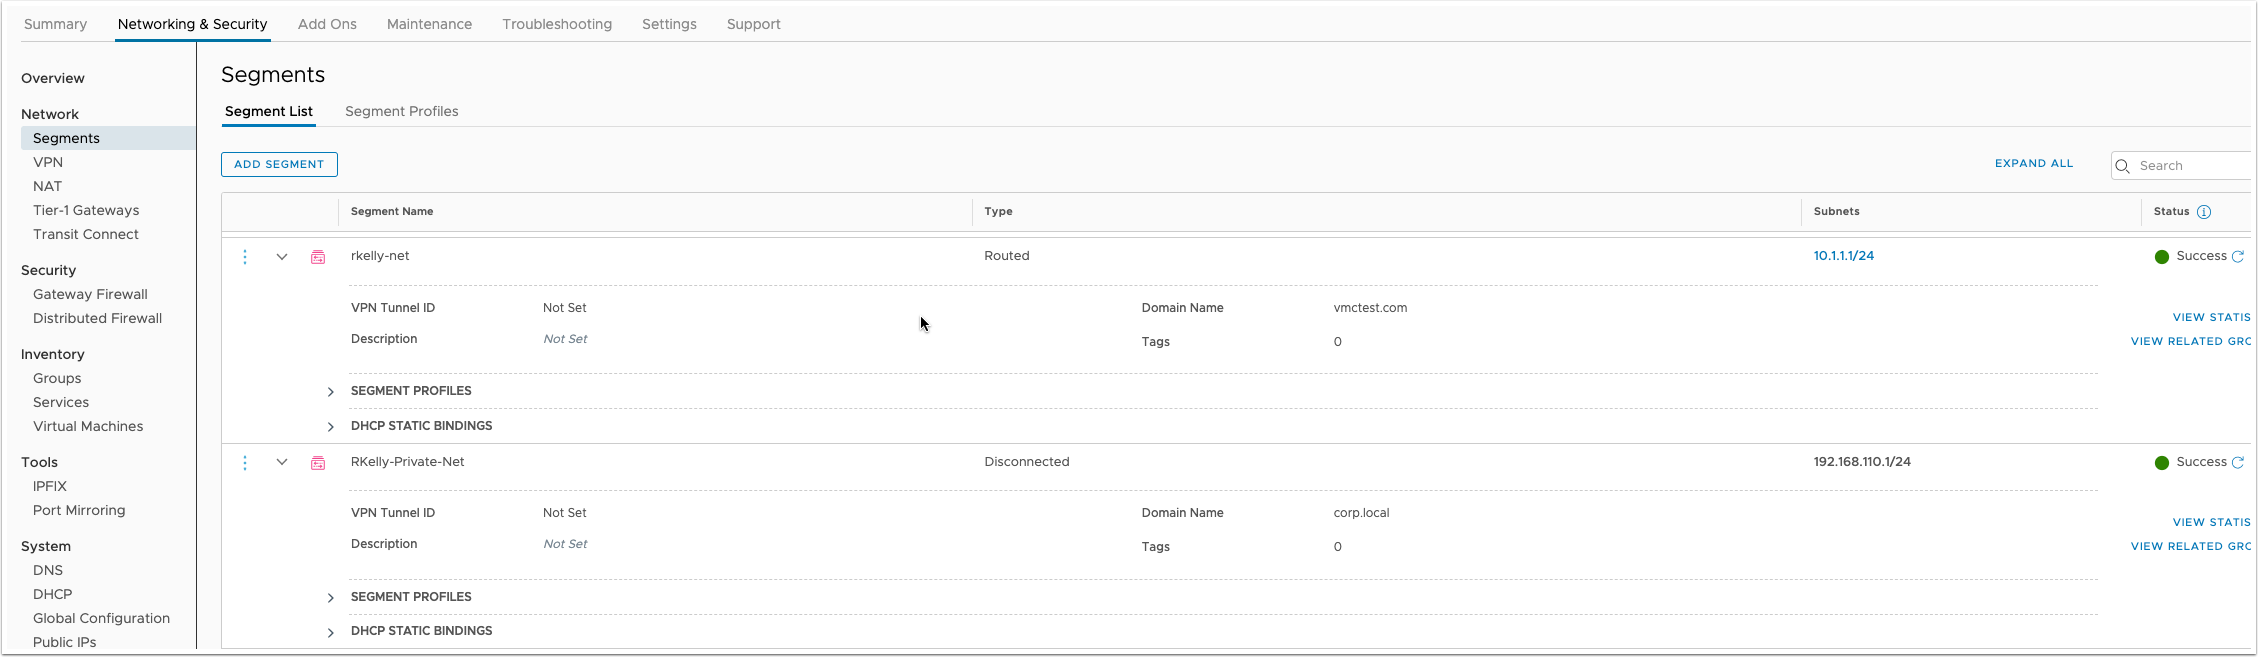
1. Routed network
2. Disconnected network

You will need to create a routed and a disconnected network in VMC.
Notice that on the disconnected network I gave it a gateway address for a private network. This is the address we will setup on the virtual router VM/
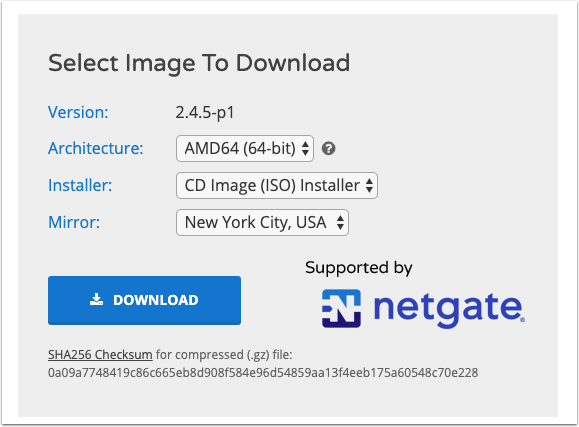
For the virtual router I used pfsense because it was easy to install and has a nice UI and features a VPN
You could really use any linux based router or even Windows Server to accomplish the same thing.
Download the pfsense iso file and upload to your workloads datastore in VMC or to a content libraary that is avialable to VM’s in VMC
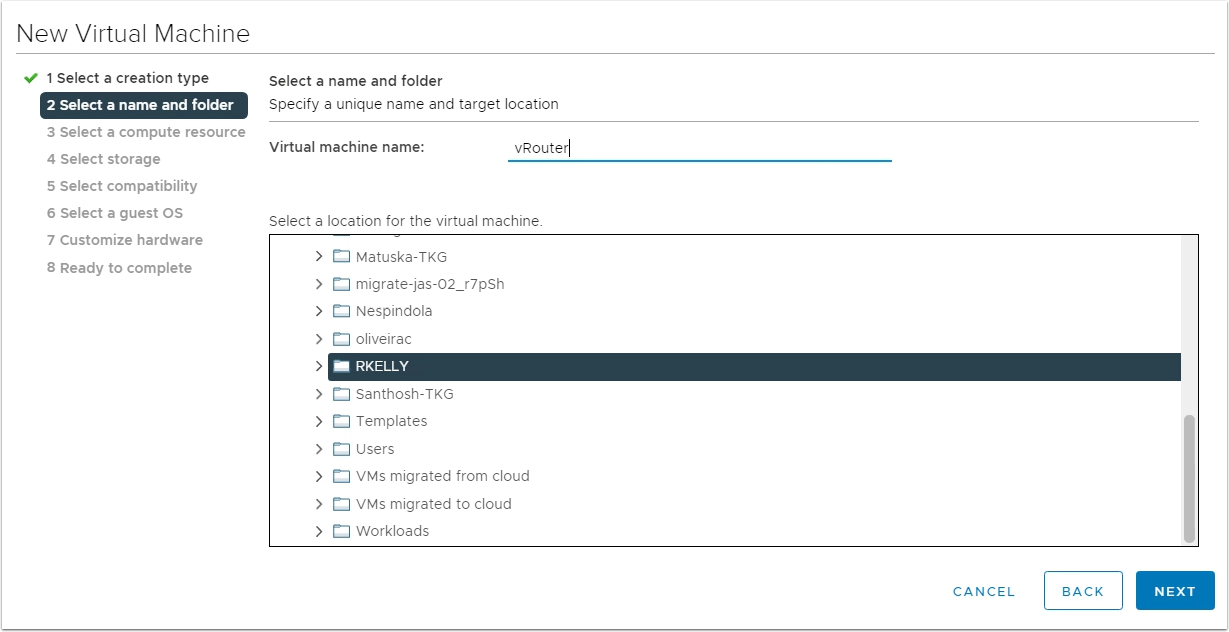
Login to vCenter and create a new VM in your VMC SDDC
I named it vRouter just to keep it easy
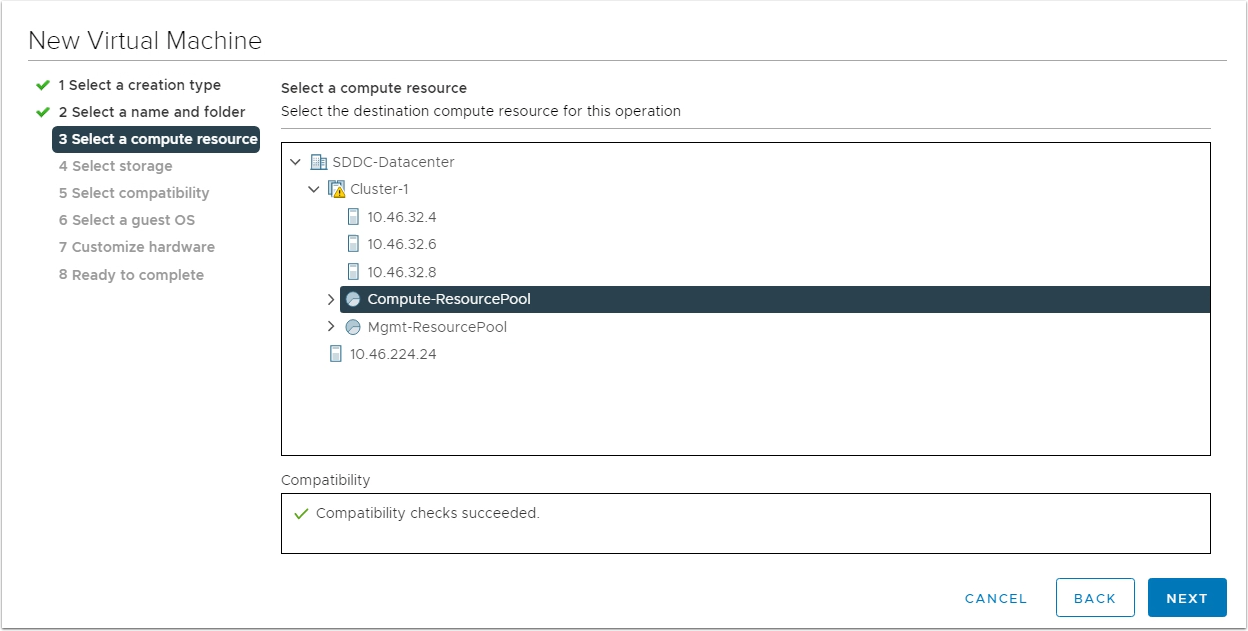
Choose the cluster and Resource Pool
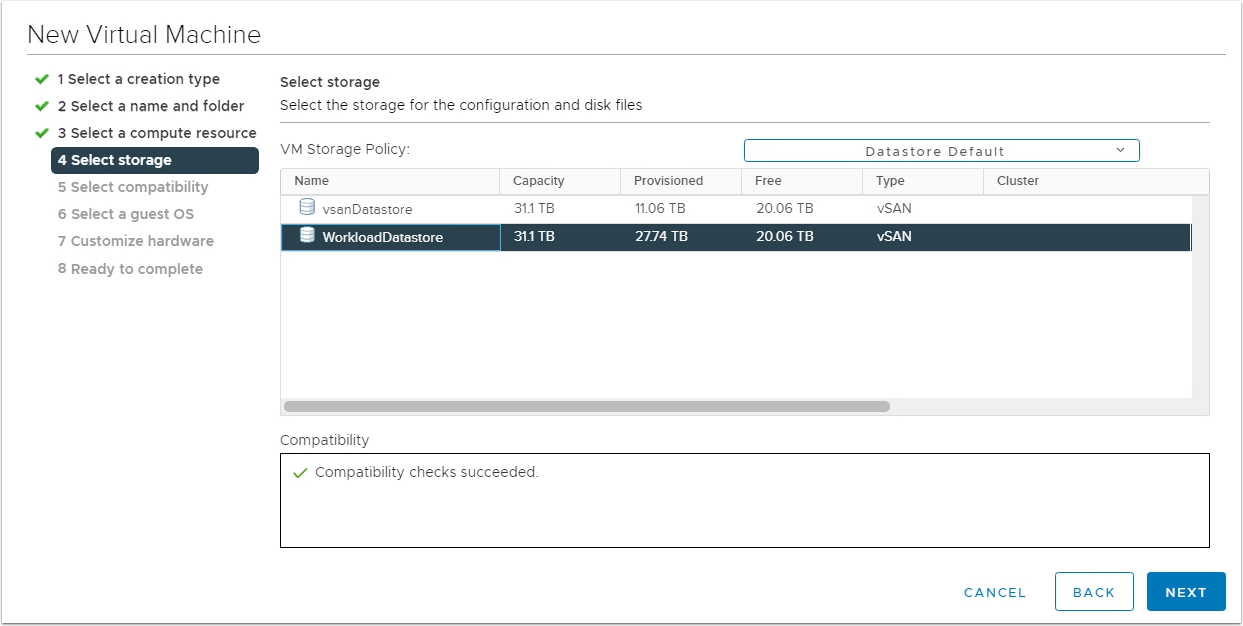
Choose the Workload Datastore
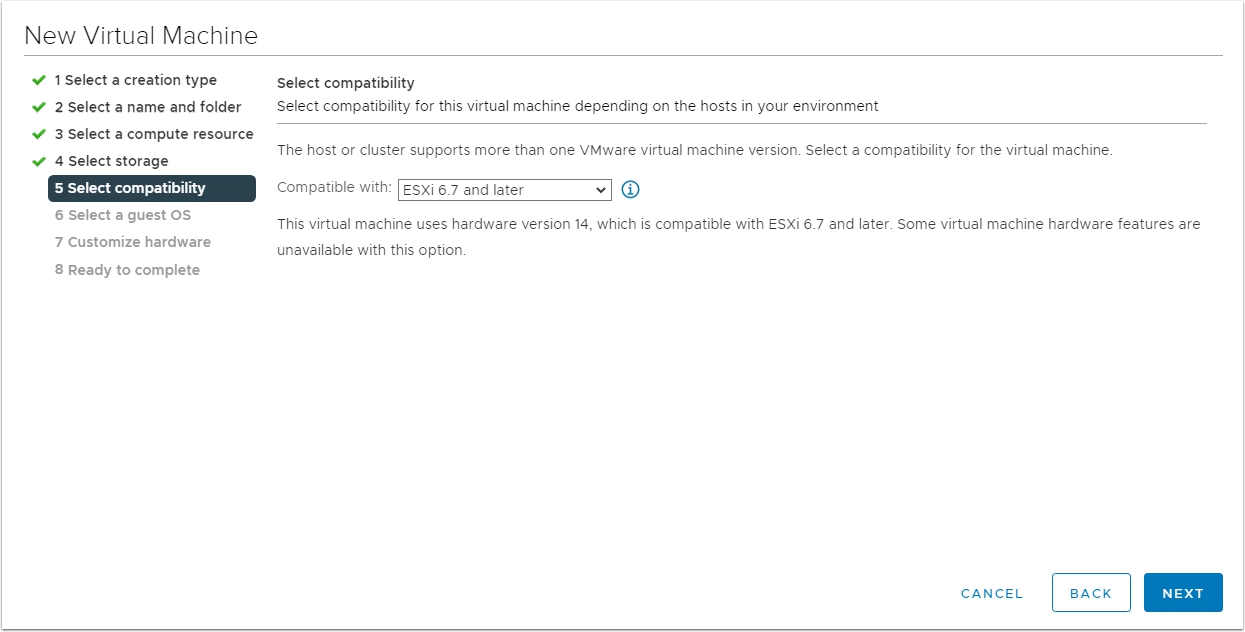
Click ok for compatibility
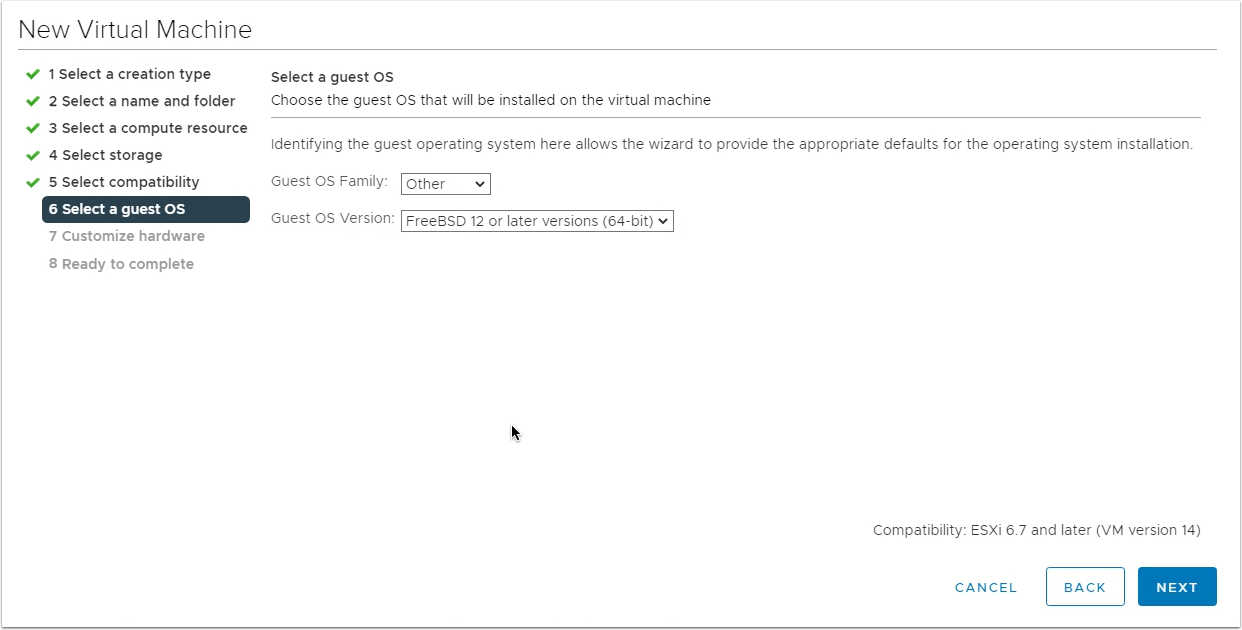
Select other and FreeBSD 12 64-bit
Configure the VM hardware
- Change hard disk to 25 GB
- Select the routed network we created earlier
- Select the pfsense iso file we created earlier and click connect to the right
- Click next

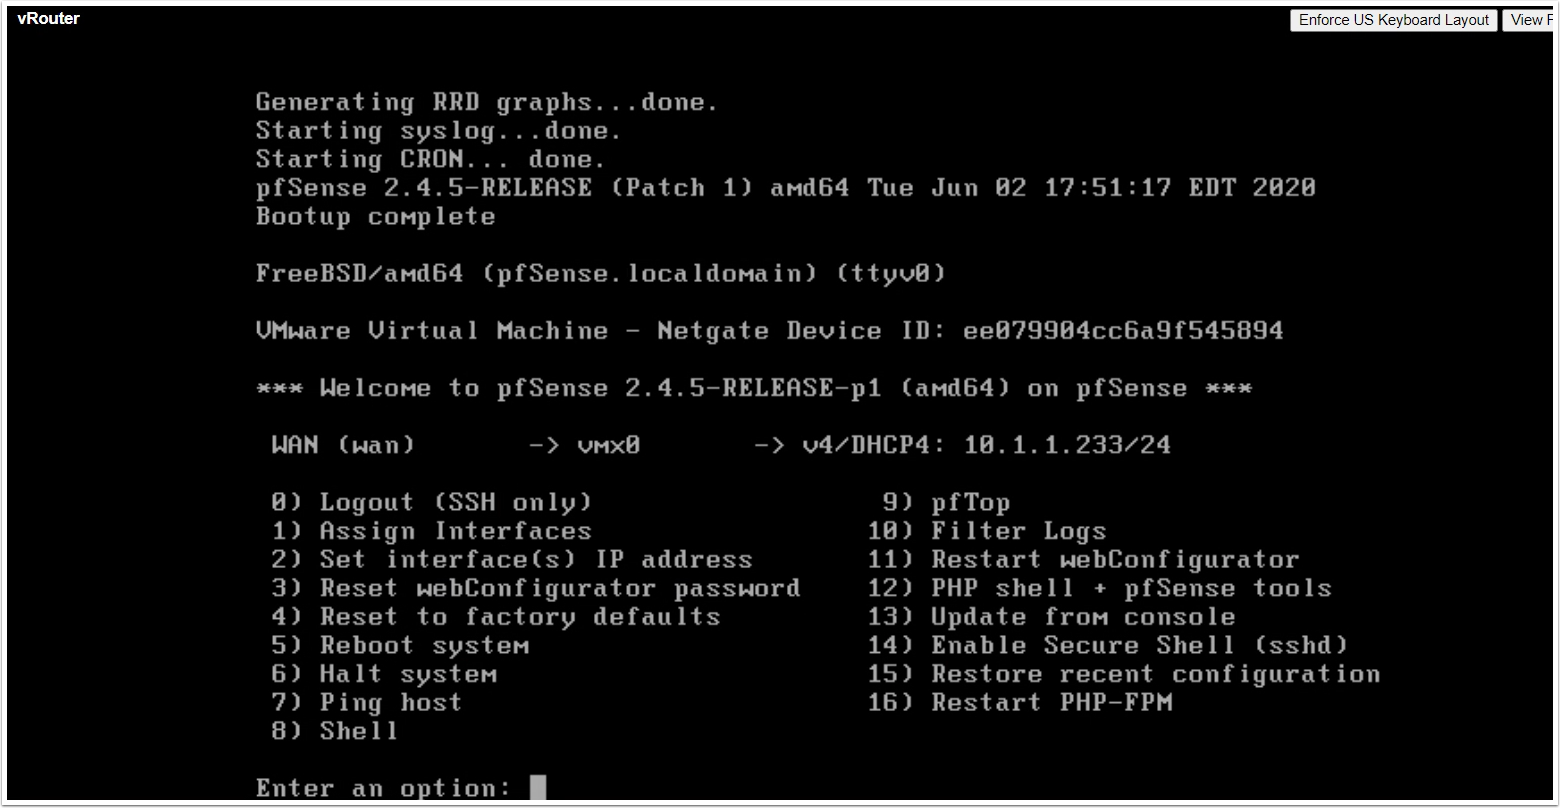
After creating the VM power it on and Launch Web Console

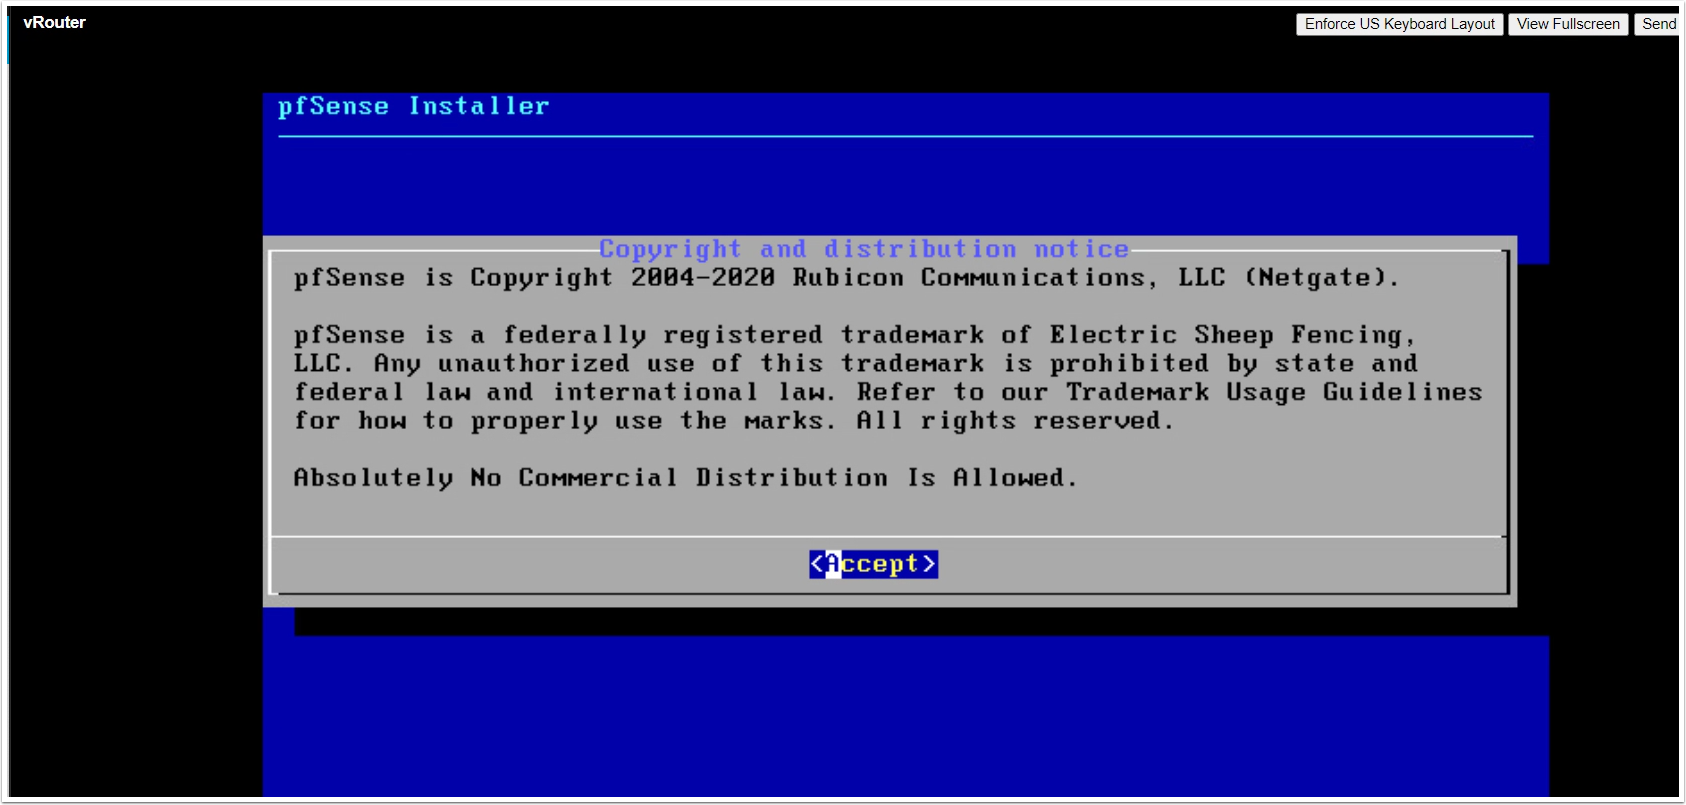
Complete the installation by click next, next next..
Choose not to create vLans and choose vmx0 as the WAN interface
If you have DHCP on the WAN interface it should give you the ip for the web portal, if not you will need to configure a static IP for it.
Now type 6 to hault the VM and type yes and press enter
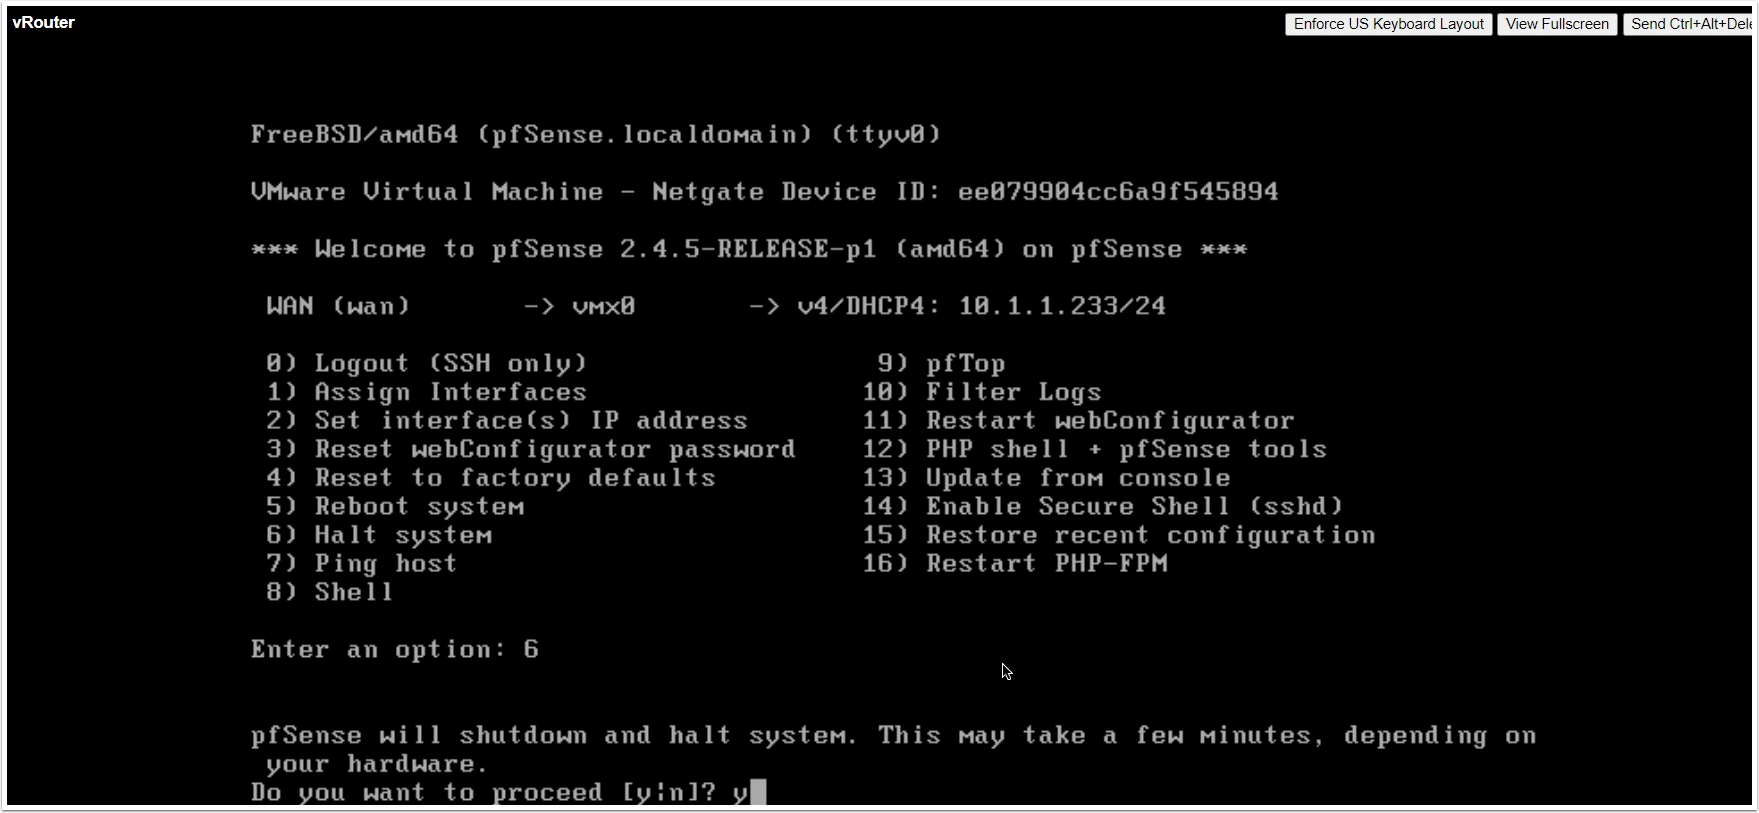
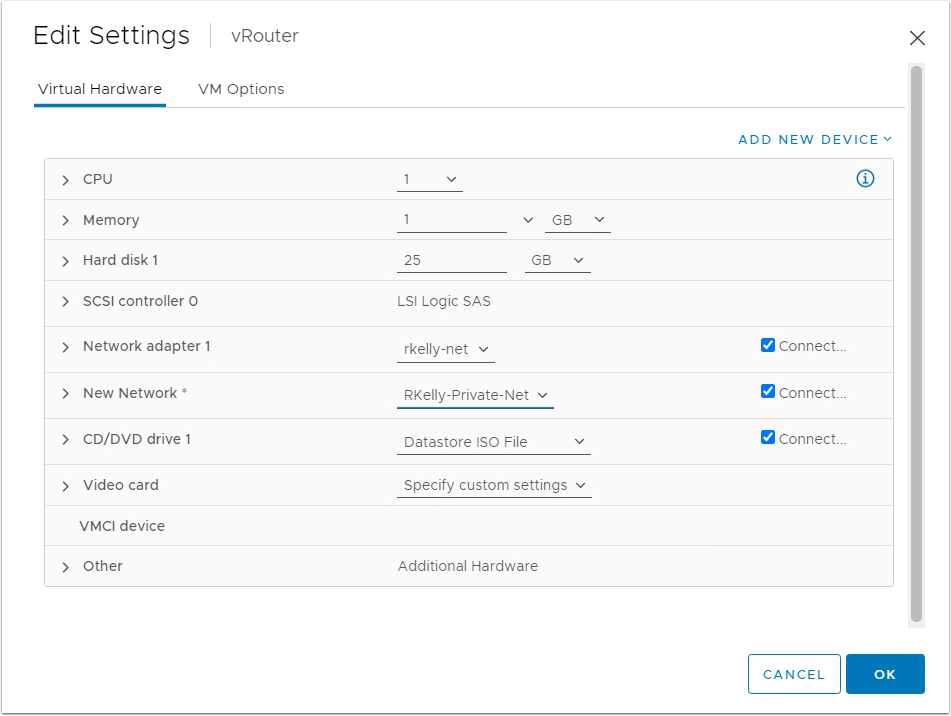
Once the VM is powered off, edit the VM setttings and add a second Network adapter and choose the privte network we created earlier
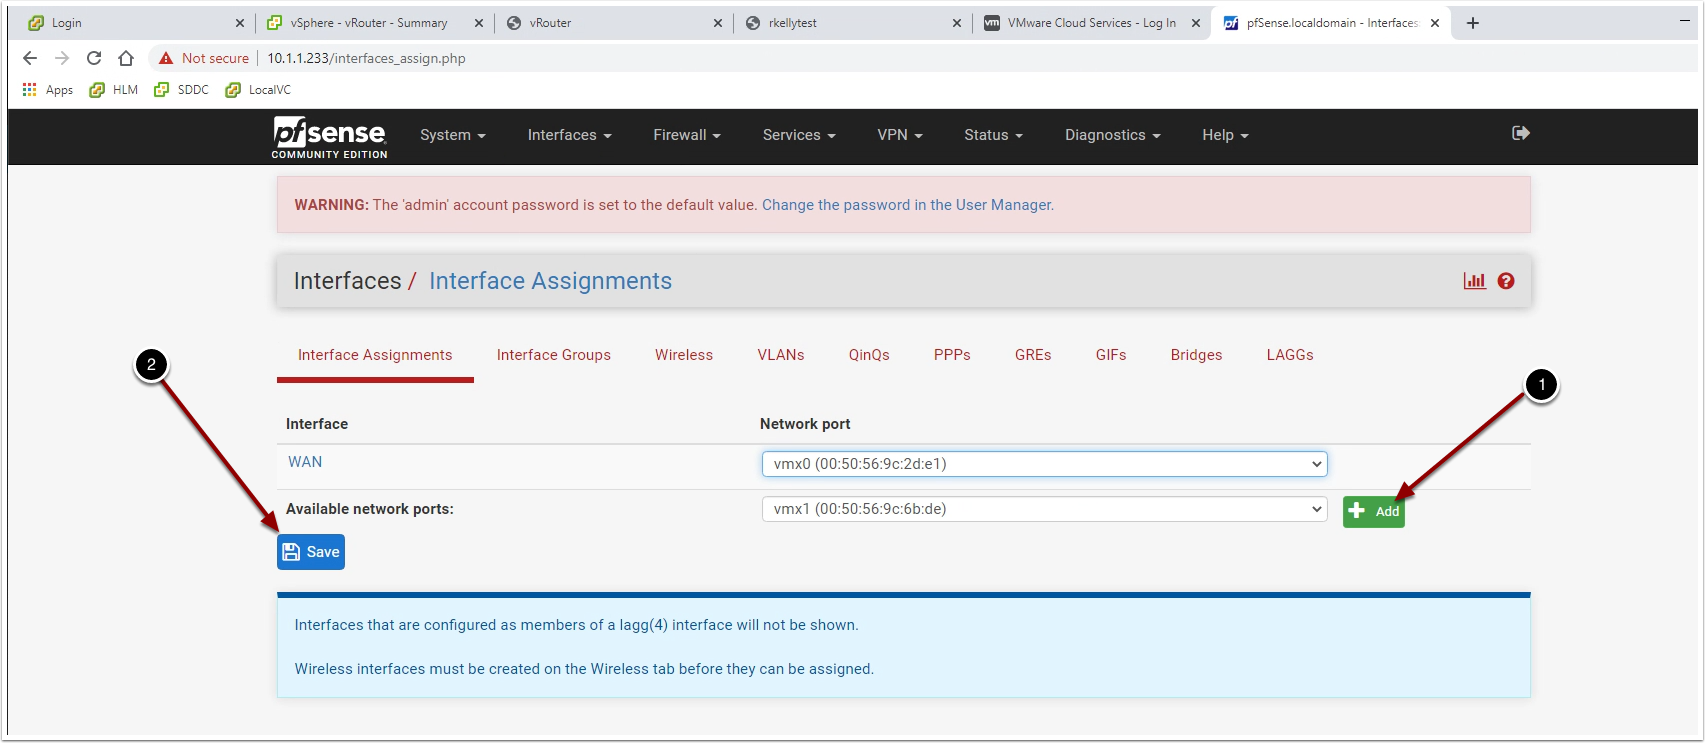
Power on the VM and open the Web Console and note the WAN IP address

Open a web browser to the above address
User: admin
Password: pfsense

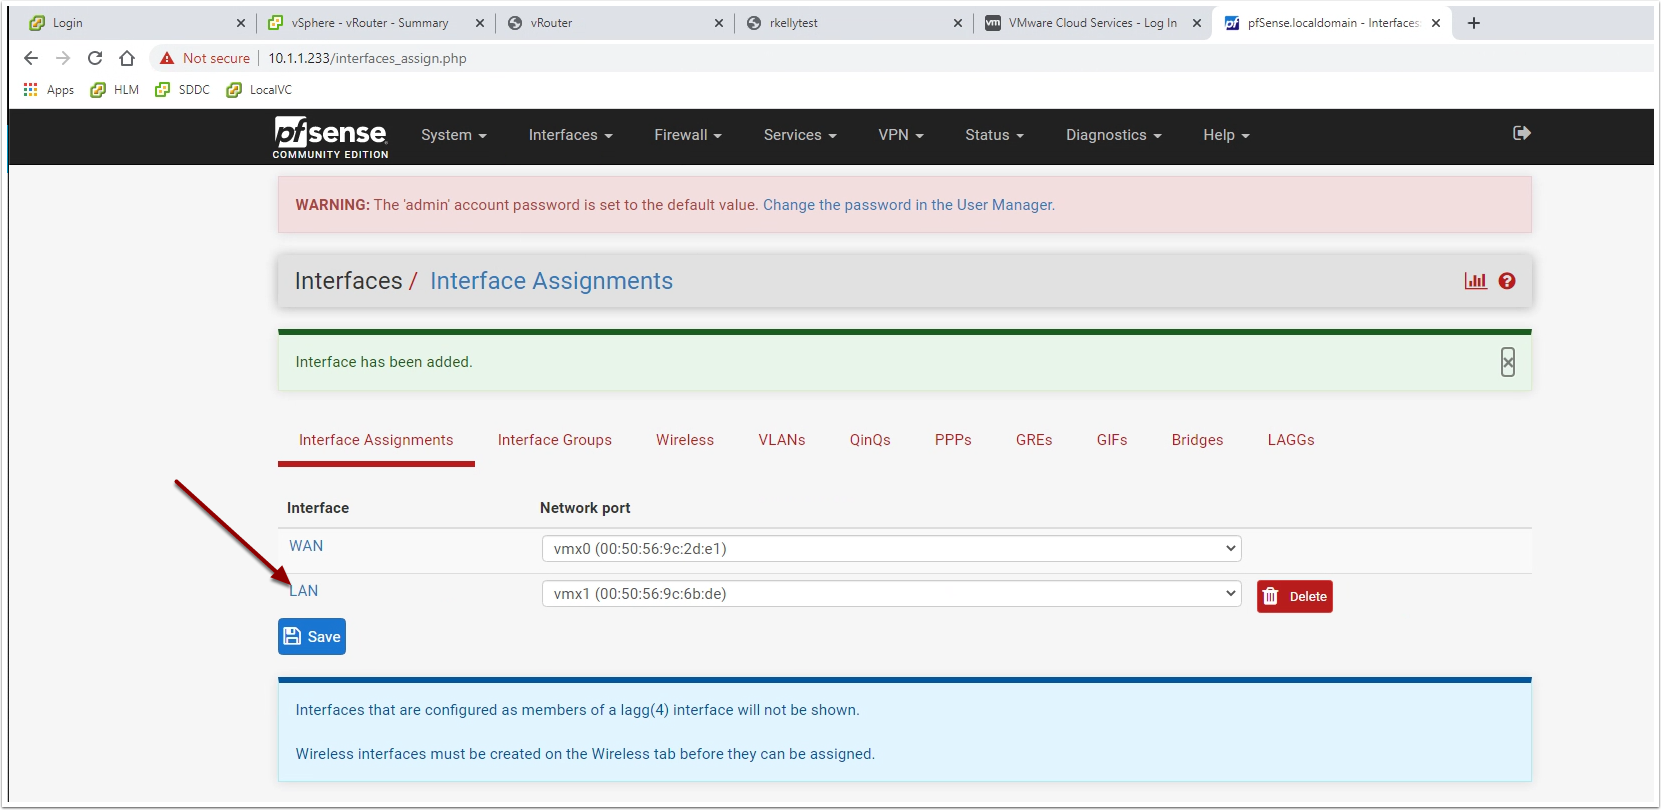
Click interfaces then Assignments

Next to the vmx1 interface click add then click save
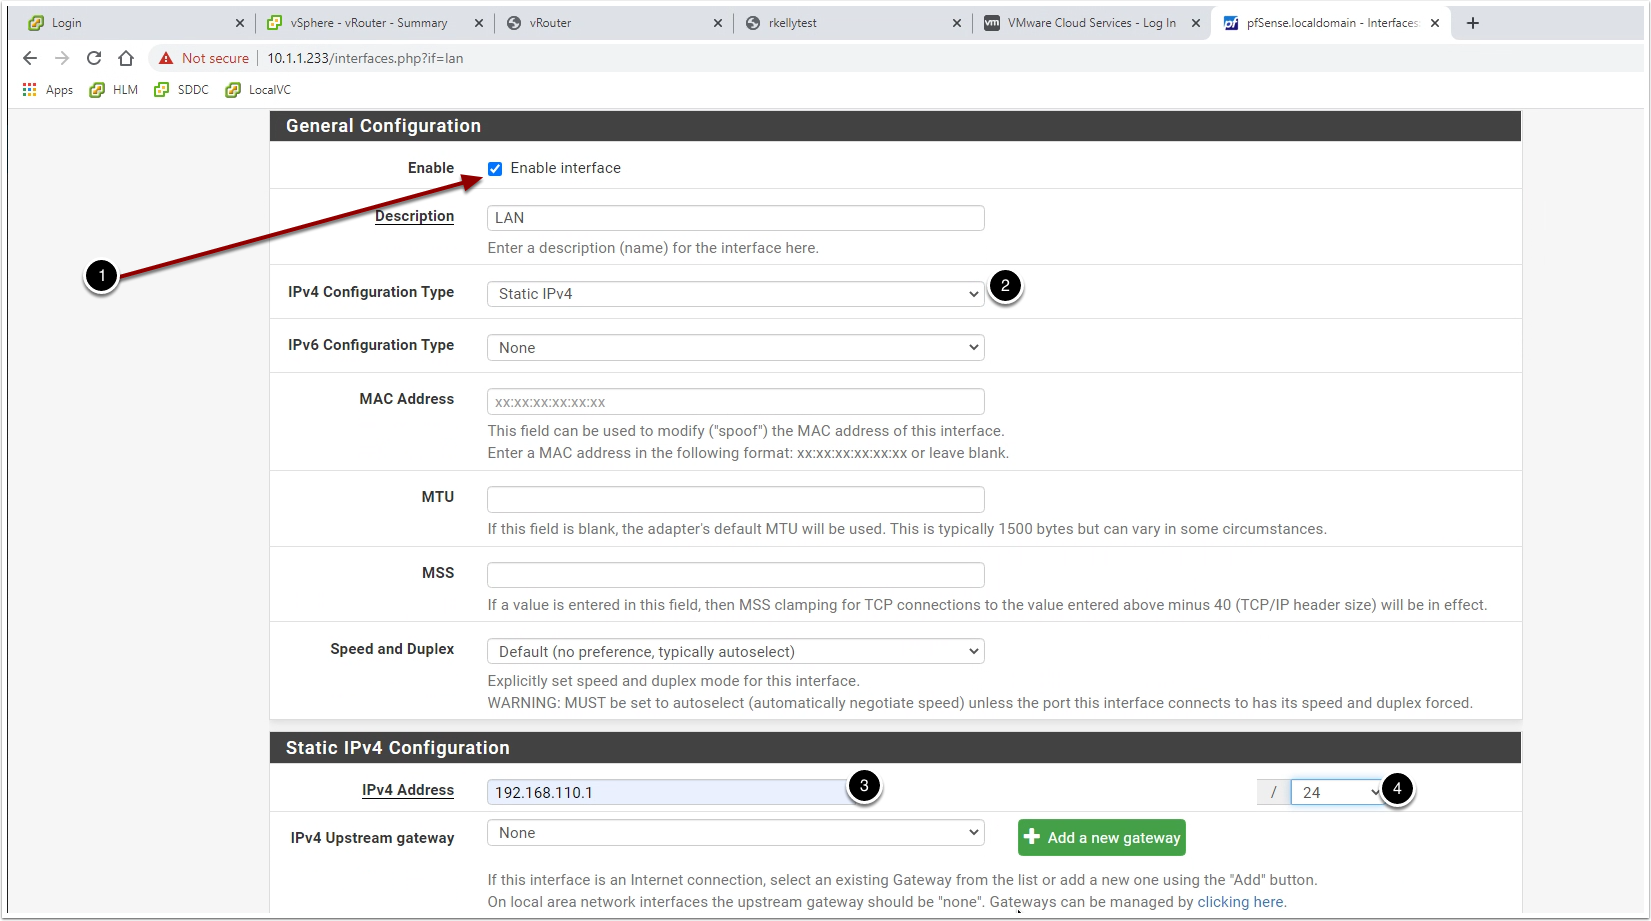
Now click LAN
Configure the LAN settings
- Click Enable
- Change to Static IPv4
- Enter the ip address for the privte networks gateway
- Choose the mask
- Click Save
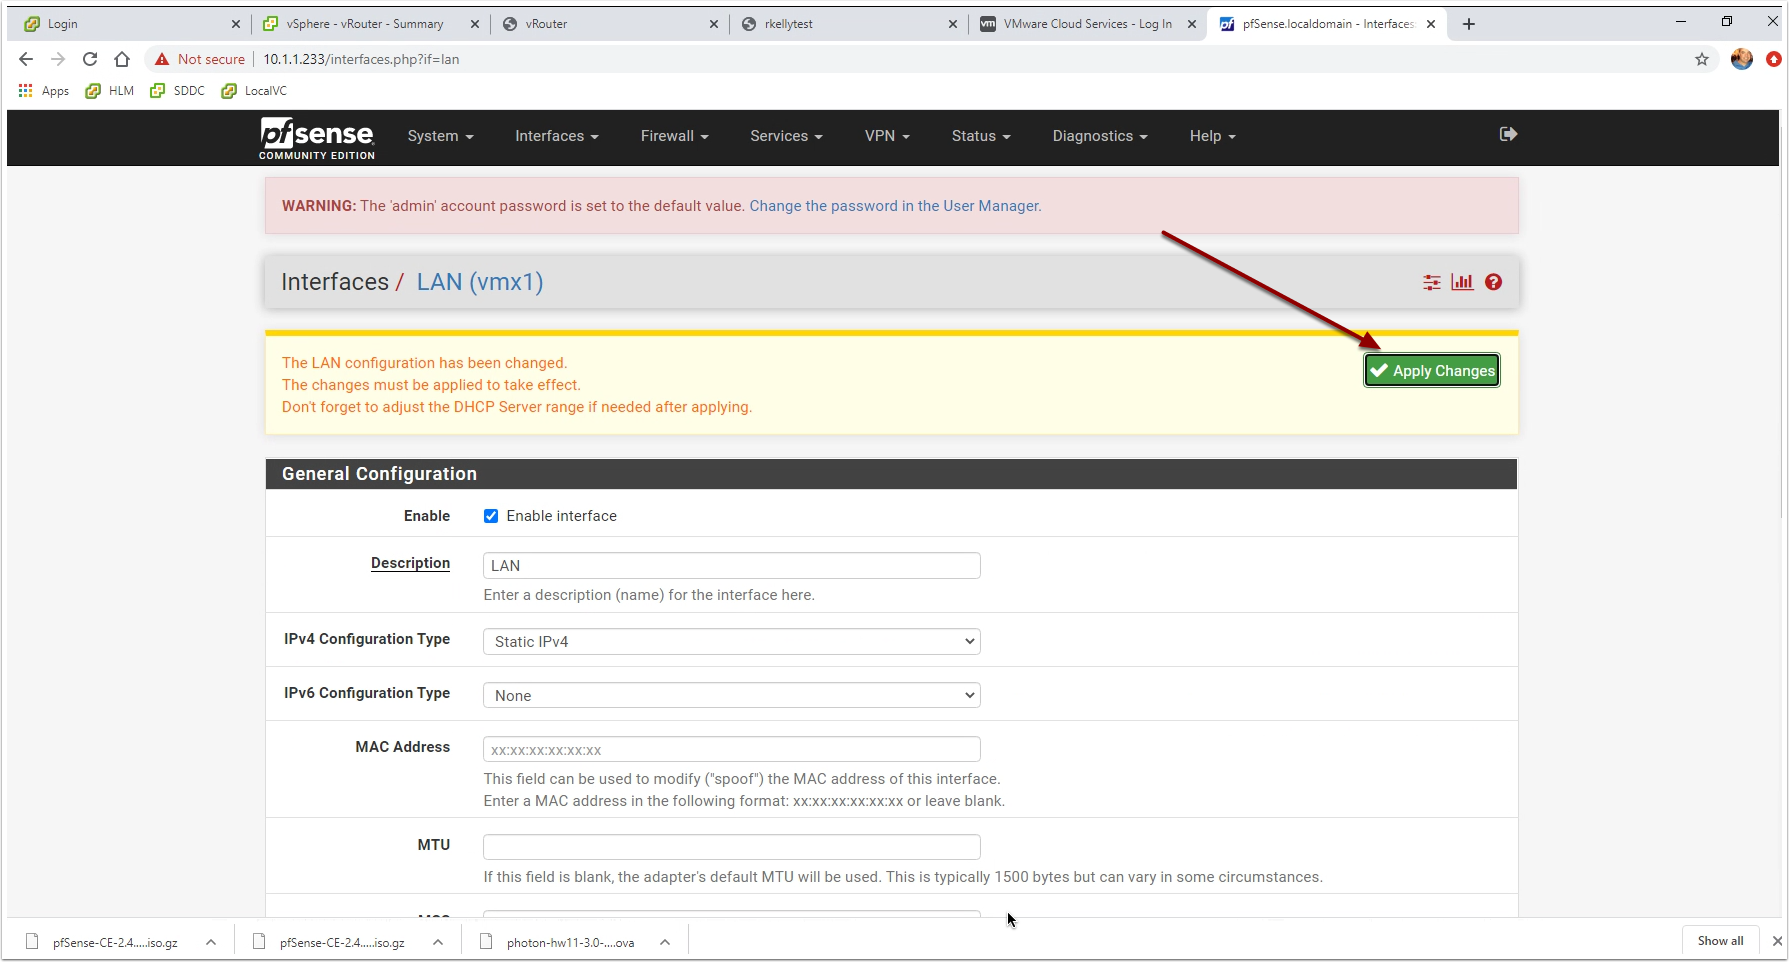
Click apply changes
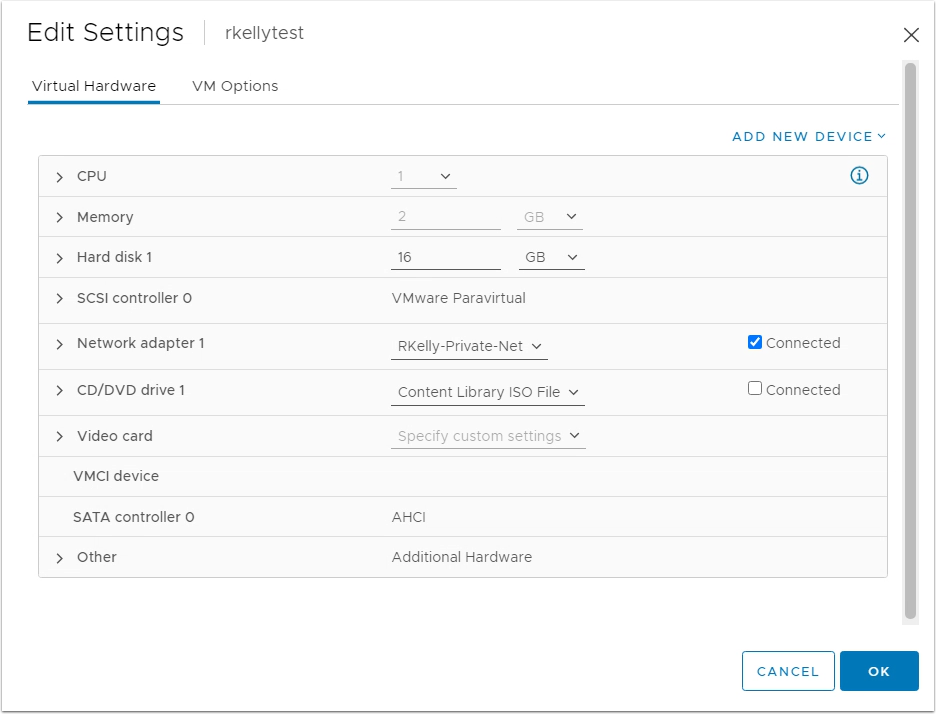
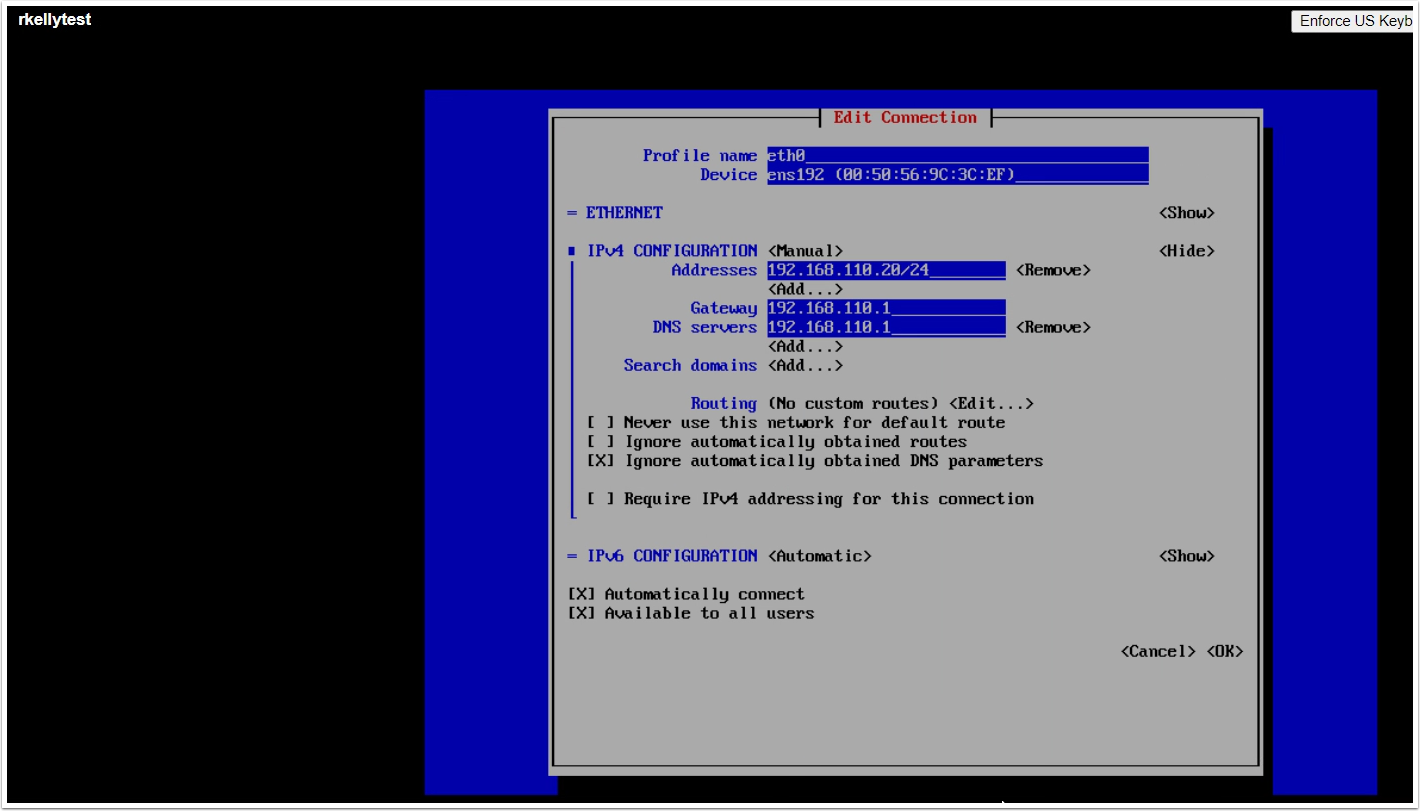
Deploy a new VM and set it’s network adapter to the disconnected network we created earlier
Configure the new VM to a private address and the gateway we configured earlier
Notice now I can ping the gateway, internet and other VM’s in VMC and beyond
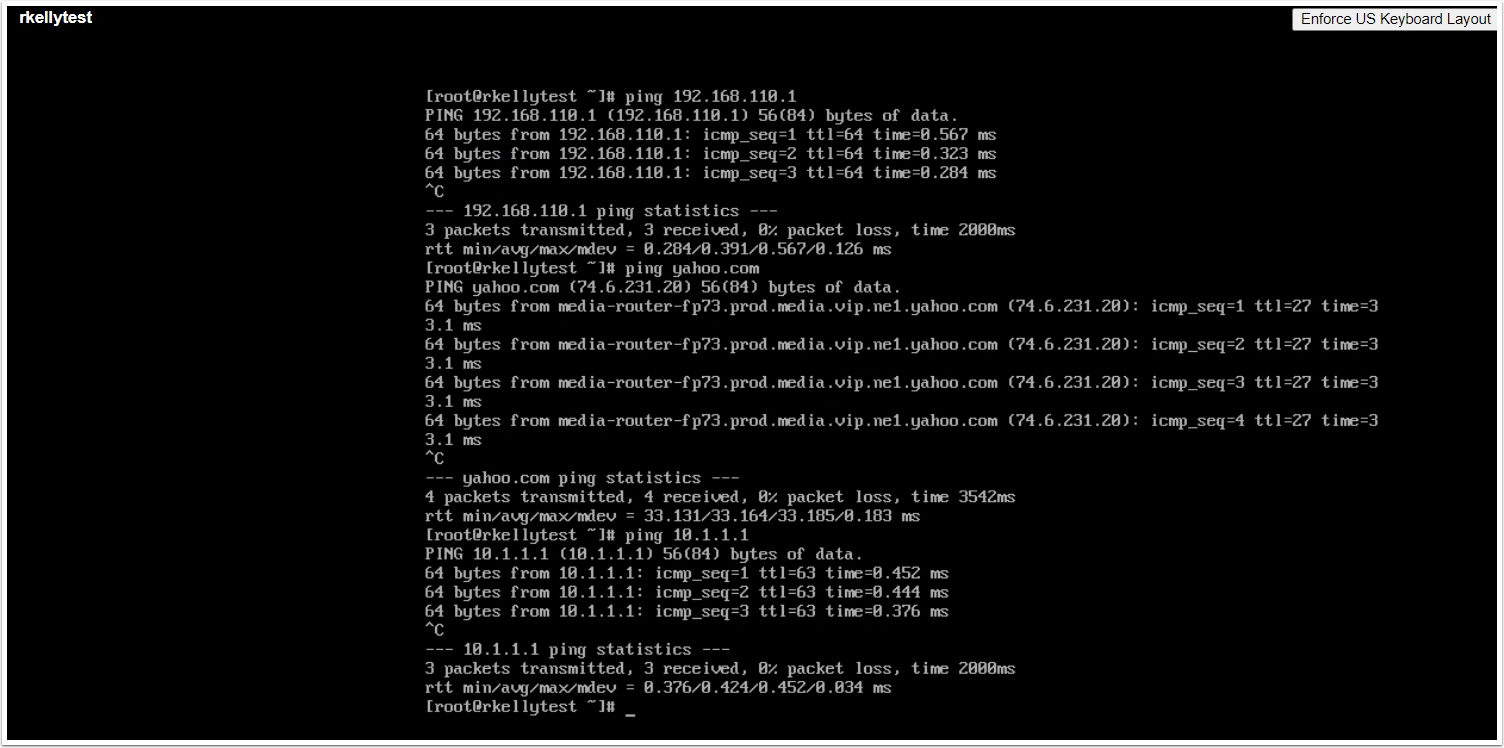
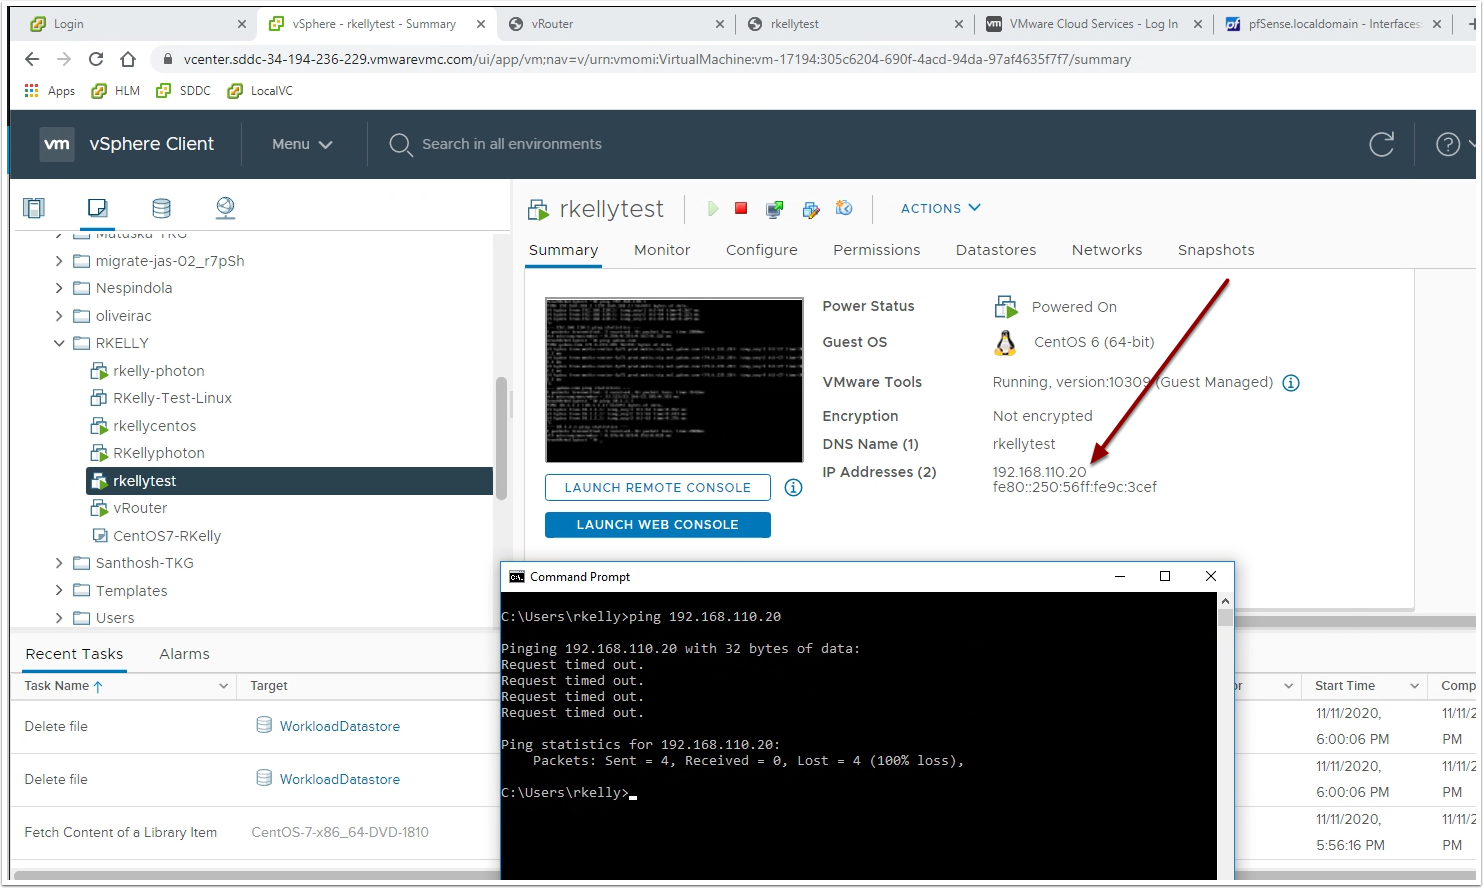
But I can not ping that VM from anywhere and you can see I am using a private address, I can duplicate this over and over as long as I create another private network and router
Note: You will not be able to access the Web GUI from the WAN IP once you setup the LAN connection. You will need to access the GUI from within the private network in my case the 192.169.110.1/24 on the disconnected network
Enjoy!