Much like VMWare Fusion or Workstation, Docker is a tool to not only deploy containers but also to create new ones. Docker has an command line tool named Docker Compose that uses a file called a Docker file to tell the tool how you want the container image to be built. In this exercise we will build a simple web server container and insert a custom web page into it.
Pre-Reqs:
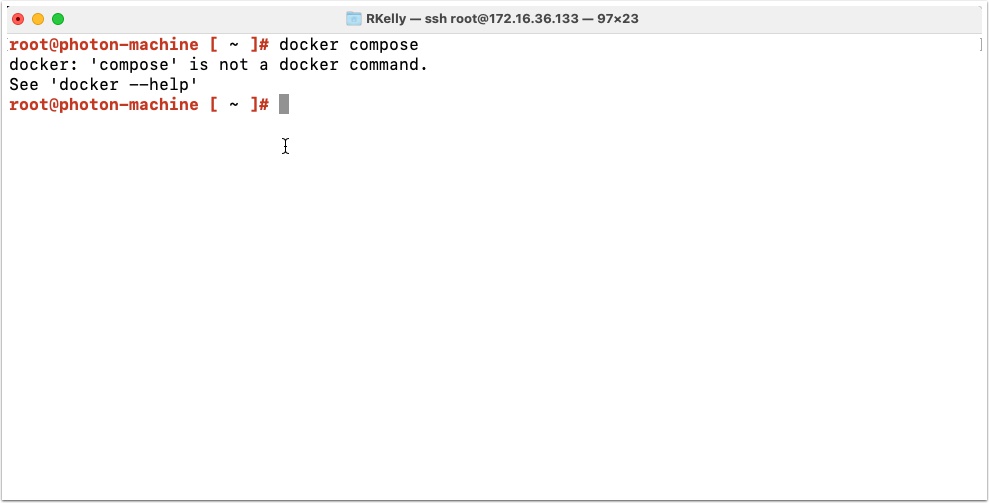
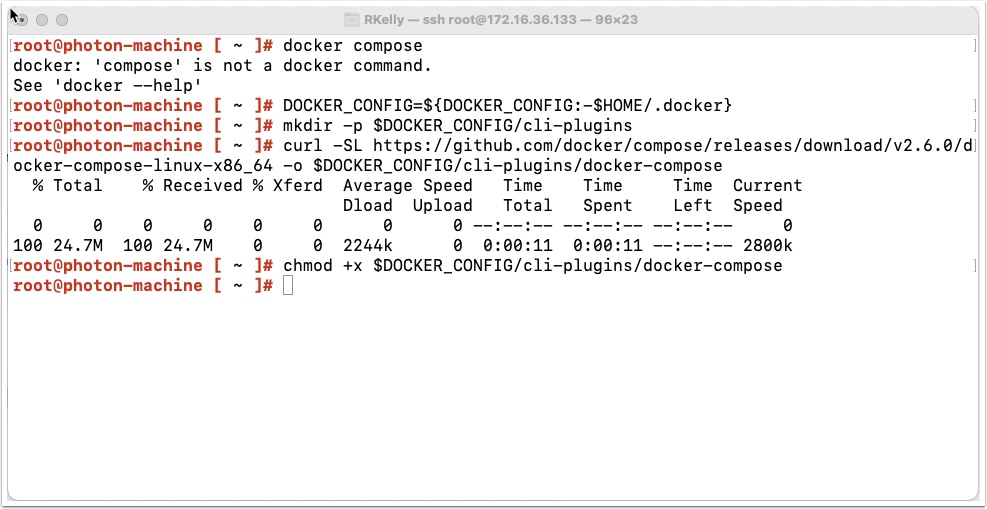
By default docker compose is not installed, run the following command to see
docker compose
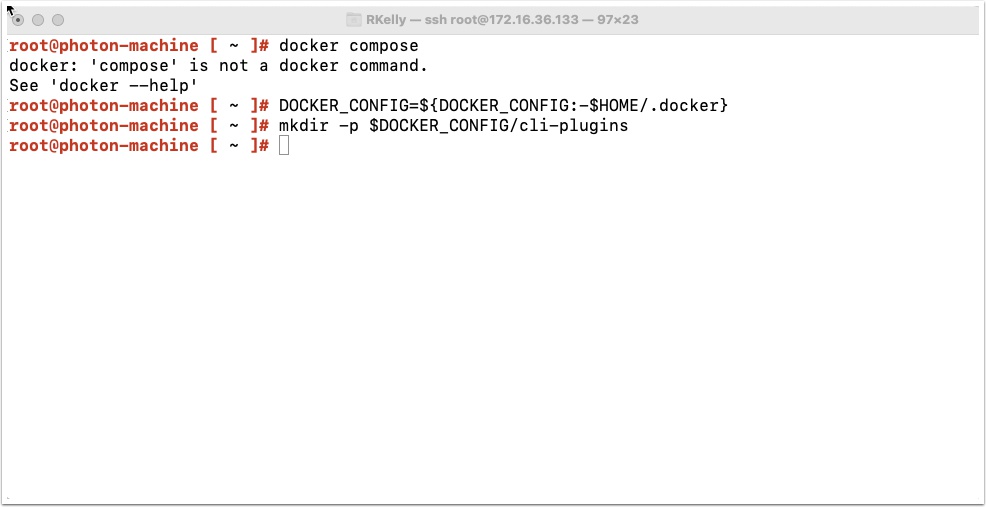
We will install docker compose with a couple of commands. copy and paste the following and press enter
DOCKER_CONFIG=${DOCKER_CONFIG:-$HOME/.docker}
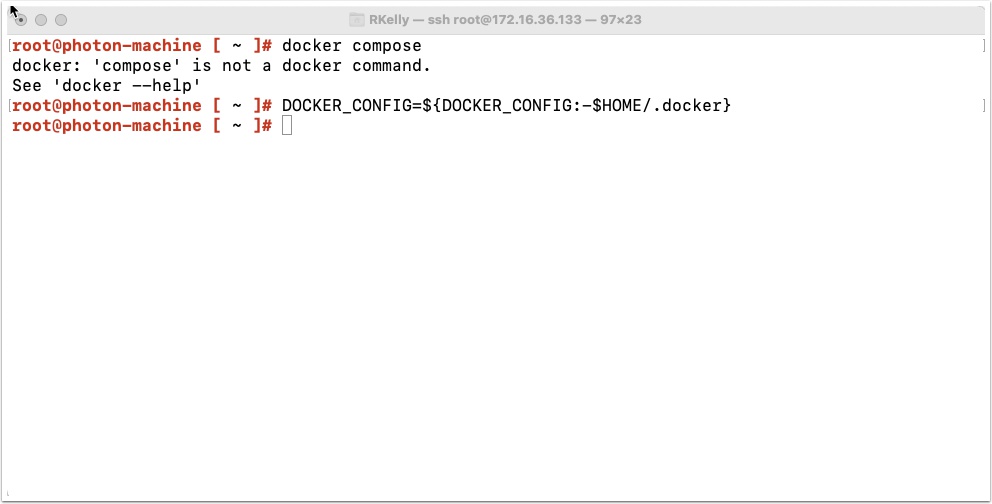
Copy and paste the following and press enter
curl -SL https://github.com/docker/compose/releases/download/v2.6.0/docker-compose-linux-x86_64 -o $DOCKER_CONFIG/cli-plugins/docker-compose
Make the files executable, copy and paste the following and press enter
chmod +x $DOCKER_CONFIG/cli-plugins/docker-compose
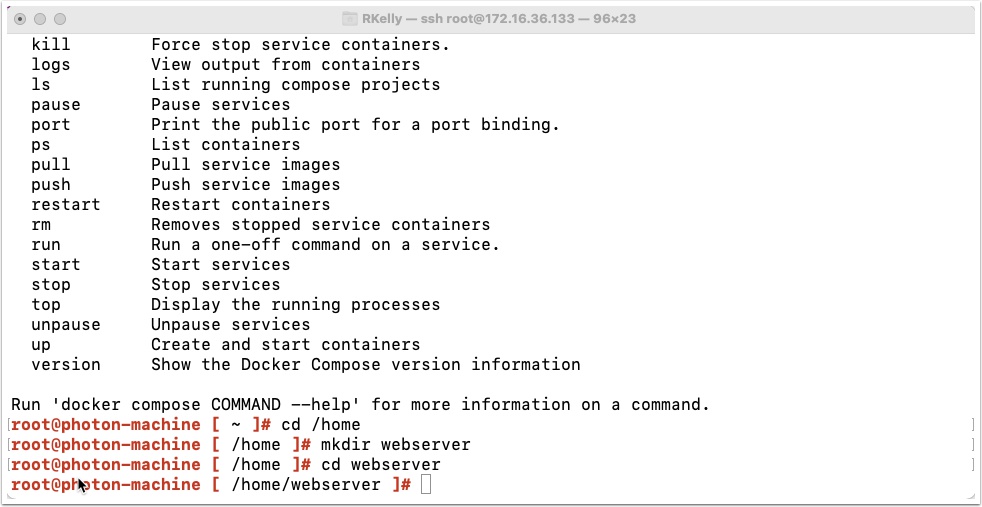
Create a new directory to store our Dockerfile and web page files
cd /home
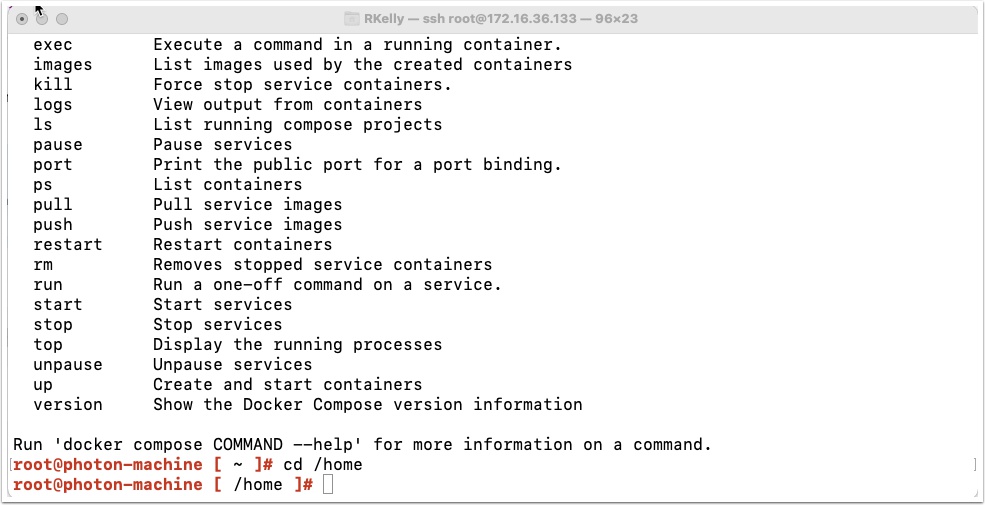
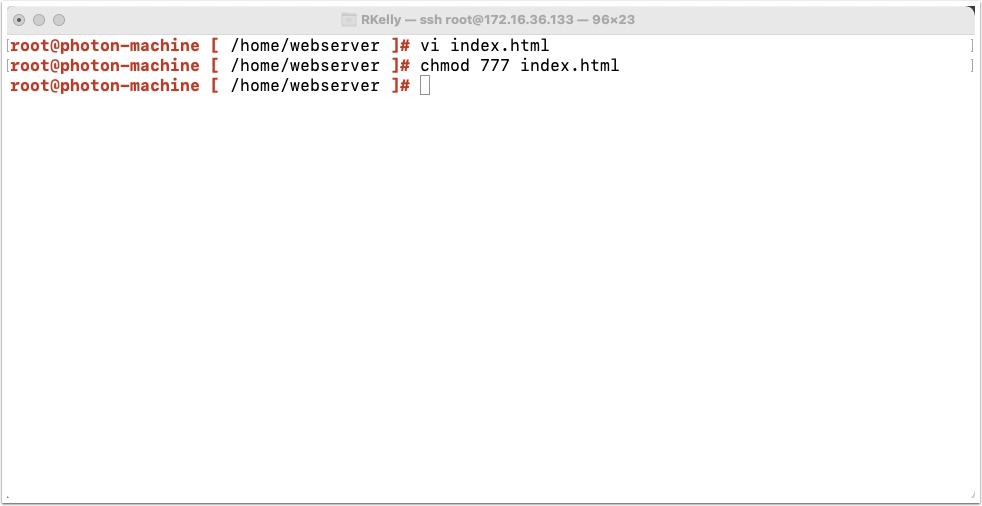
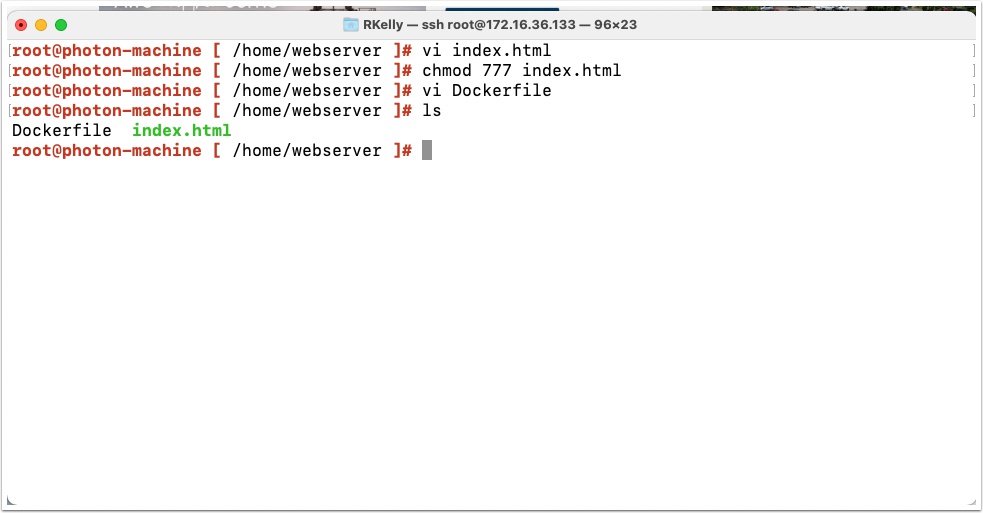
Use the vi editor to create the web page file
vi index.html
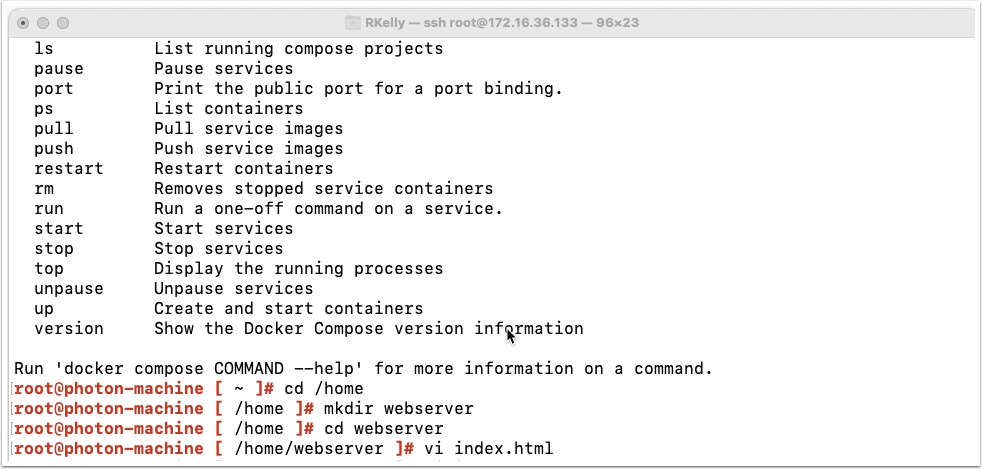
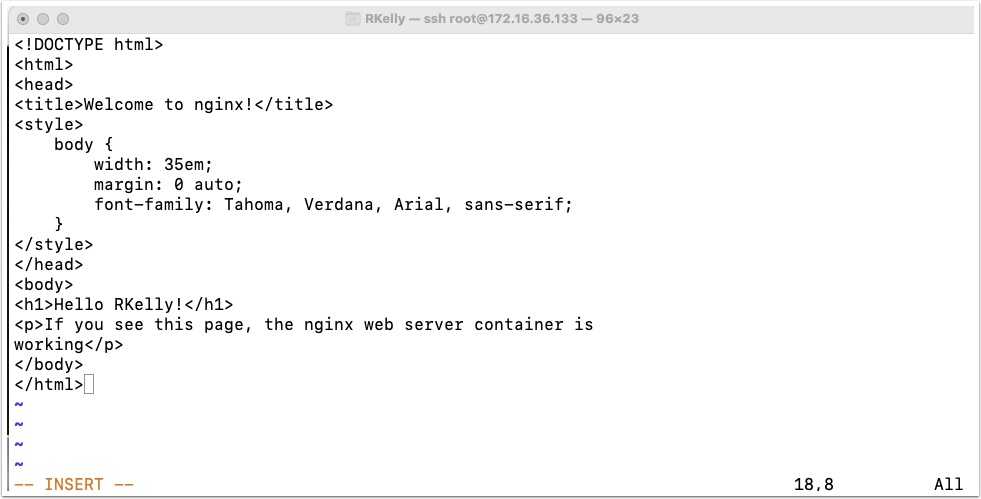
Once in the vi editor press i on your keyboard to enter insert mode, then copy and paste the below text when you are done press the escape key on your keyboard then hold the shift key and press the z key twice to save it.
<!DOCTYPE html>
<html>
<head>
<title>Welcome to nginx!</title>
<style>
   body {
       width: 35em;
       margin: 0 auto;
       font-family: Tahoma, Verdana, Arial, sans-serif;
   }
</style>
</head>
<body>
<h1>Hello RKelly!</h1>
<p>If you see this page, the nginx web server container is
working</p>
</body>
</html>
Create a Dockerfile with the following command
vi Dockerfile
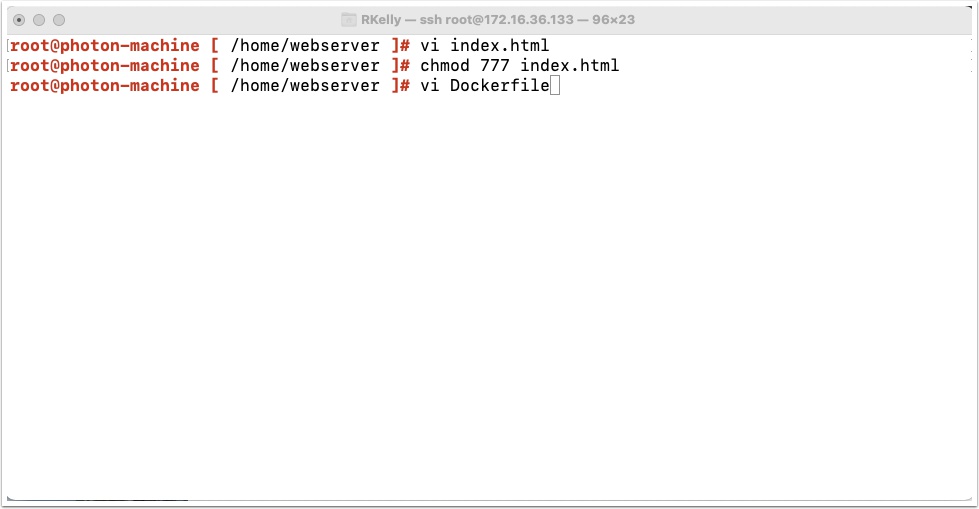
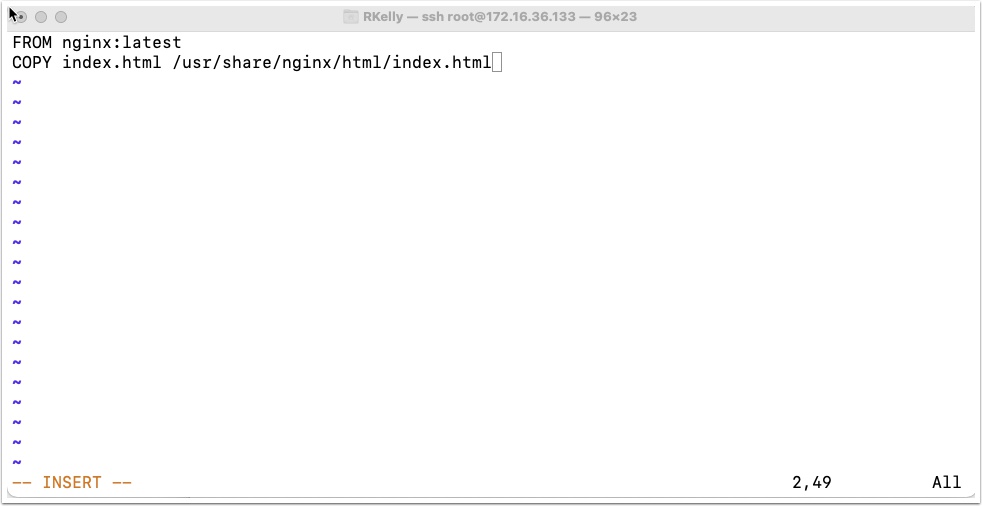
Once in the vi editor press i on your keyboard to enter insert mode, then copy and paste the below text
FROM nginx:latest
COPY index.html /usr/share/nginx/html/index.html
when you are done press the escape key on your keyboard then hold the shift key and press the z key twice to save it.
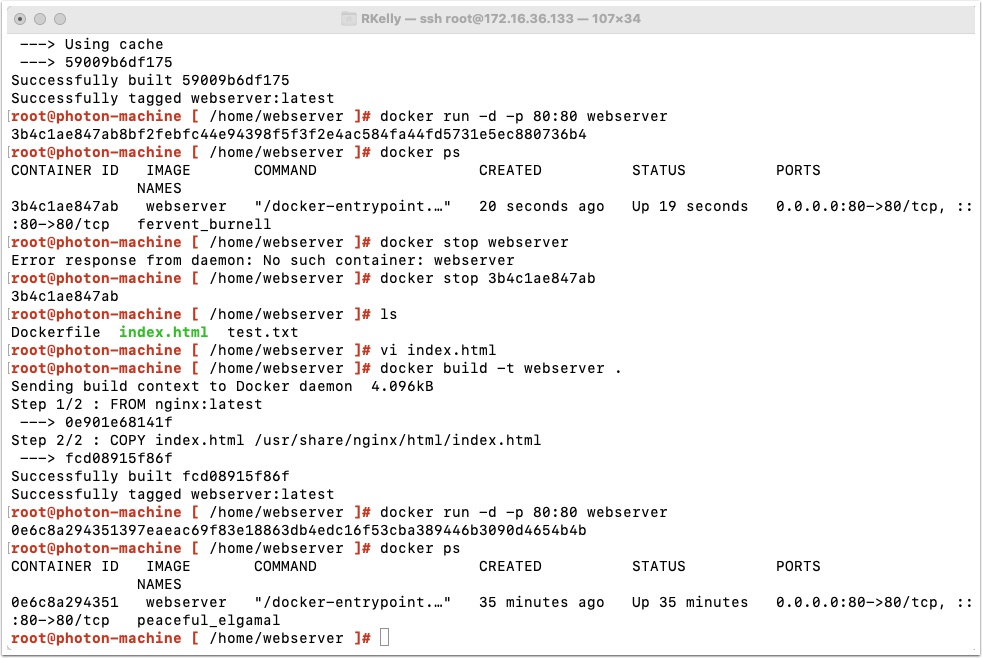
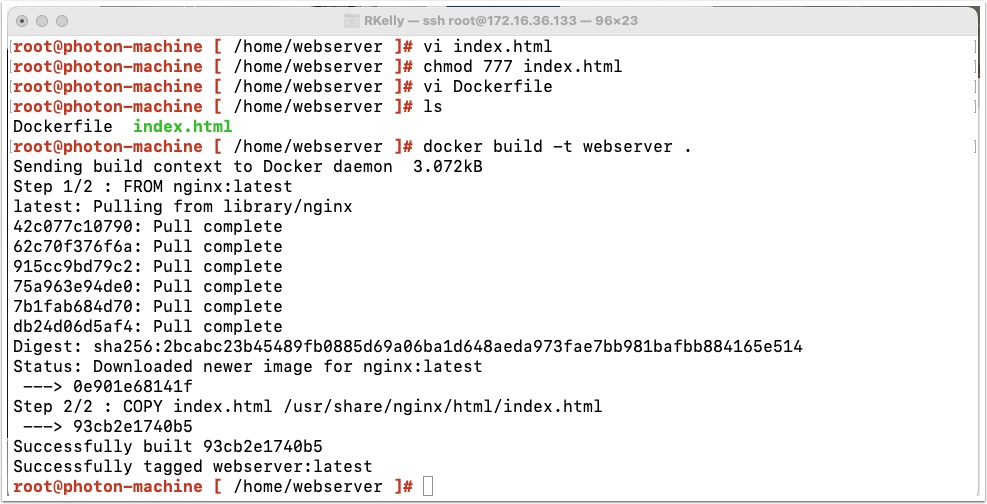
Build the container with the following command, note that this command always looks for files in your current directory and the -t is to tag the container with the name webserver and don’t forget that trailing period at the end
docker build -t webserver .
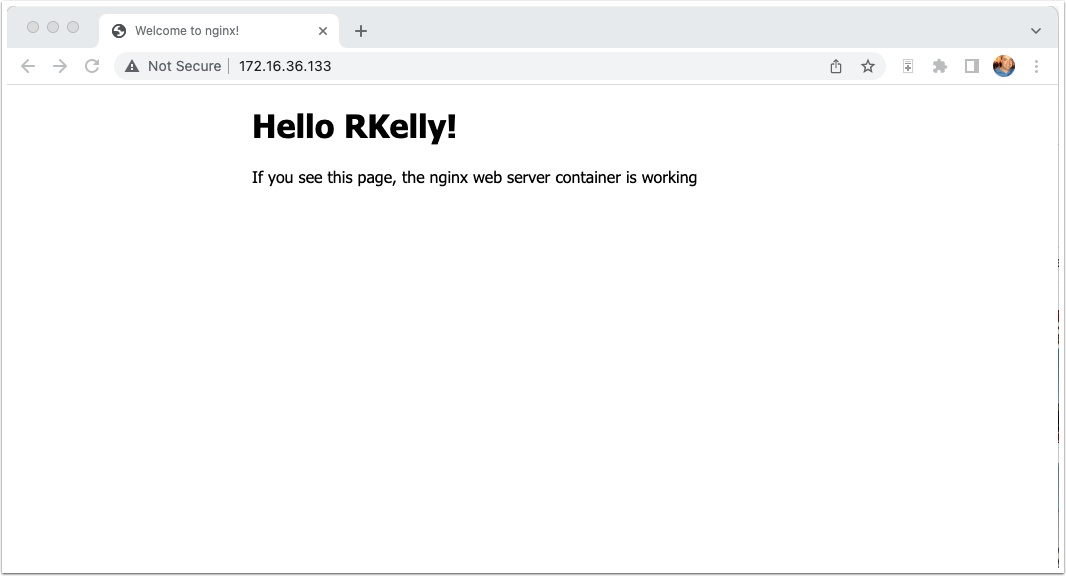
Open a web browser to your Photon VM IP address with the following
You have successfully built your first container!
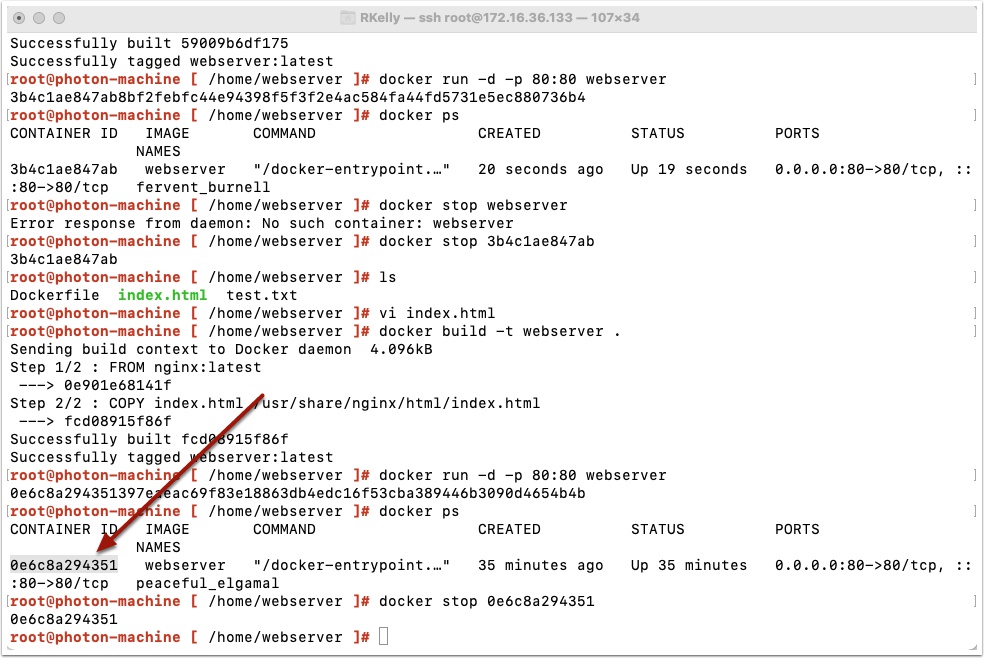
Now let’s go ahead and stop the container before the next lesson, type the following to get the container id
docker ps
Type the following then copy and paste the container id and press enter
docker stop containerid




Pingback: Containers 101 – Push containers to Dockerhub | VMtoCloud.com
Pingback: Containers 101 – Run a Contaner with Docker | VMtoCloud.com