
In this guide I will show you how to create a Windows File Share NAS on VMware Cloud on AWS using AWS Storage Gateway that is backed by low cost S3 storage. This same NAS can also serve as an NFS server as well. More on that later though. Let’s get Windows shares going first.
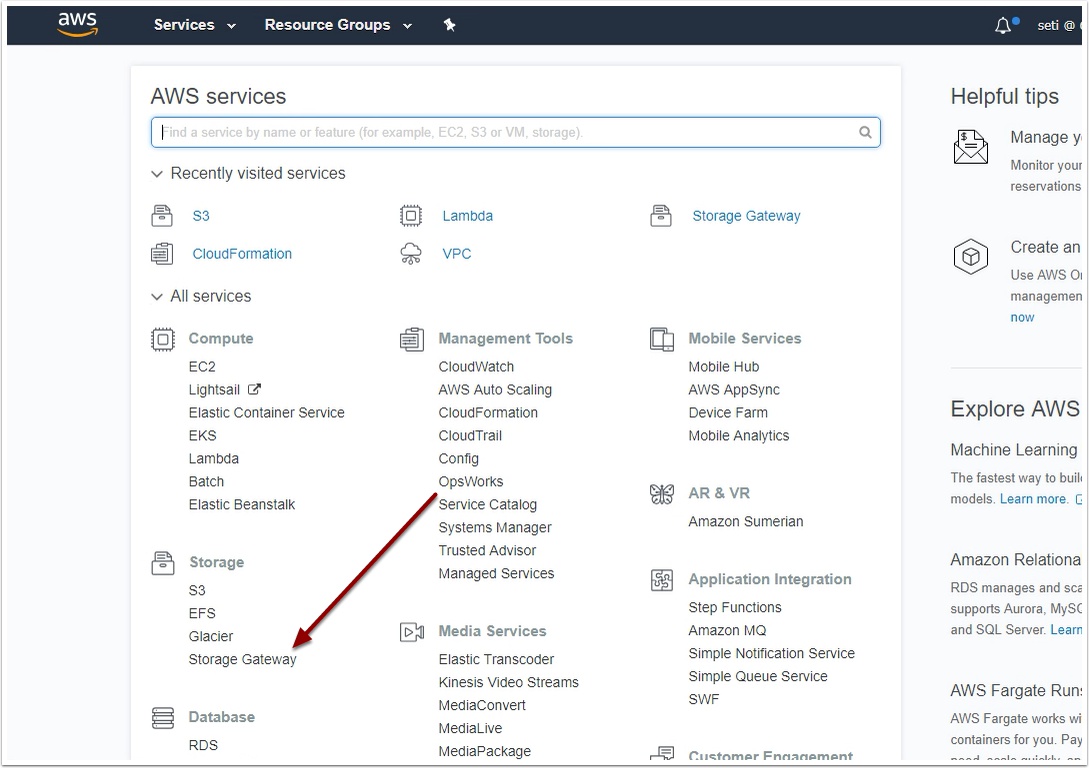
Start by logging into your AWS account and clicking on Storage Gateway
Now click Create gateway

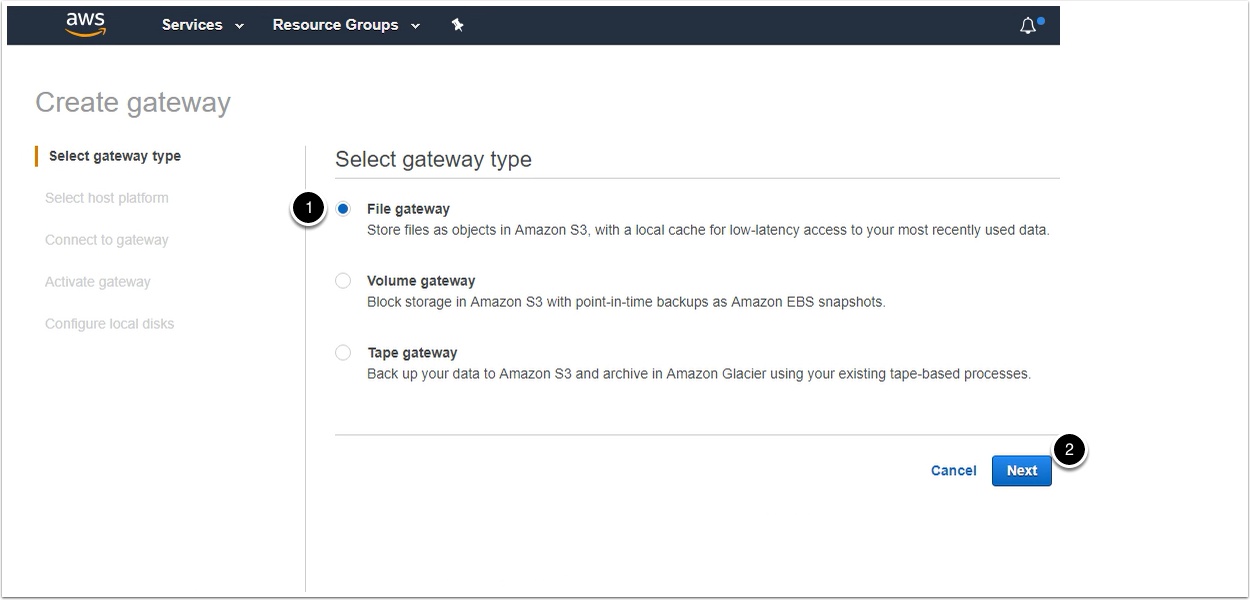
Select File Gateway and click next
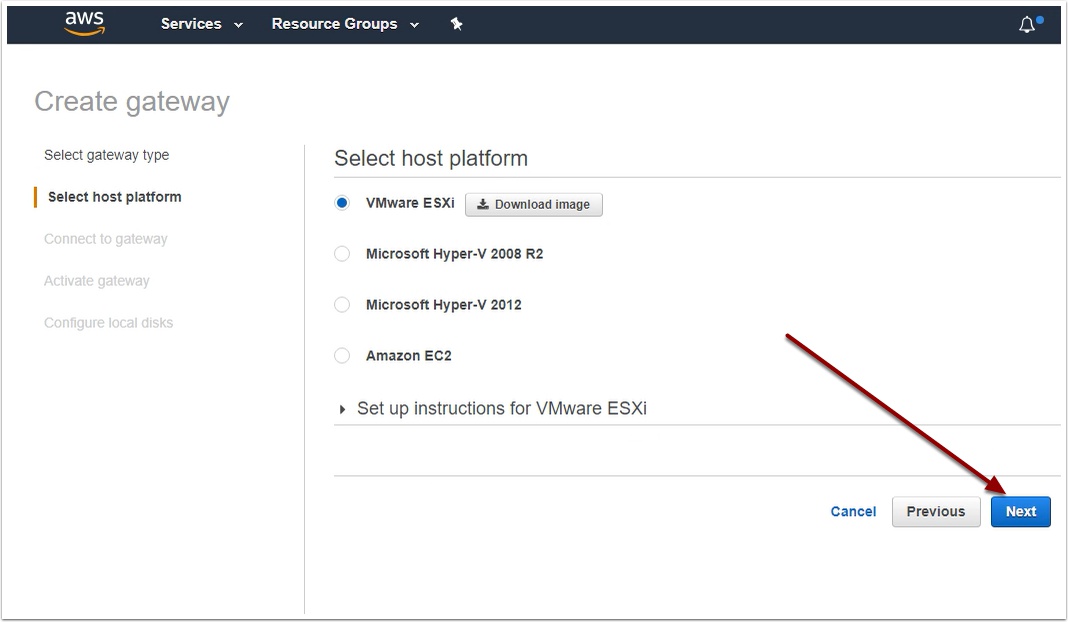
Choose VMware ESXi and click Download Image

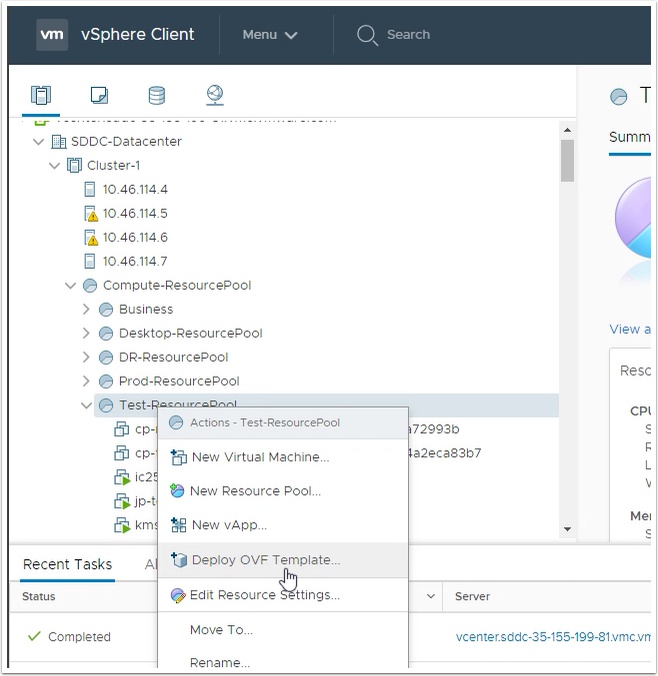
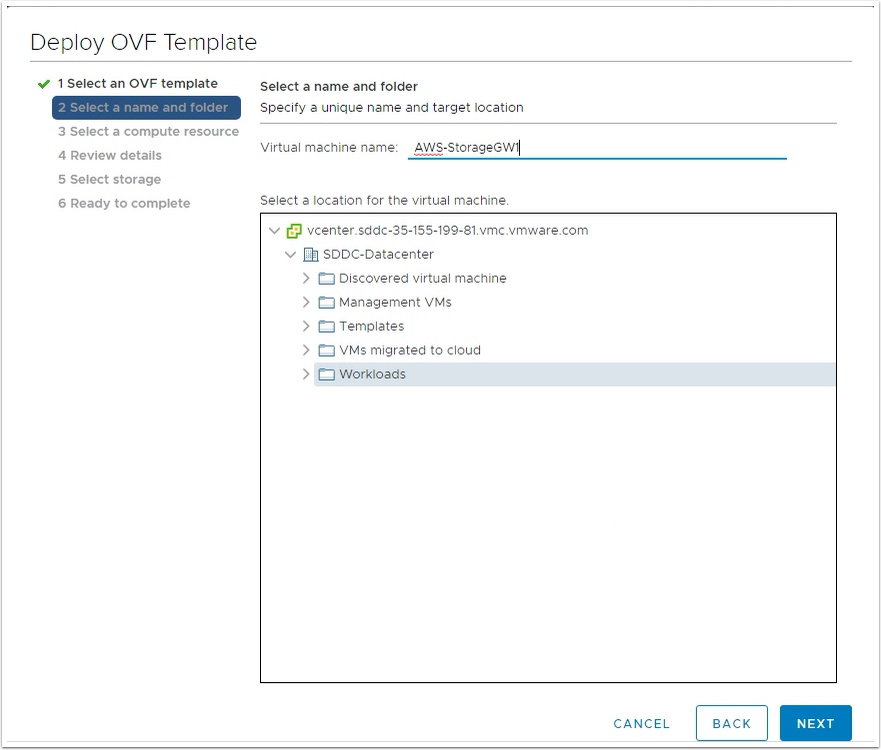
Login to vCenter and deploy the downloaded OVF to a cluster in VMware Cloud on AWS
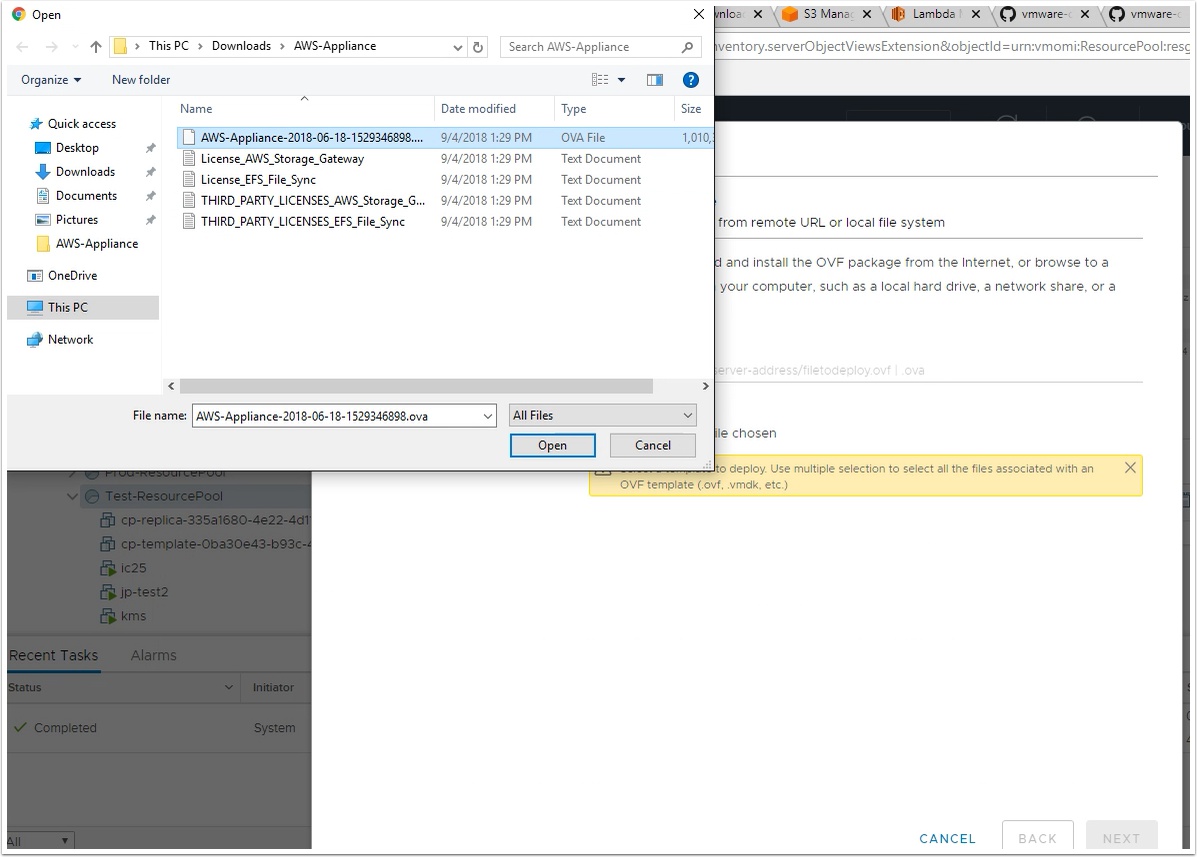
Choose the file you downloaded from AWS earlier
Give the appliance a name and choose the workloads folder or a folder under it and click next
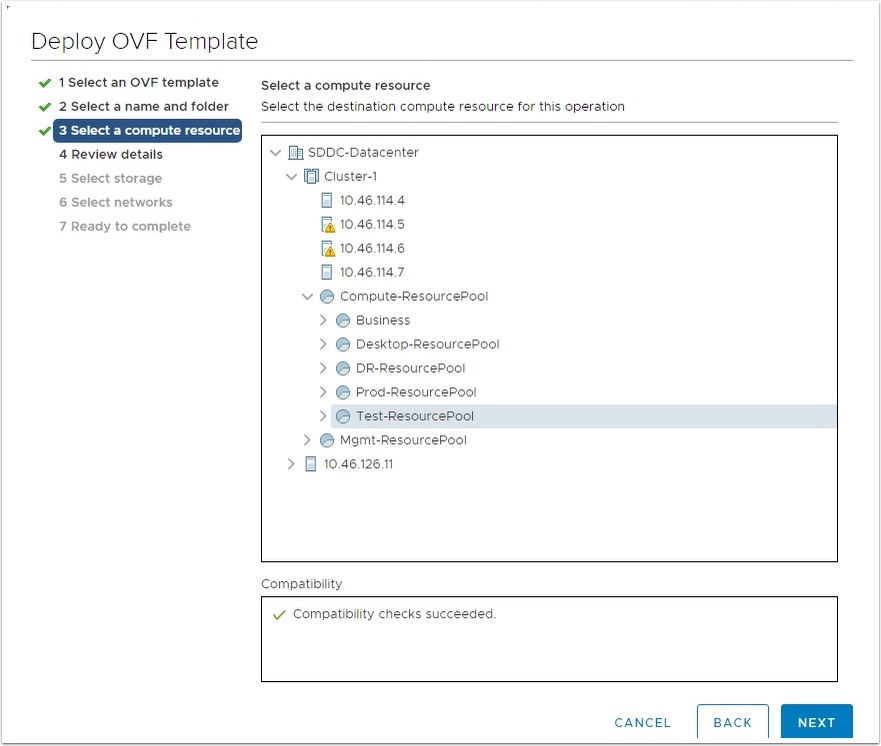
Choose the Compute-ResourcePool or a resource pool under it and click next
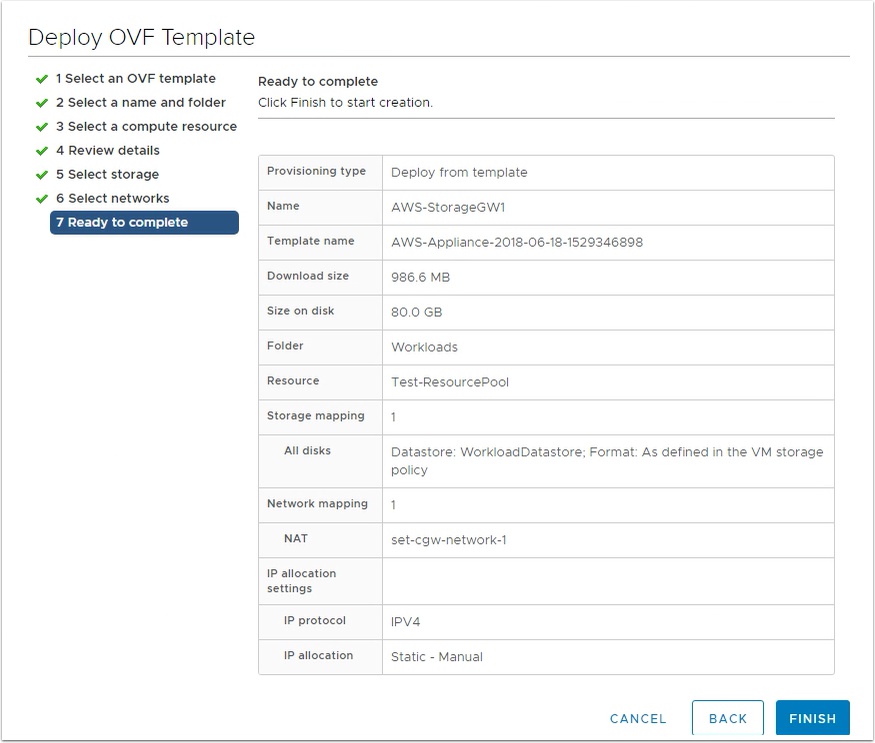
Review details and click next

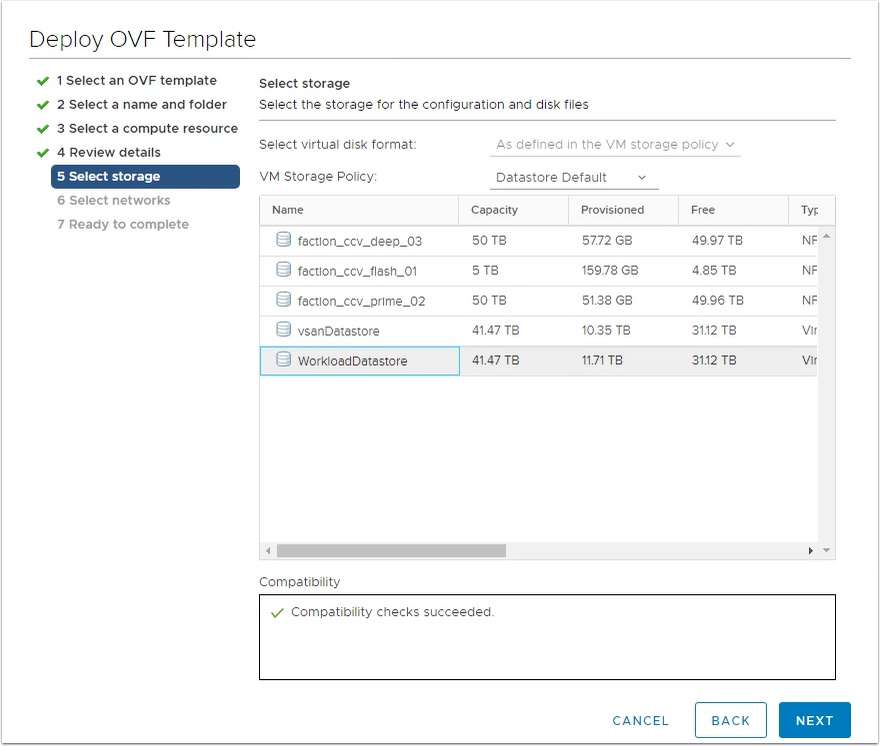
Choose WorkloadDatastore and click next
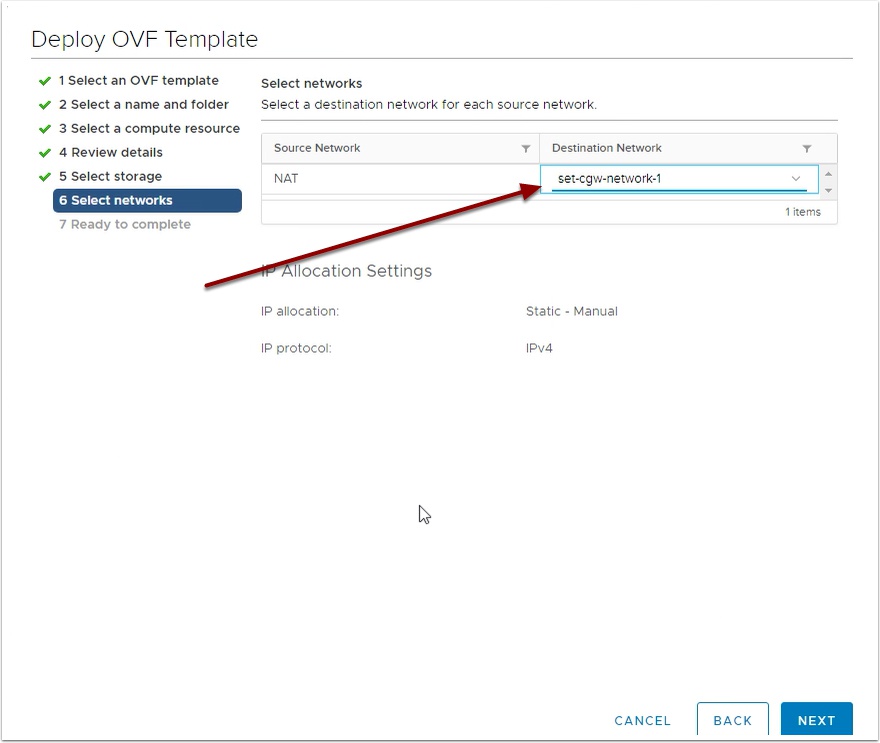
Choose a network that is accessible from the machine you are logged into AWS console from.
Note: If your machine can not reach the appliance you will not be able to activate the Storage Gateway in the next steps
Click finish
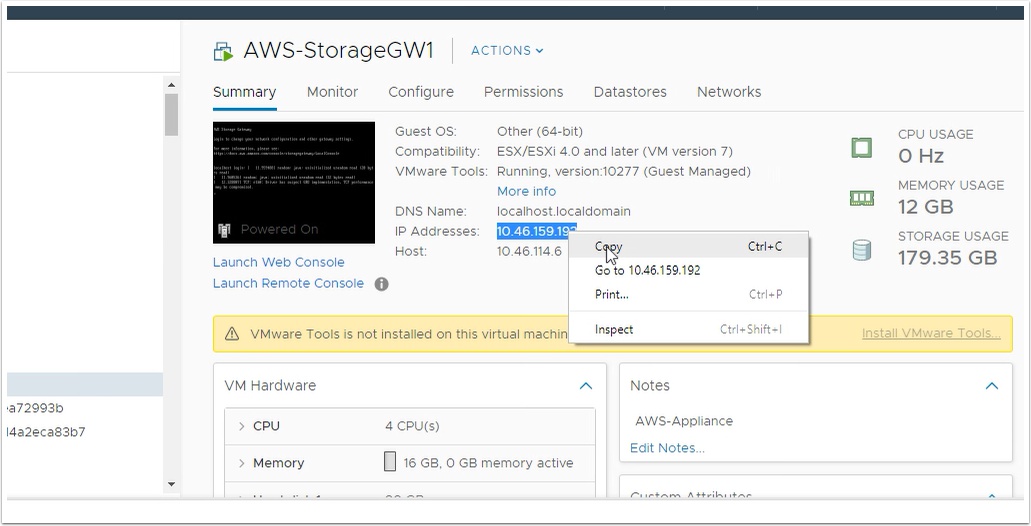
Once deployed, power on the new VM and copy the IP address to clipboard
Go back to the AWS Console and click next
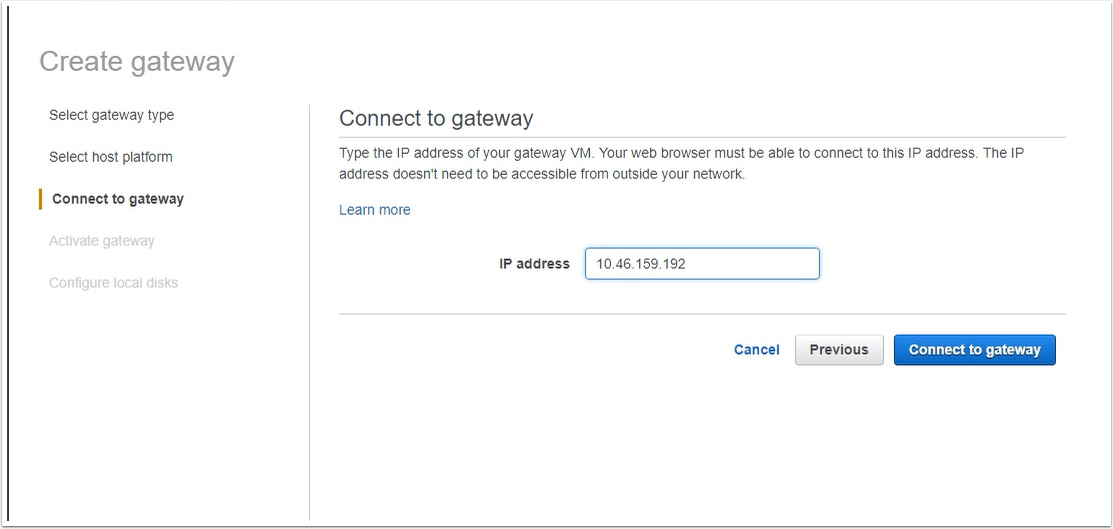
Paste the IP address of the appliance and click Connect to gateway
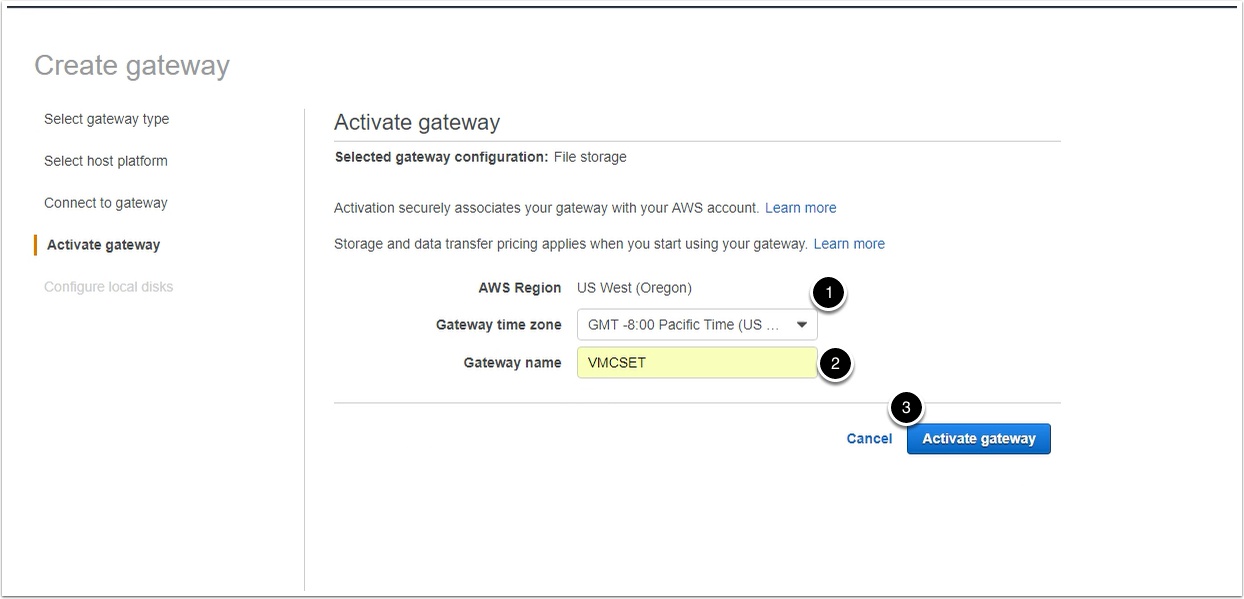
Choose the time zone and give the gateway a name and click Activate Gateway
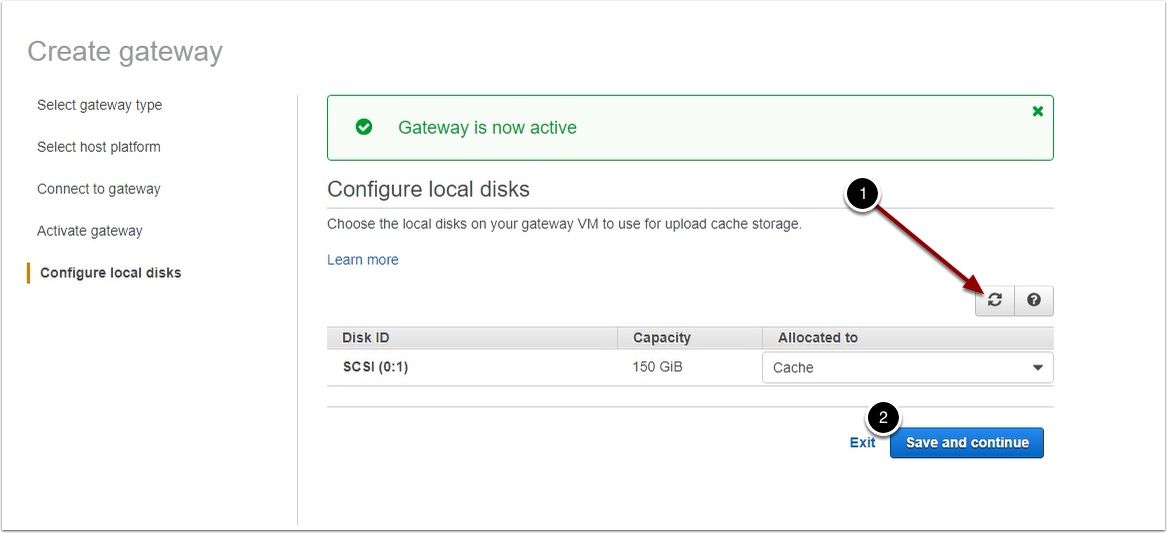
The next screen is asking to Configure local disks and state there are none

Right click the appliance VM, edit settings, Add Device and choose new hard disk, make it 150GB or more and click ok

Restart the appliance

Once rebooted go back to AWS console and click the refresh button and you should now see an available disk, then click save and continue
Do not refresh your browser, use the button indicated
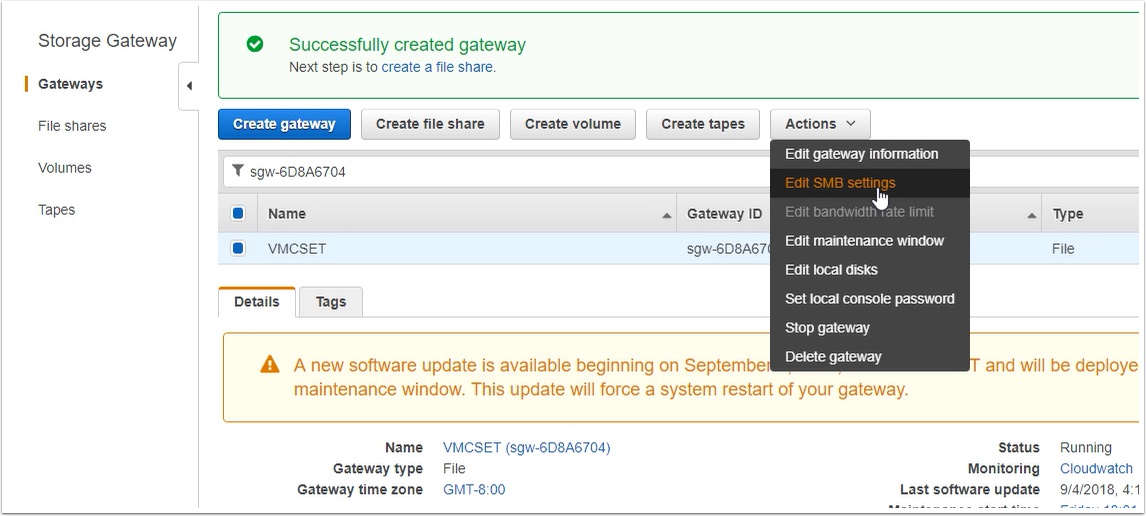
Now let’s add your gateway to your windows domain, Select your new gateway, click Actions, Edit SMB settings
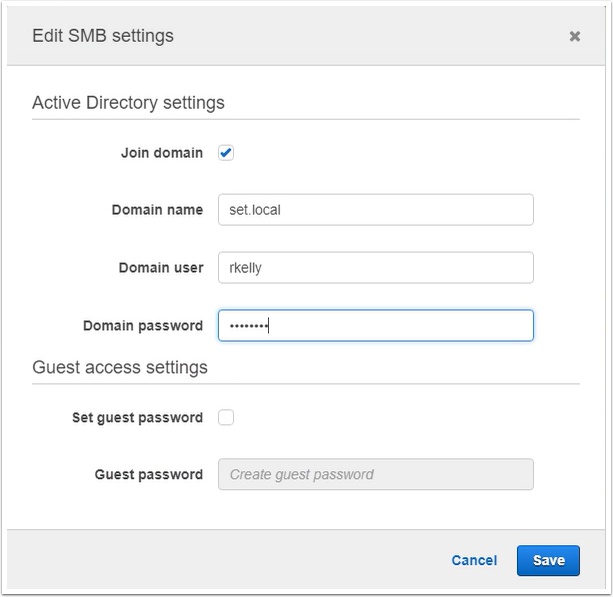
Click Join domain and enter your domain settings, user and password and click next
Now let’s create a new file share by clicking create file share

Choose an existing S3 bucket, choose Server Message Block (SMB), choose the gateway we just created and click next
NOTE: Be sure the S3 bucket is in the same region as your VMware SDDC. For example Oregon US-West2
For information on creating an S3 bucket see the guide here

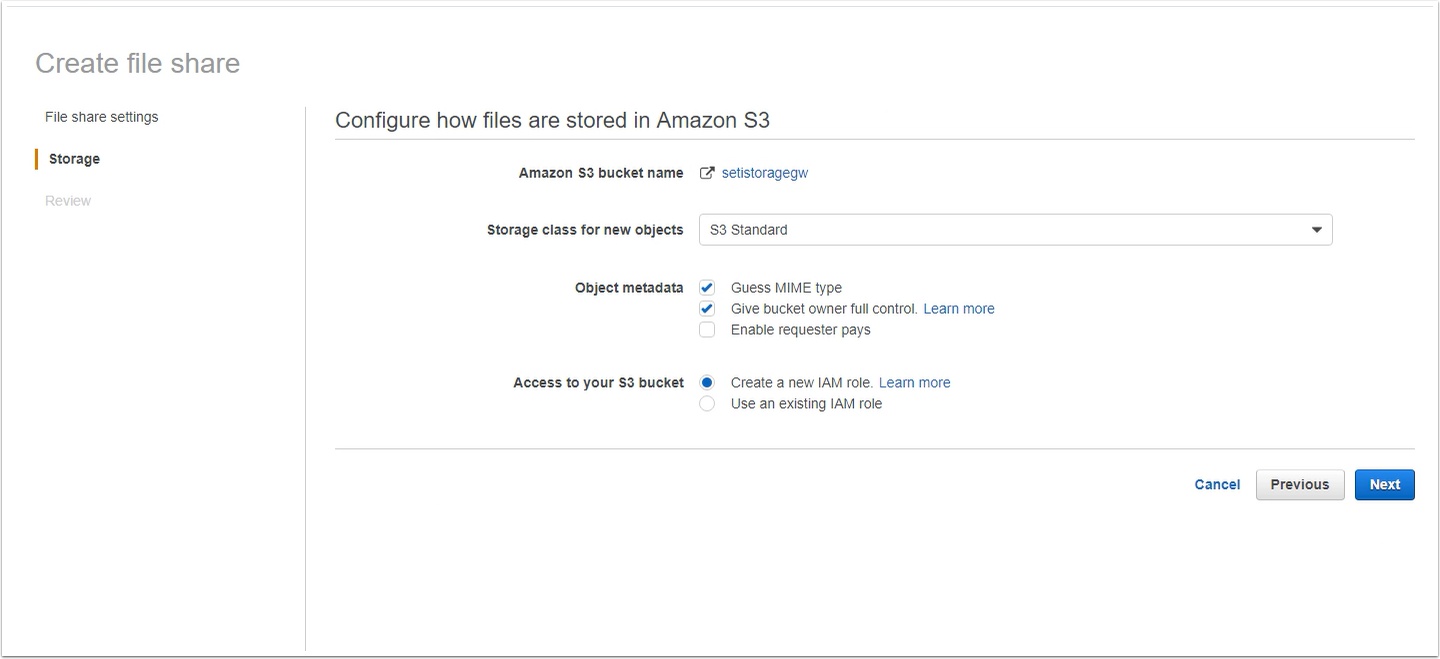
Accept the defaults and click next
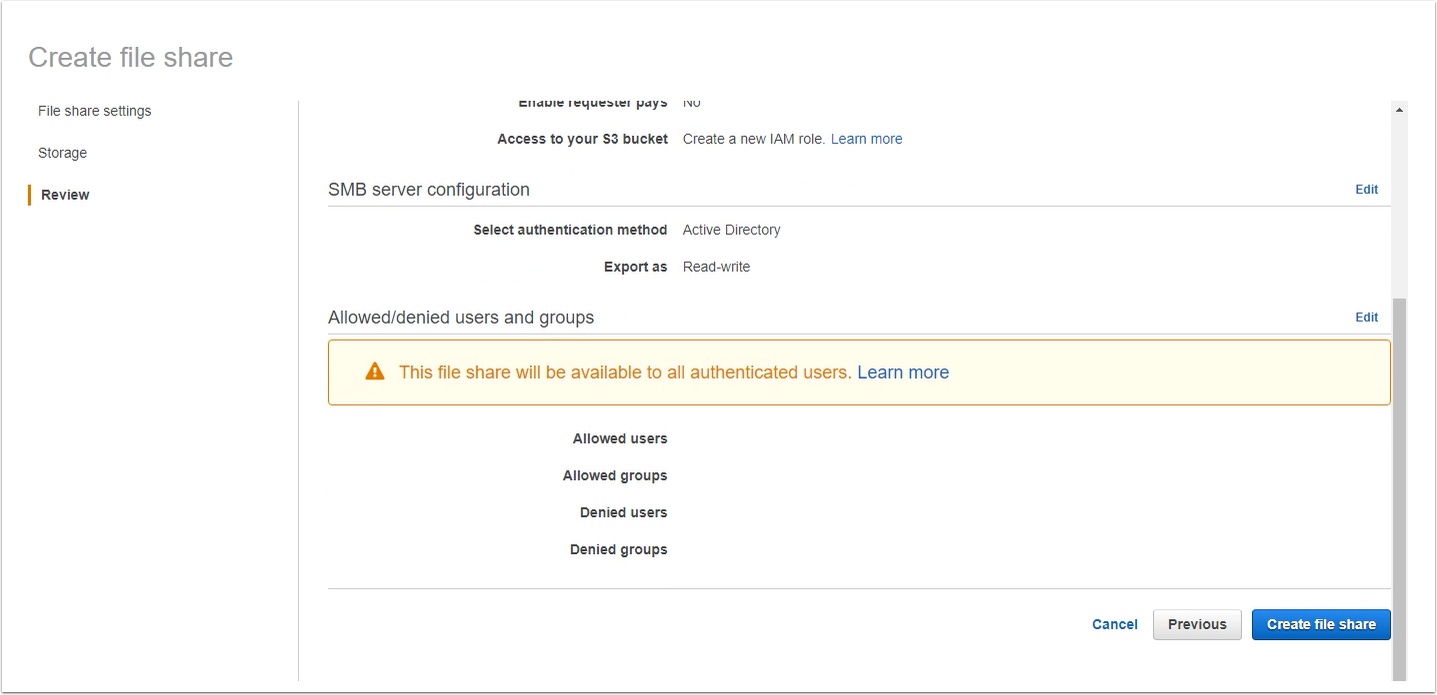
Review the following and click Create file share
Note: You can restrict access to this share at anytime after creation see more -> here
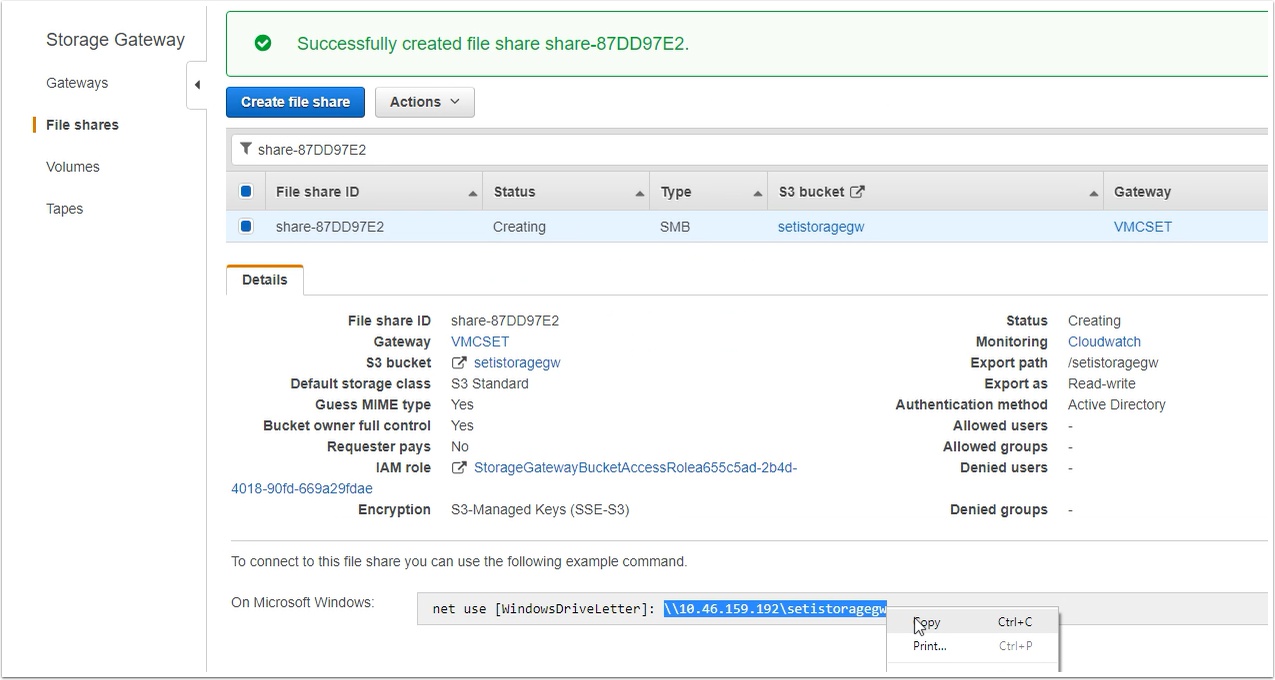
Click your new file share to reveal the URL then copy it to the clipboard
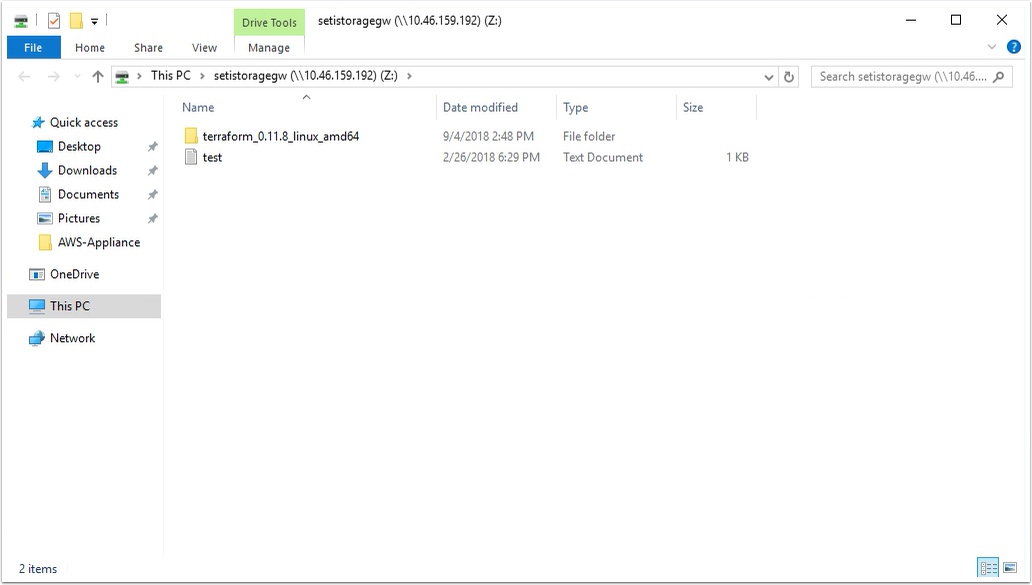
Map a new network drive to the new share

Enjoy your new Windows NAS backed by S3 storage on VMware Cloud on AWS
Pingback: How to serve NFS, iSCSI and Windows File shares on VMware Cloud on AWS | | VMtoCloud.com