Note: Connecting to AWS instances via SSH may require modifications to your organizations firewall or you may need to use a proxy server. This lesson is assuming you have direct access to the internet and to Amazon Web Services via the Putty SSH console. This lesson uses Putty.exe and Puttygen.exe. You can download Putty and PuttyGen for free Get PUTTY Here!
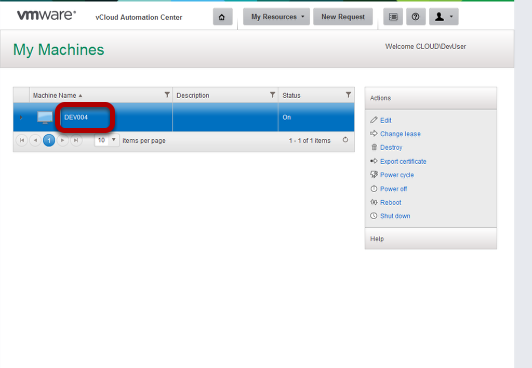
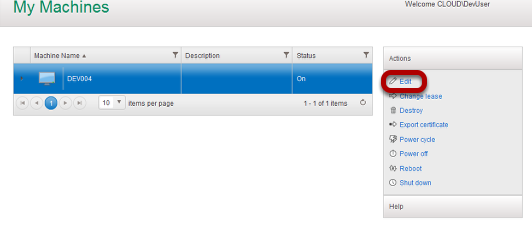
Click the instance you want to connect to so it is highlighted
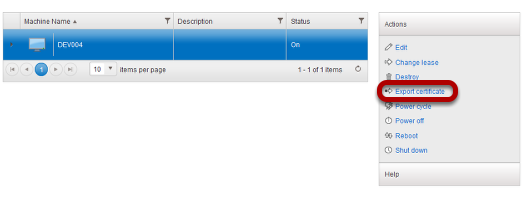
Click export certificate in the actions menu
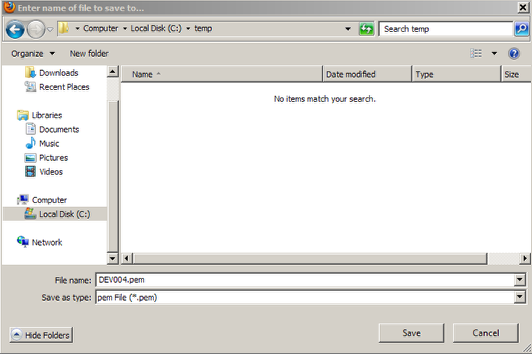
Save the .pem file to a location on your computer. Take note of where you saved this to.
Next you will need to use Puttygen.exe to convert the pem file to a Putty Key file.
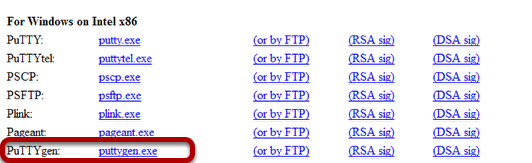
You can download Putty and PuttyGen for free Get PUTTY Here!
Open Puttygen.exe and click Load
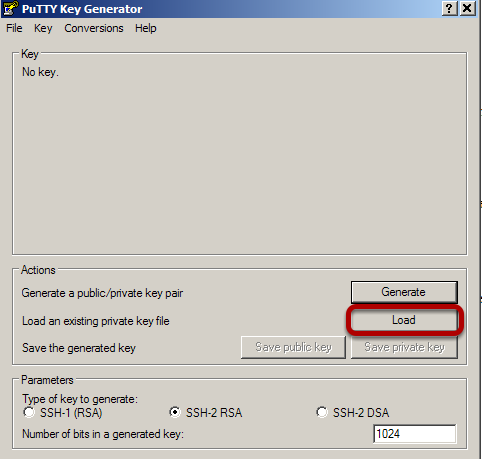
Now browse to the .pem file you downloaded from the vCAC Self Service site (Make sure All Files is selected as file type)

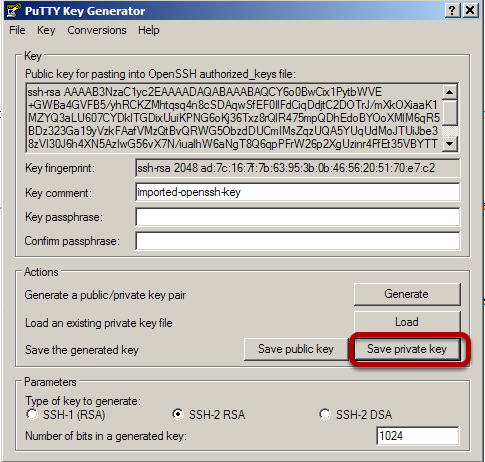
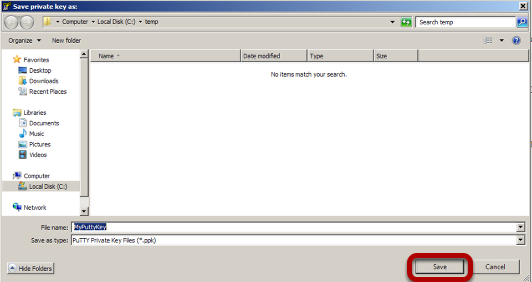
Click Save Private Key
Click Yes to save without a passphrase
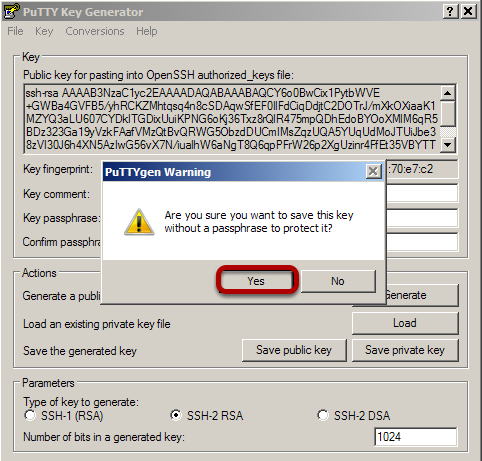
Give the new key a name and click save
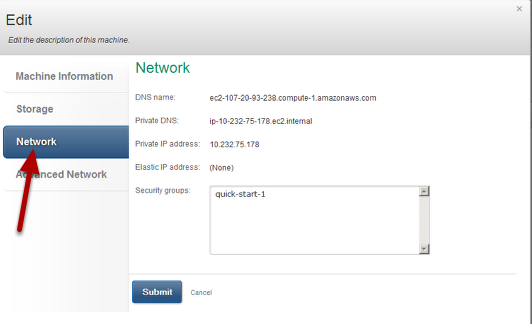
Now go back to the Self Service portal and click edit under the actions menu
Select the network Tab
Highlight the DNS name, Right click and copy this to the clipboard
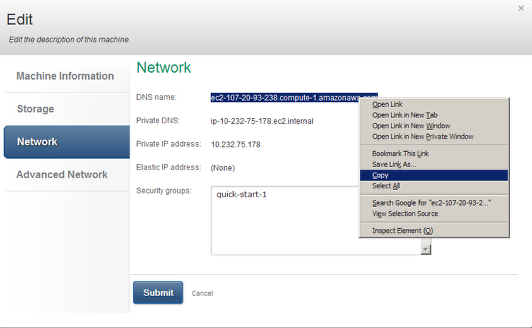
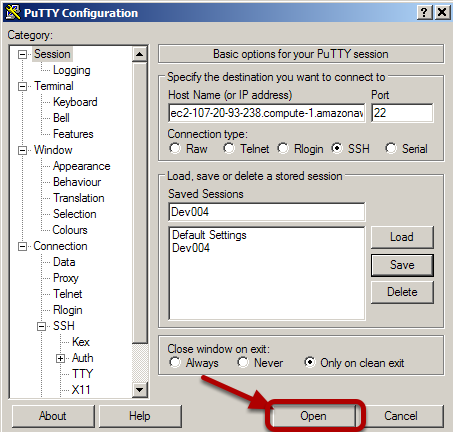
Now launch a Putty.exe session and paste that into the hostname field

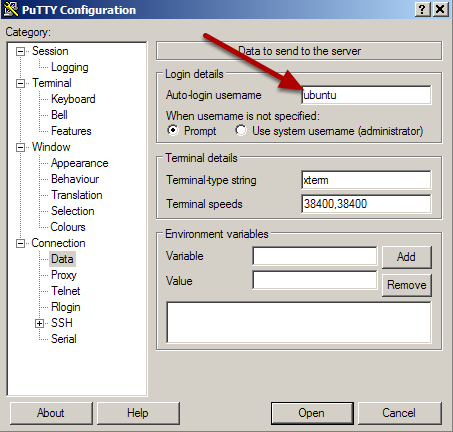
Now click the Data Category under connection on the left and enter the username of the AMI (Provided by your IT team)
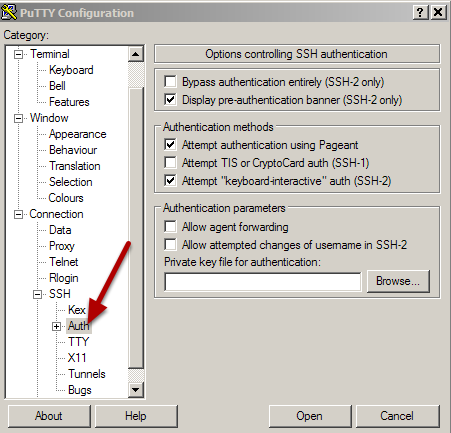
Now browse to Connection/SSH/Auth
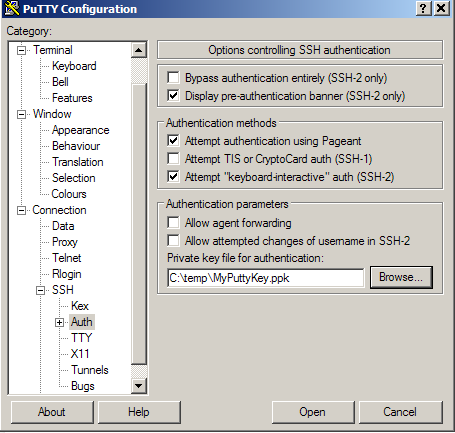
Click browse to open Windows explorer and select you Putty key we created earlier

It should look like this
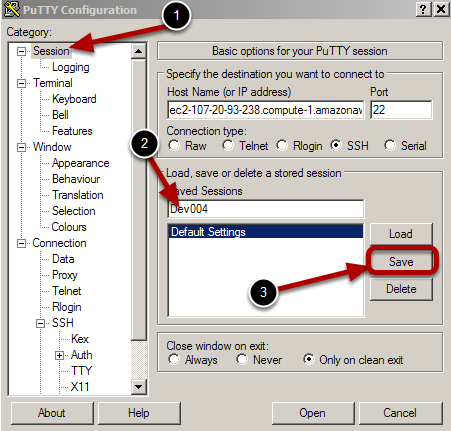
Now go back to session and save this session for later use
Now click open
Click Yes to the Putty Security Alert
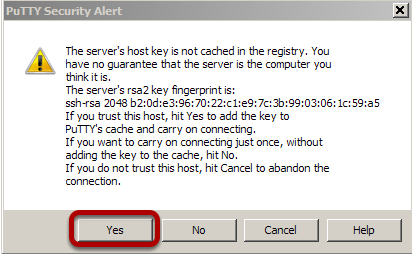
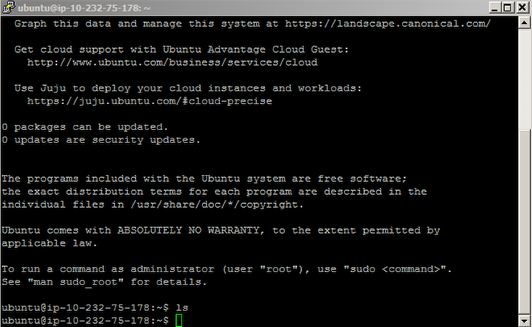
Your now connected and can begin configuring your new server! Enjoy!