It seems that Docker is all the rage right now. One of the limitations I noticed when playing with Docker in my lab is that pulling images from the Docker Hub can be a bit slow and storing images on Dockr hub may not be desirable if your building applications with sensitive information. So why not have your own registry out in vCloud Air? It’s both private and super fast.
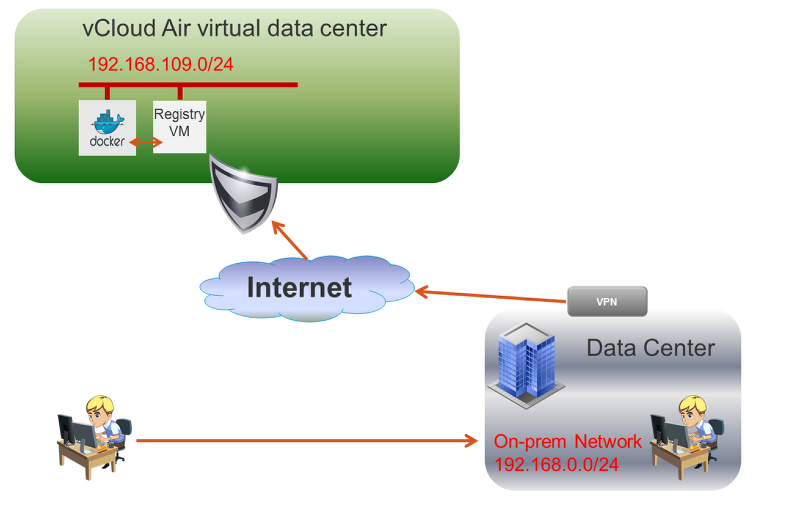
The following shows what we will be creating. A local Docker Registry that you can push and pull your images to and from. This allows your developers to work of a local registry when running docker VM’s in vCloud Air. Developers can work on-prem or off site depending on your organizations policy. If most of your Docker nodes are on your local network in your data center you may want to install a local registry in vSphere as well to save on network bandwidth to and from vCloud Air.
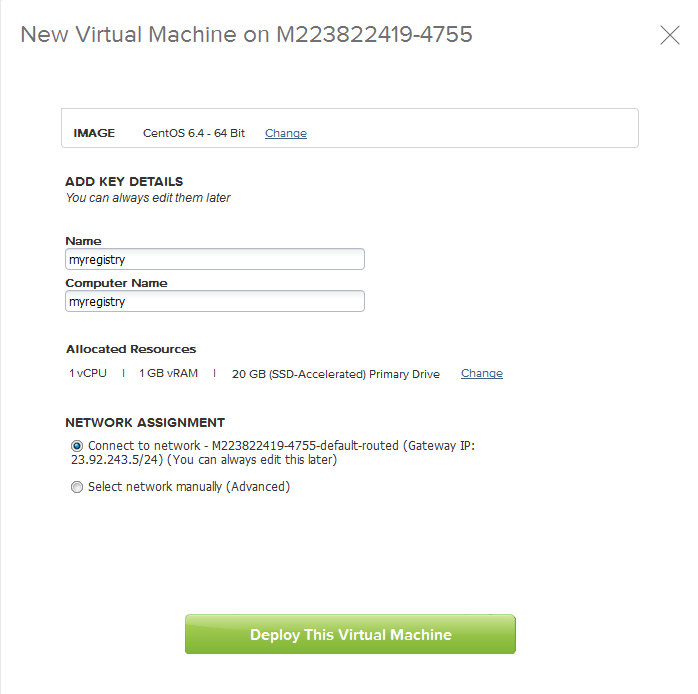
Log into your vCloud Air Account and create a new CENTOS 6.4 64Bit virtual machine (Note: if you already have a CentOS 6.5 or newer in your private catalog start with that and save time. )

Now name the new Virtual Machine and assign a network. You should assign a network that has external or proxyd internet access and has VPN or other method to access the virtual data center from your local network.
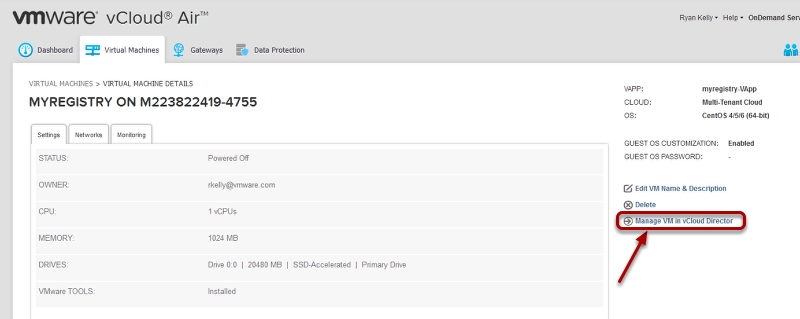
Select your new virtual machine in the vCloud Air Portal by clicking it

Now select to Manage VM in vCloud Director
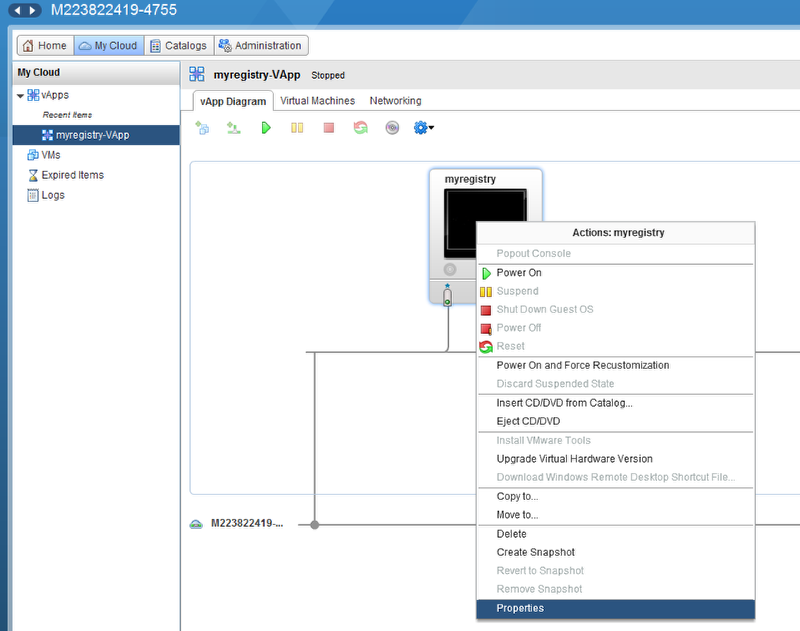
Right click the virtual machine and click properties
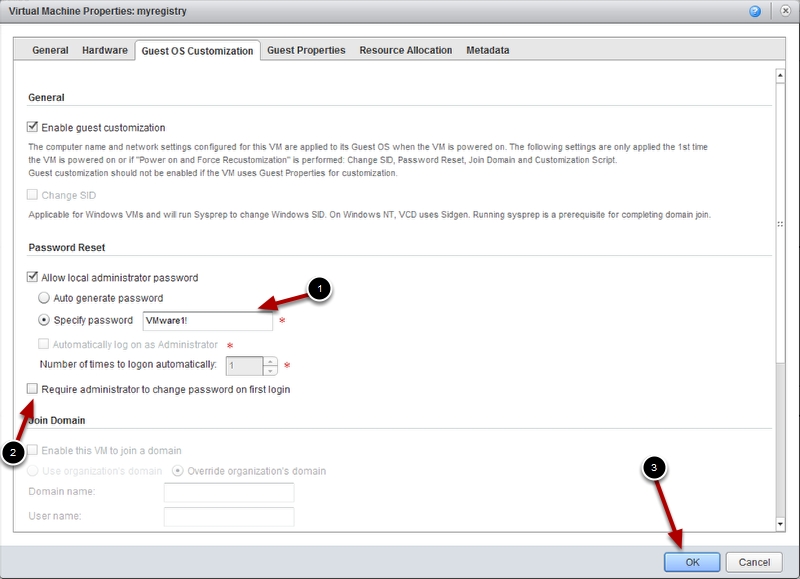
Go to the Guest OS Customization Tab and Change the radio button to Specify a password and uncheck Require administrator to change password at first login then press ok.
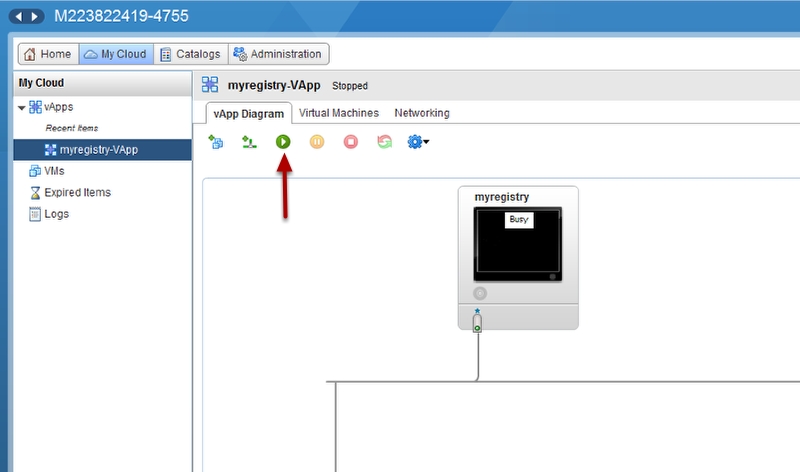
Now start the vAPP
When the virtual machine is powered on and guest customization is complete either SSH into the new VM or open the console and login. Then type cat /etc/redhat-release and press enter
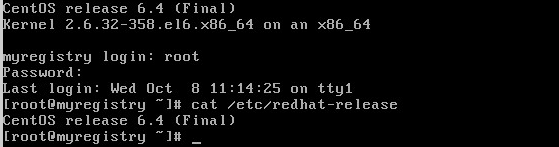
Notice it is only running CentOS 6.4 but we need 6.5 or newer to run Docker. Let’s fix that.
type yum clean all and press enter
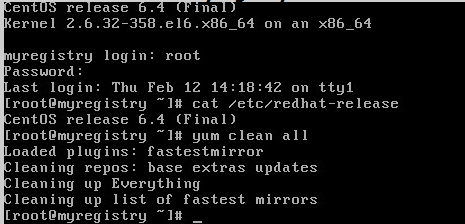
yum clean all
Now type yum update -y and press enter
After the update completes type cat /etc/redhat-release and press enter and you should be updated to CentOS 6.6

Now we are ready to install Docker but first we need the extras packages repo. Type yum -y install epel-release and press enter
Now let’s install Docker by typing yum -y install docker-io
Now start the docker server by typing service docker start

Now let’s make sure it starts on boot with chkconfig docker on
Now pull the registry container from docker with docker pull registry
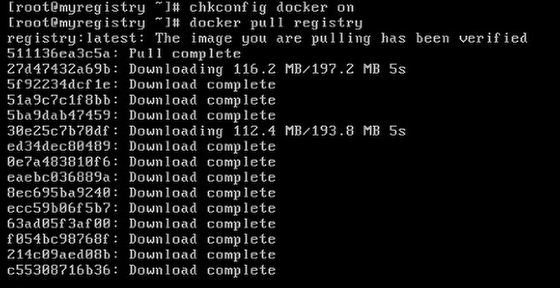
After a few minutes the image will be downloaded.
Now create a new directory in tmp named registry, this is where we will store the images instead of in the container so if the container is restarted we don’t lose the images.
Start the registry server by typing docker run -d -p 5000:5000 -v /docker_repo:/tmp/registry registry

docker run -d -p 5000:5000 -v /docker_repo:/tmp/registry registry
Now that our registry is running we can go to another docker node and pull and push files to it. But first we need to tell the Docker Daemon on the docker nodes to use an insecure channel to talk to the docker registry we created. Stop the docker server by typing service docker stop and press enter

Now type docker -d –insecure-registry 192.168.109.9:5000 &
docker -d --insecure-registry hostnameorIPofRegistryserver:5000 &
now pull an image from the Docker hub with docker pull vmtocloud/myblog and press enter (Notice it takes several minutes because it is pulled from the internet)
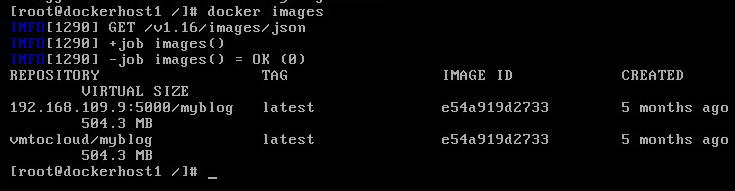
Once the image download completes tag the image by typing docker tag vmtocloud/myblog 192.168.109.2:5000/myblog
Type Docker images to see your images
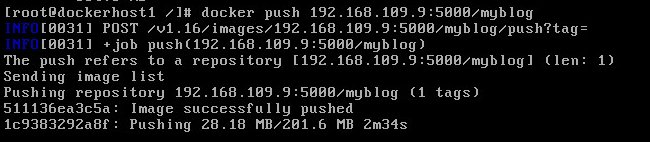
Now type docker push 192.168.109.9:5000/myblog and press enter
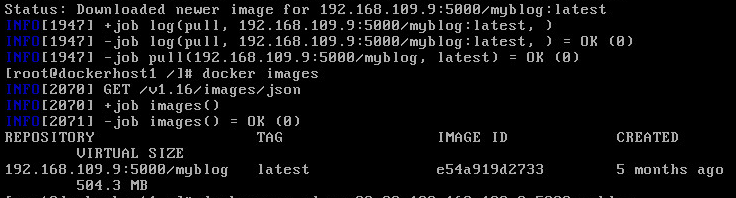
Now let’s test that we can pull by spinning up a new Docker node and typing docker pull
After a minute or two it should complete and type docker images to verify it downloaded
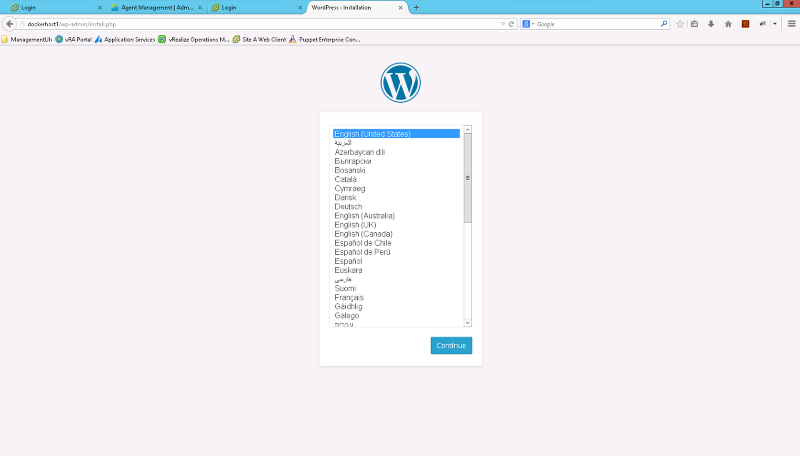
Type docker run -d -p 80:80 192.168.109.9/myblog and press enter
Open a web page to the docker host and verify the container started! Enjoy all the extra time you will get back!!