
In this guide I will show you how to install and get started with the vRealize Cloud Client command line tool.
Pre-Reqs
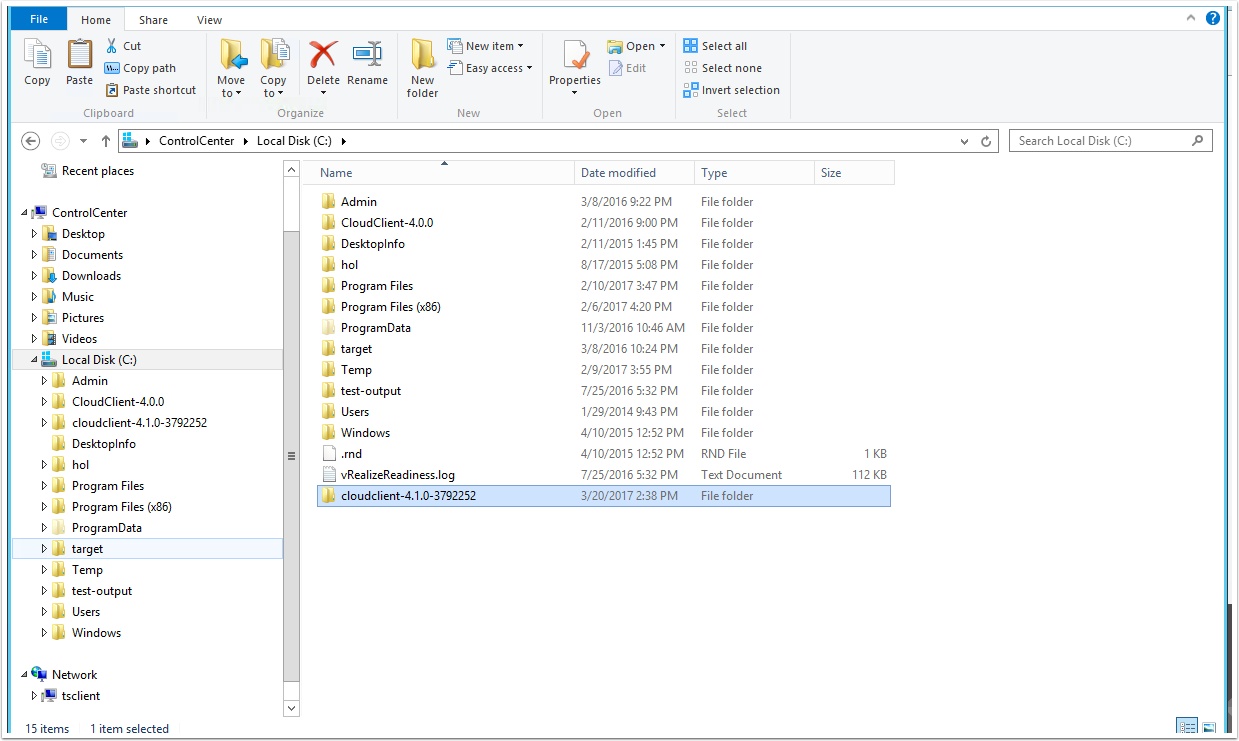
Extract the contents of the Cloud Client zip file you downloaded to a folder on your desktop
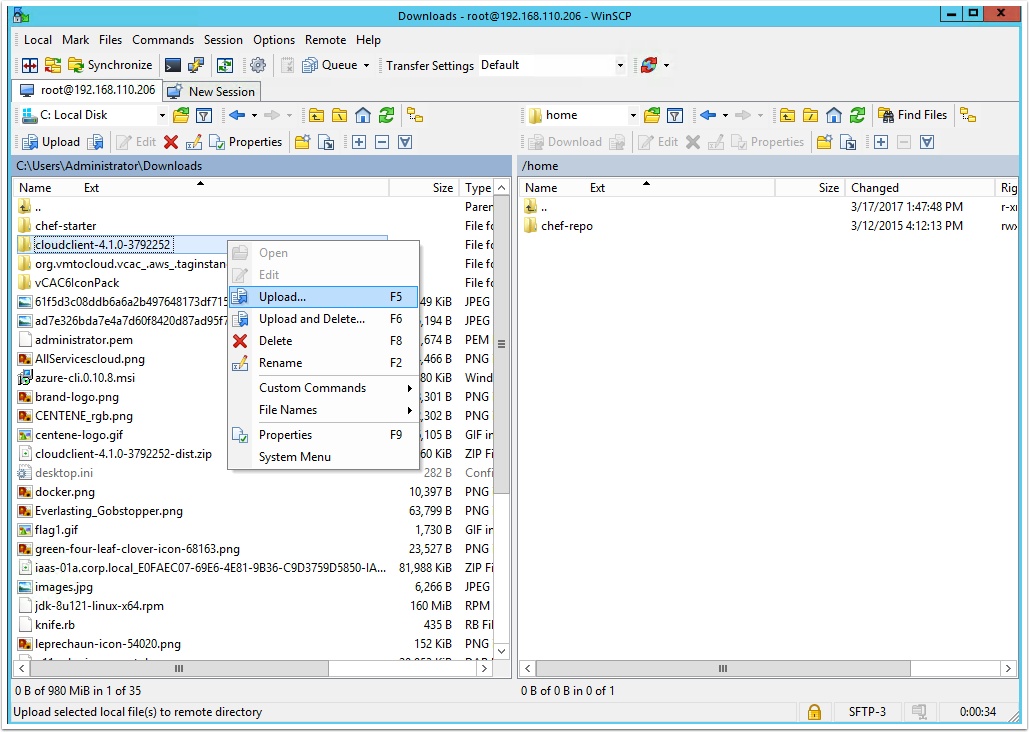
Cloud Client supports both Windows and Linux, if you want to use windows your install is done, if you want to use Linux, you need to SCP the folder to the Linux Machine you want to use
I use WinSCP you can download it from here
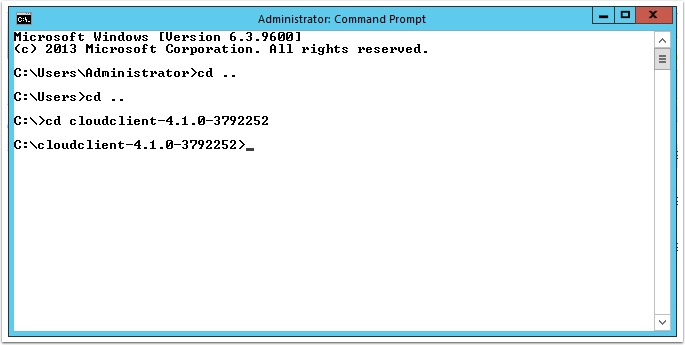
Now your ready to use Cloud Client, on windows or Linux change to the directory where you copied cloud client to
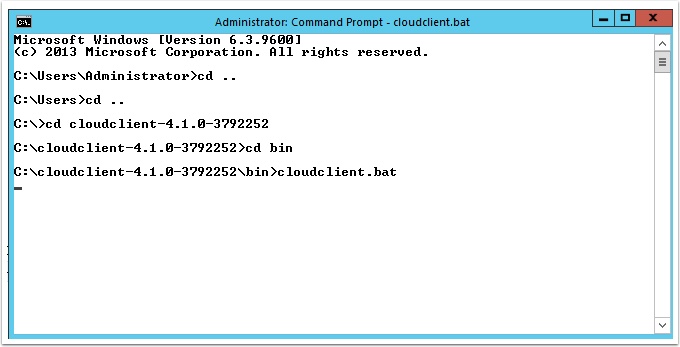
Now change to the bin directory

Now launch cloud client with the following
Windows = cloudclient.bat
Linux = cloudclient.sh
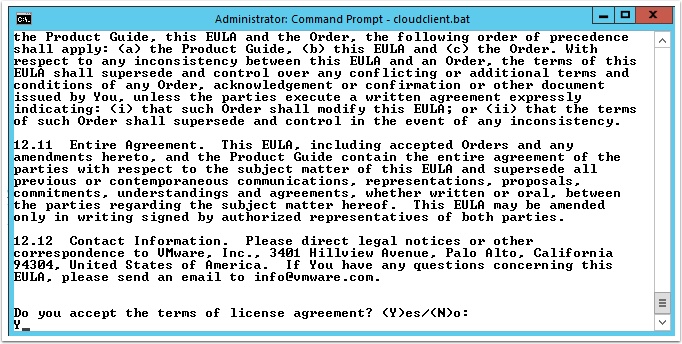
Scroll through and accept the End user license agreement
Now login to vRealize Automation with the following command
NOTE: If you are using self signed certs you will also need to accept them here
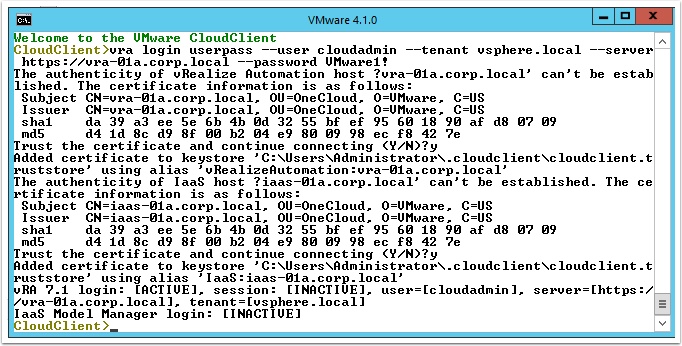
vra login userpass --user cloudadmin --tenant vsphere.local --server https://vra-01a.corp.local --password VMware1!
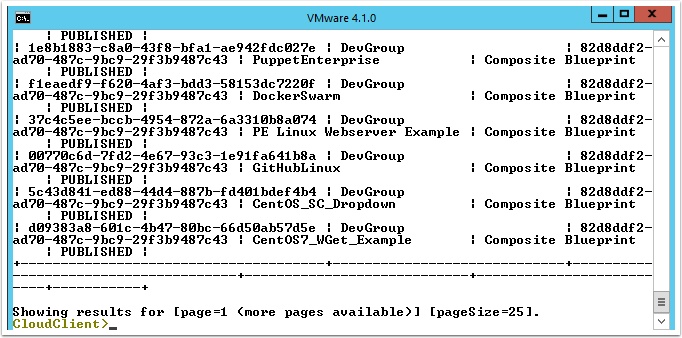
Now let’s list the available catalog items with the following command
Notice if you click tab on your keyboard after the command you get a list of available commands

vra catalog list
Scroll through and view the catalog items
Now let’s request a catalog item with the following command
Note: You will need to change the command to reflect your installation
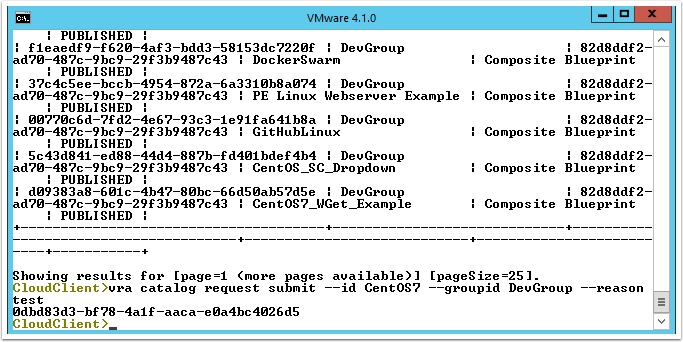
vra catalog request submit --id CentOS7--groupid DevGroup --reason test
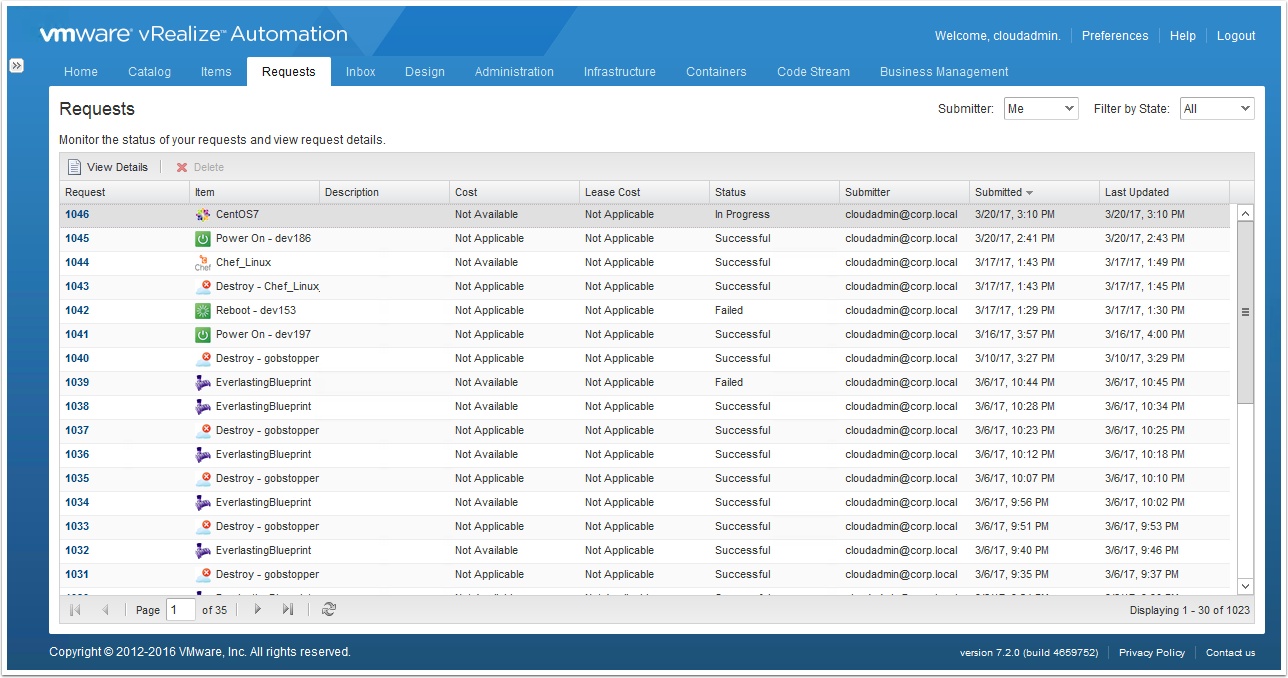
Notice the new request in progress in the requests view in the portal
You now have Cloud Client successfully installed and configured
Want to try more? See my other guides Exporting Blueprints as Code with Cloud Client and The Everlasting Blueprint.
I tried to follow this guide but I always get.
vra catalog request submit –id “CentOS 7” –groupid “BizGrp01” –reason 123
Error: Multiple components found. Please generate the template and submit a request after updating the template.
Any good idea what to check
Same issue here, I have added multiple business group for the same catalog, I think that is the problem. But how to resolve it 🙁
Same issue here, I have added multiple business group for the same catalog, I think that is the problem. But how to resolve it 🙁
Pingback: vra cloud services portal conection with id not found - portalrose
Pingback: how to login to cloud client - Login and Portal