VMware recently released a Beta version of a plugin for Docker volumes for vSphere. In this guide I will walk you through setting it up and then we will run my favorite app in a container to show you how it works. In this guide I will be using vSphere 6 but you could also try this with ESXi 6 running in fusion if you don’t have a vSphere environment available.
Pre-Reqs
- vSphere and/or ESXi hosts running 6.0, 6.0 u1, 6.0 u2
- Photon OS 1.0 OVA downloaded and deployed from here.
- The vib for ESXi from here.
- The Docker Volume Driver RPM from here.
- Internet access from the Photon OS to the internet or DockerHub.
First, let’s enable the ESXi hosts, upload the VIB you downloaded and install it with the following command, repeat on all hosts you plan to use the VMware Volume driver on. Currently the Beta release does not support VMotioning the VM to another host.
NOTE: Be sure to point to the path and name of the vib you downloaded.
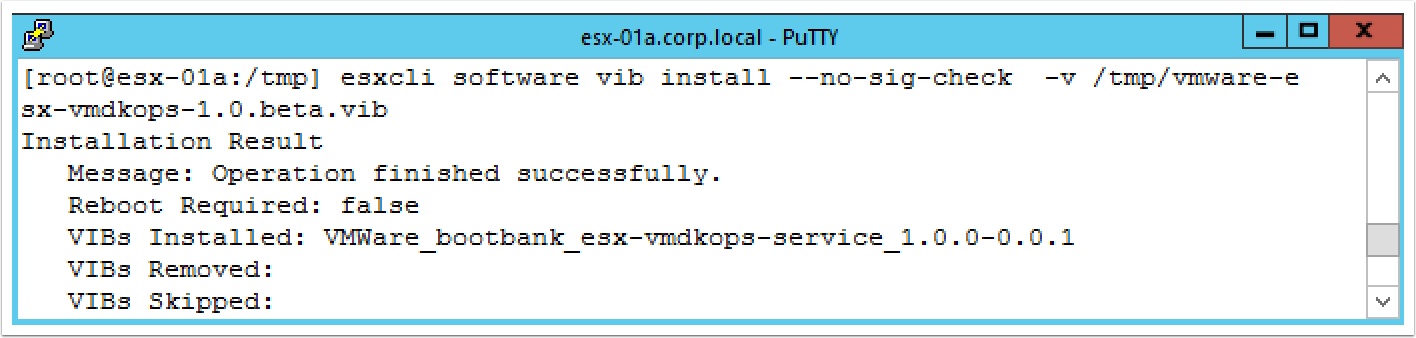
esxcli software vib install --no-sig-check -v /tmp/vmware-esx-vmdkops-1.0.beta.vib
Now let’s install the driver on Photon OS using the RPM but first stop the docker service
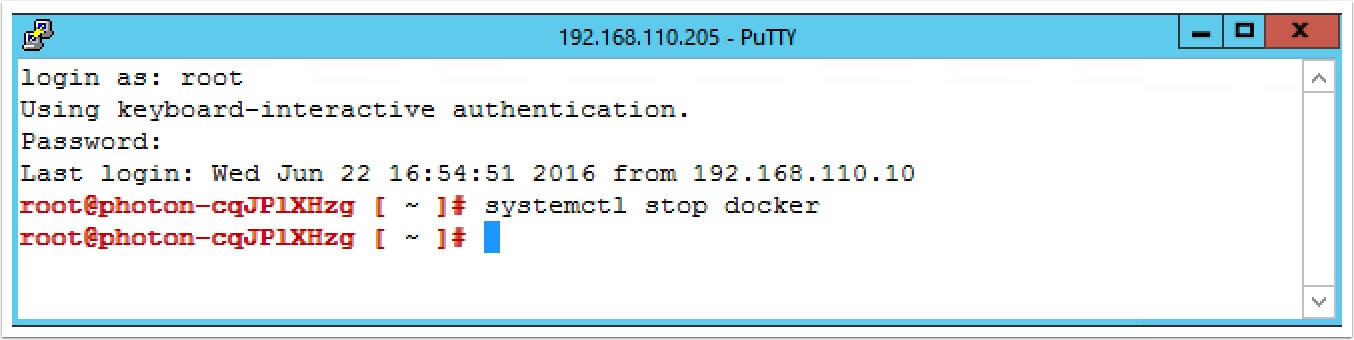
systemctl stop docker
Now let’s install the RPM you downloaded earlier, upload it to the Photon Server and type the following
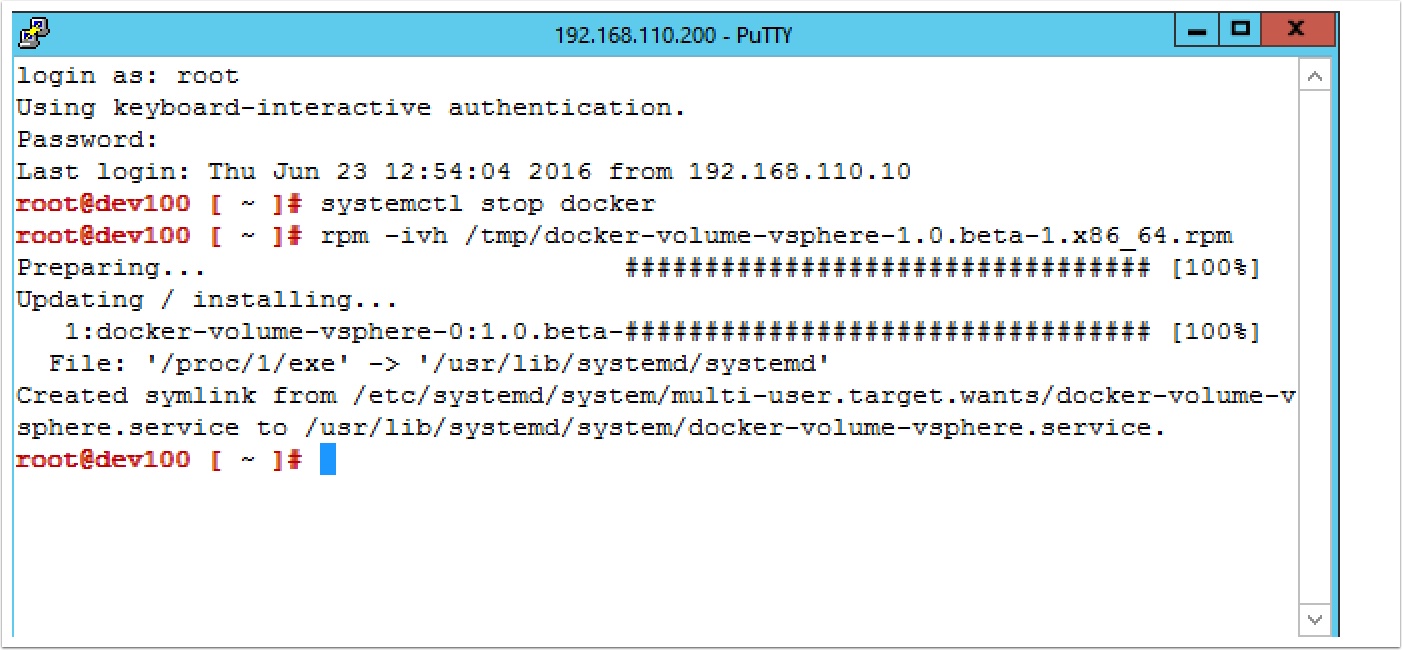
rpm -ivh /tmp/docker-volume-vsphere-1.0.beta-1.x86_64.rpm
Now start docker again with the following

systectl start docker
Now were ready to test an app, we are going to be using two containers, WordPress and a MariaDB container so we will need a network, create a network with the following command
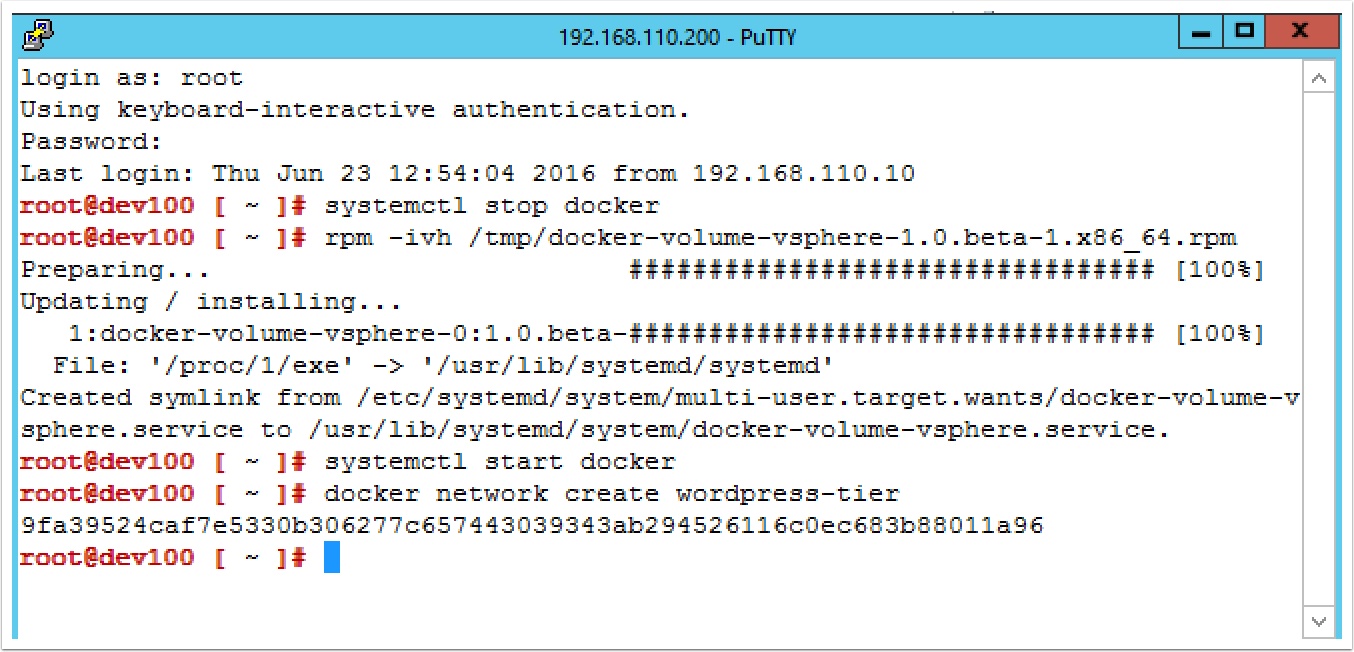
docker network create wordpress-tier
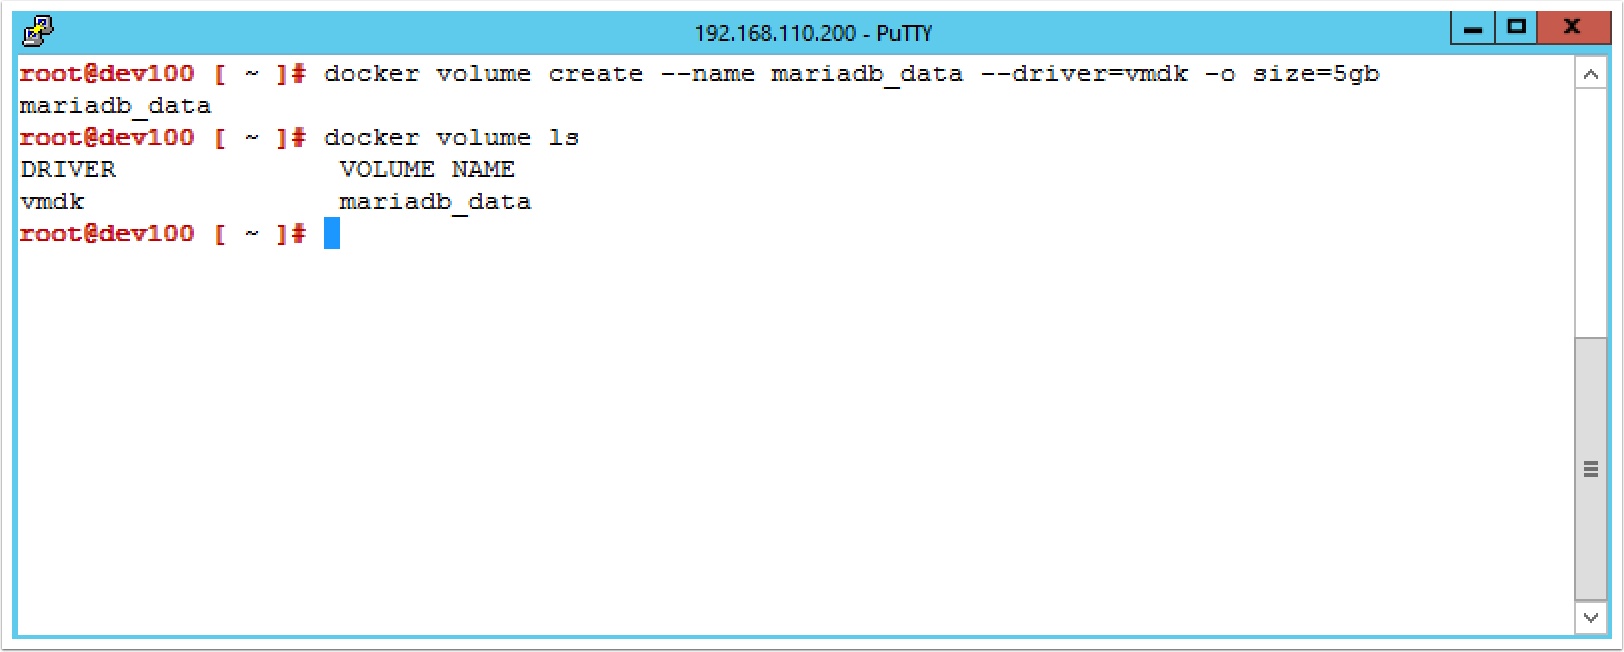
Now let’s create our first VMDK backed volume for our MariaDB container with the following

docker volume create --name mariadb_data --driver=vmdk -o size=5gb
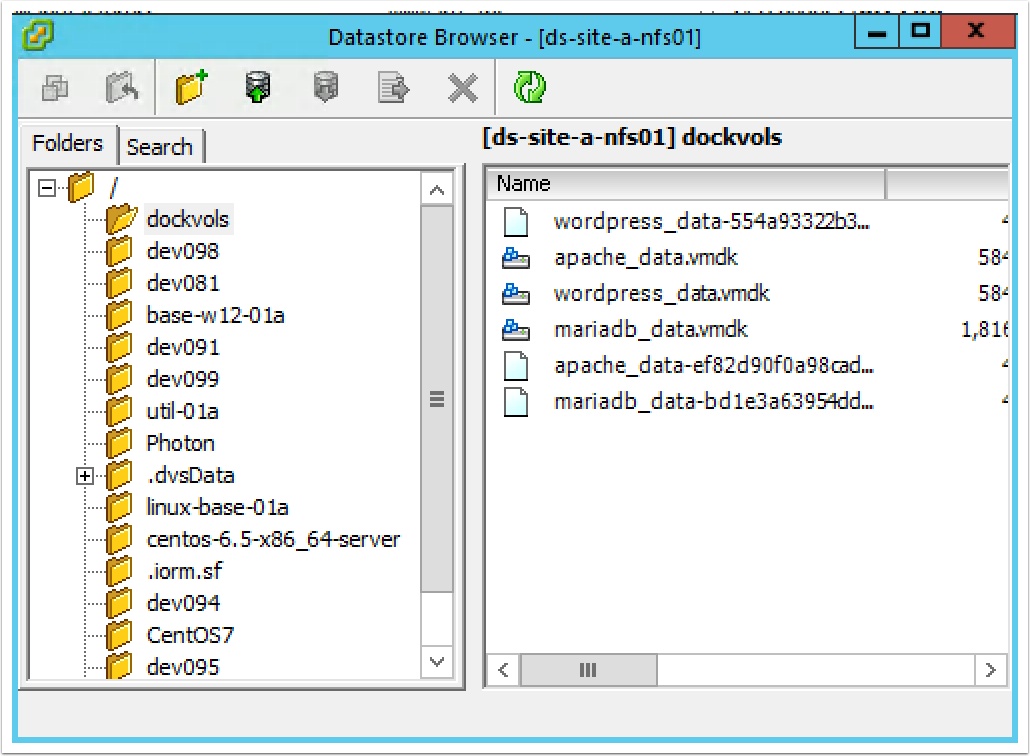
Now go to the vCenter client and take a look at the datastore and you will see a new folder with the volume as a VMDK.
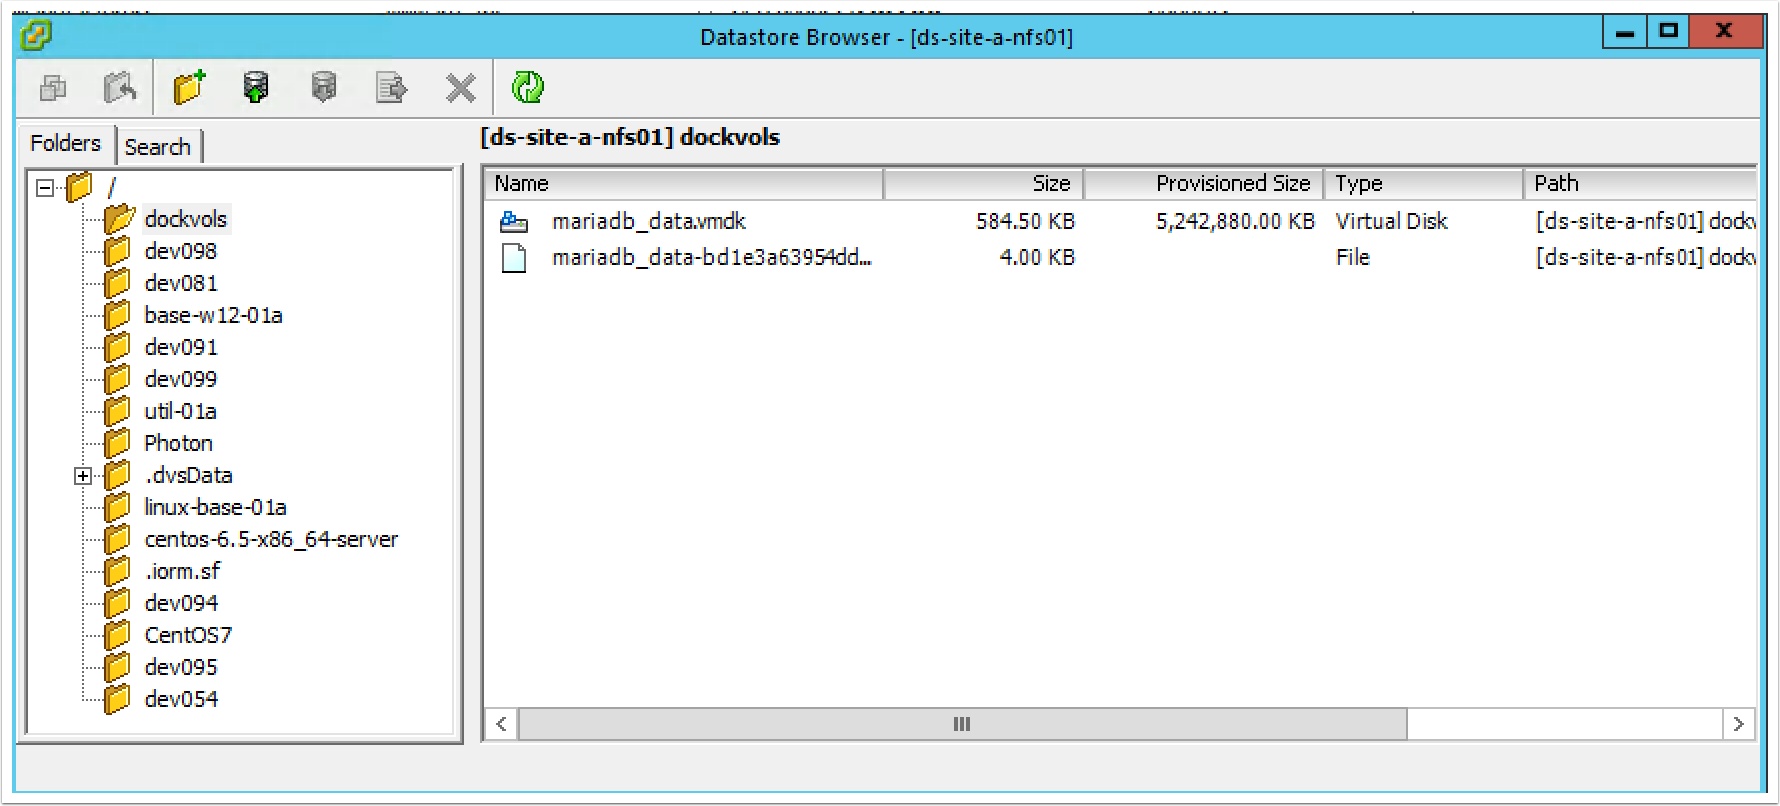
Cool hugh?
Now let’s go back to the docker client and see how the developer would see thier volumes by typing the following
Now let’s launch the MariaDB container and map it to the volume with the following command
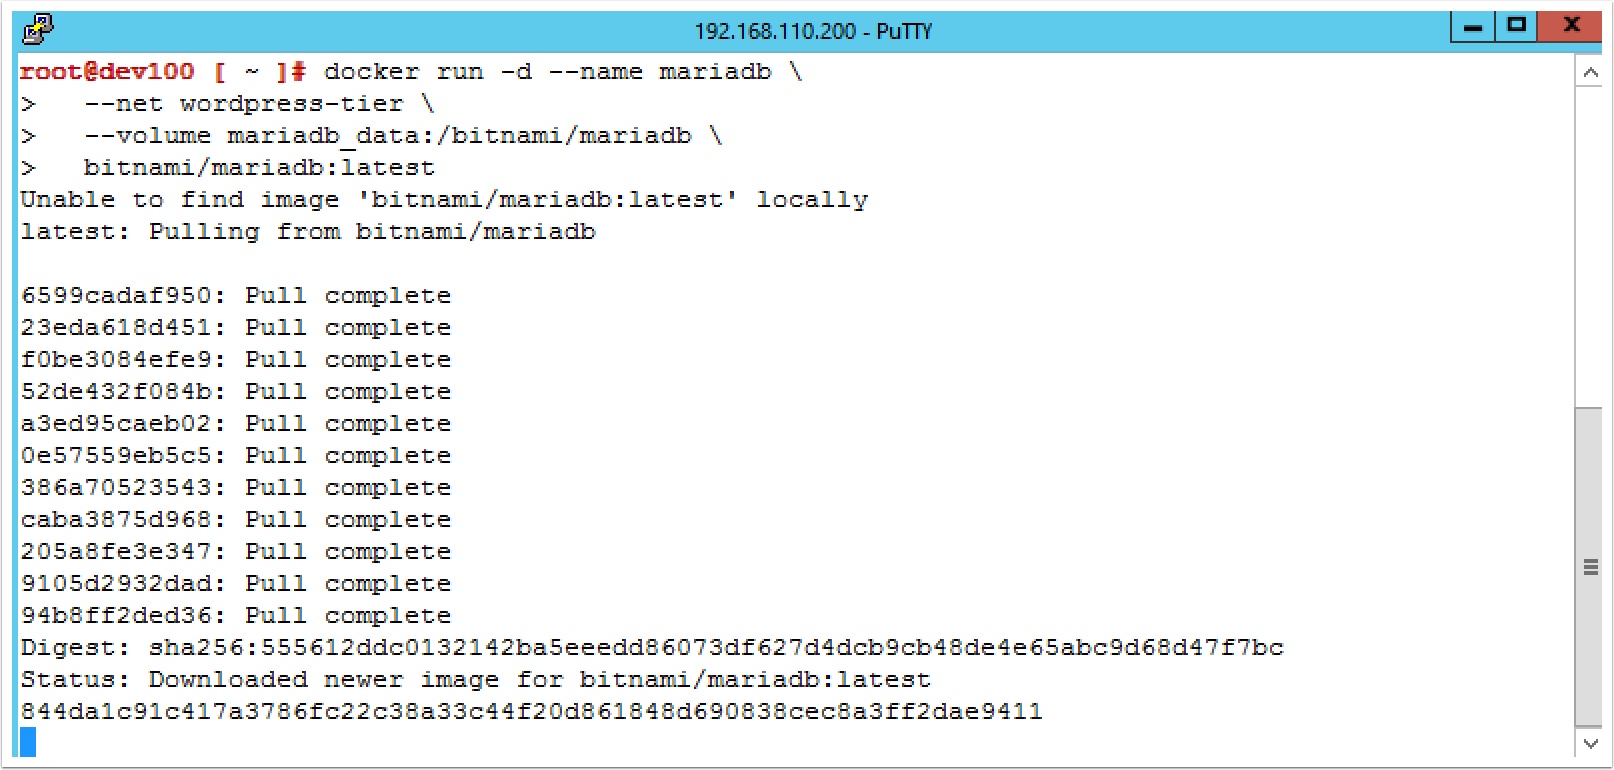
docker run -d --name mariadb \
 --net wordpress-tier \
 --volume mariadb_data:/bitnami/mariadb \
 bitnami/mariadb:latest
Now let’s create our volume for WordPress data with the following
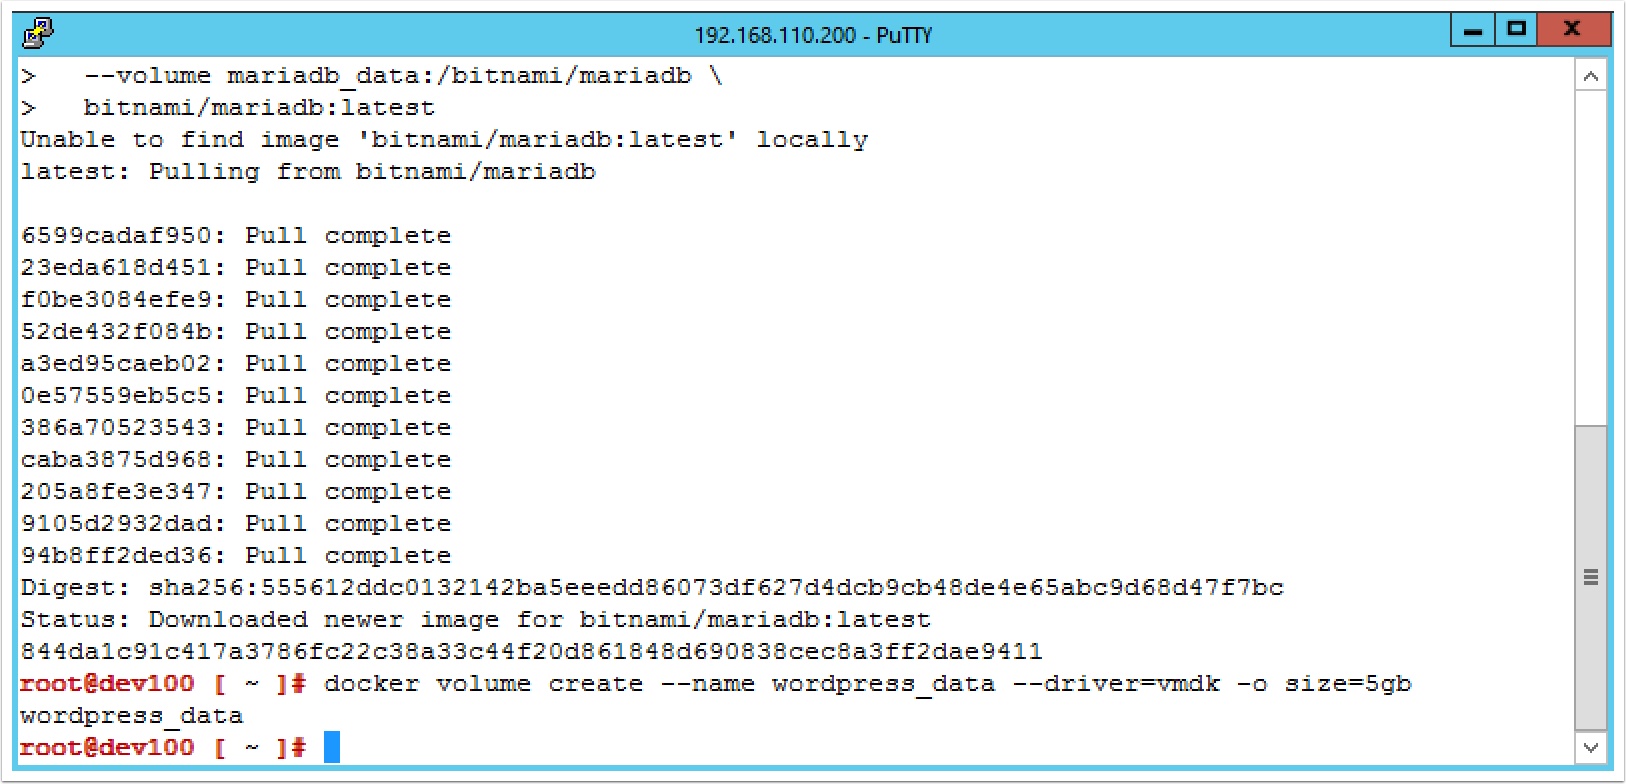
docker volume create --name wordpress_data --driver=vmdk -o size=5gb
Now create the Volume for Apache data with the following command
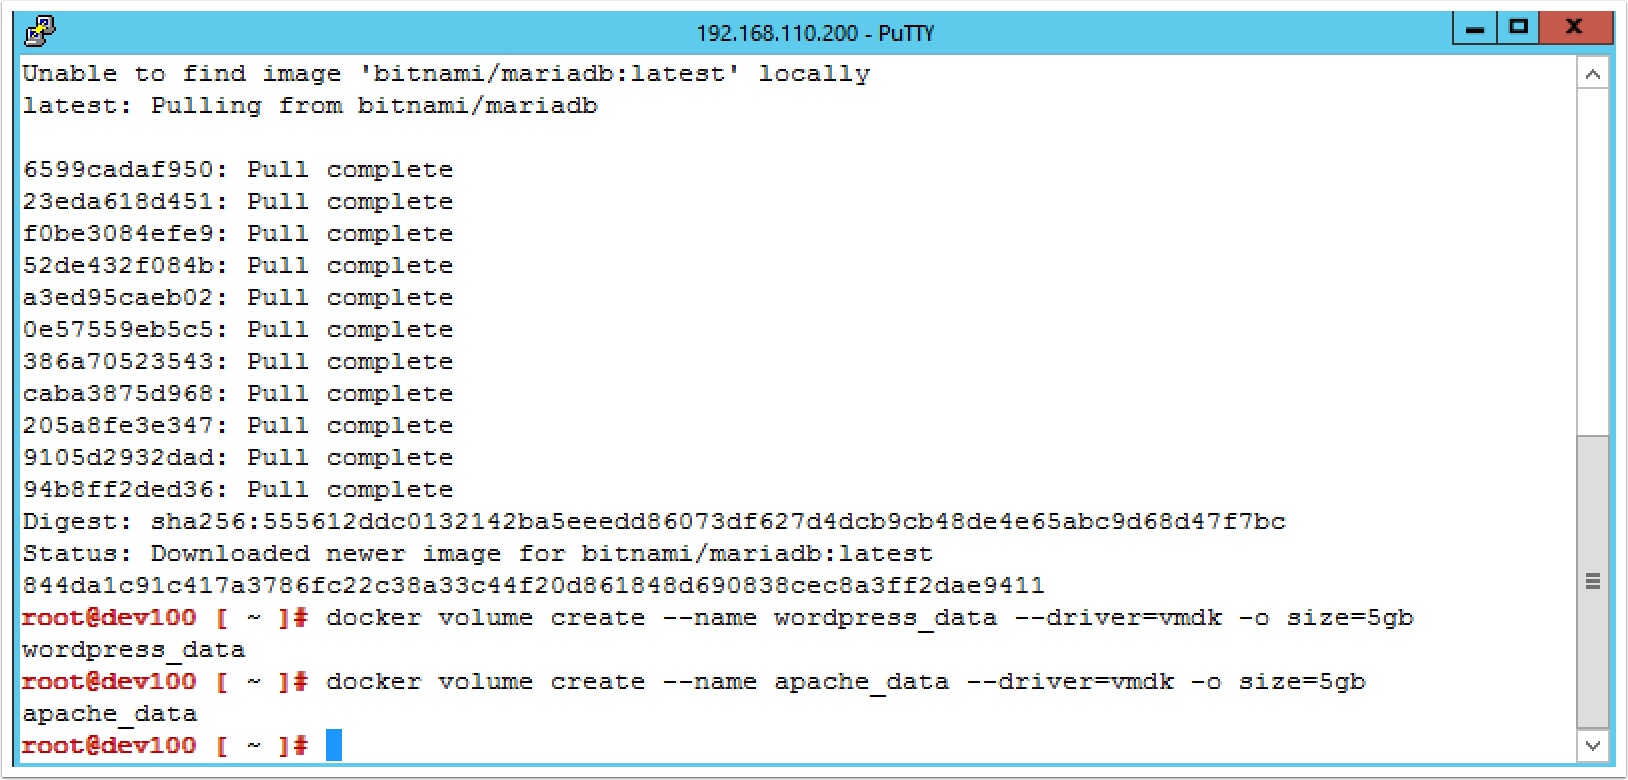
docker volume create --name apache_data --driver=vmdk -o size=5gb
Now let’s start our wordpress container and map it to those volumes with the following command

docker run -d --name wordpress -p 80:80 -p 443:443 \
 --net wordpress-tier \
 --volume wordpress_data:/bitnami/wordpress \
 --volume apache_data:/bitnami/apache \
 bitnami/wordpress:latest
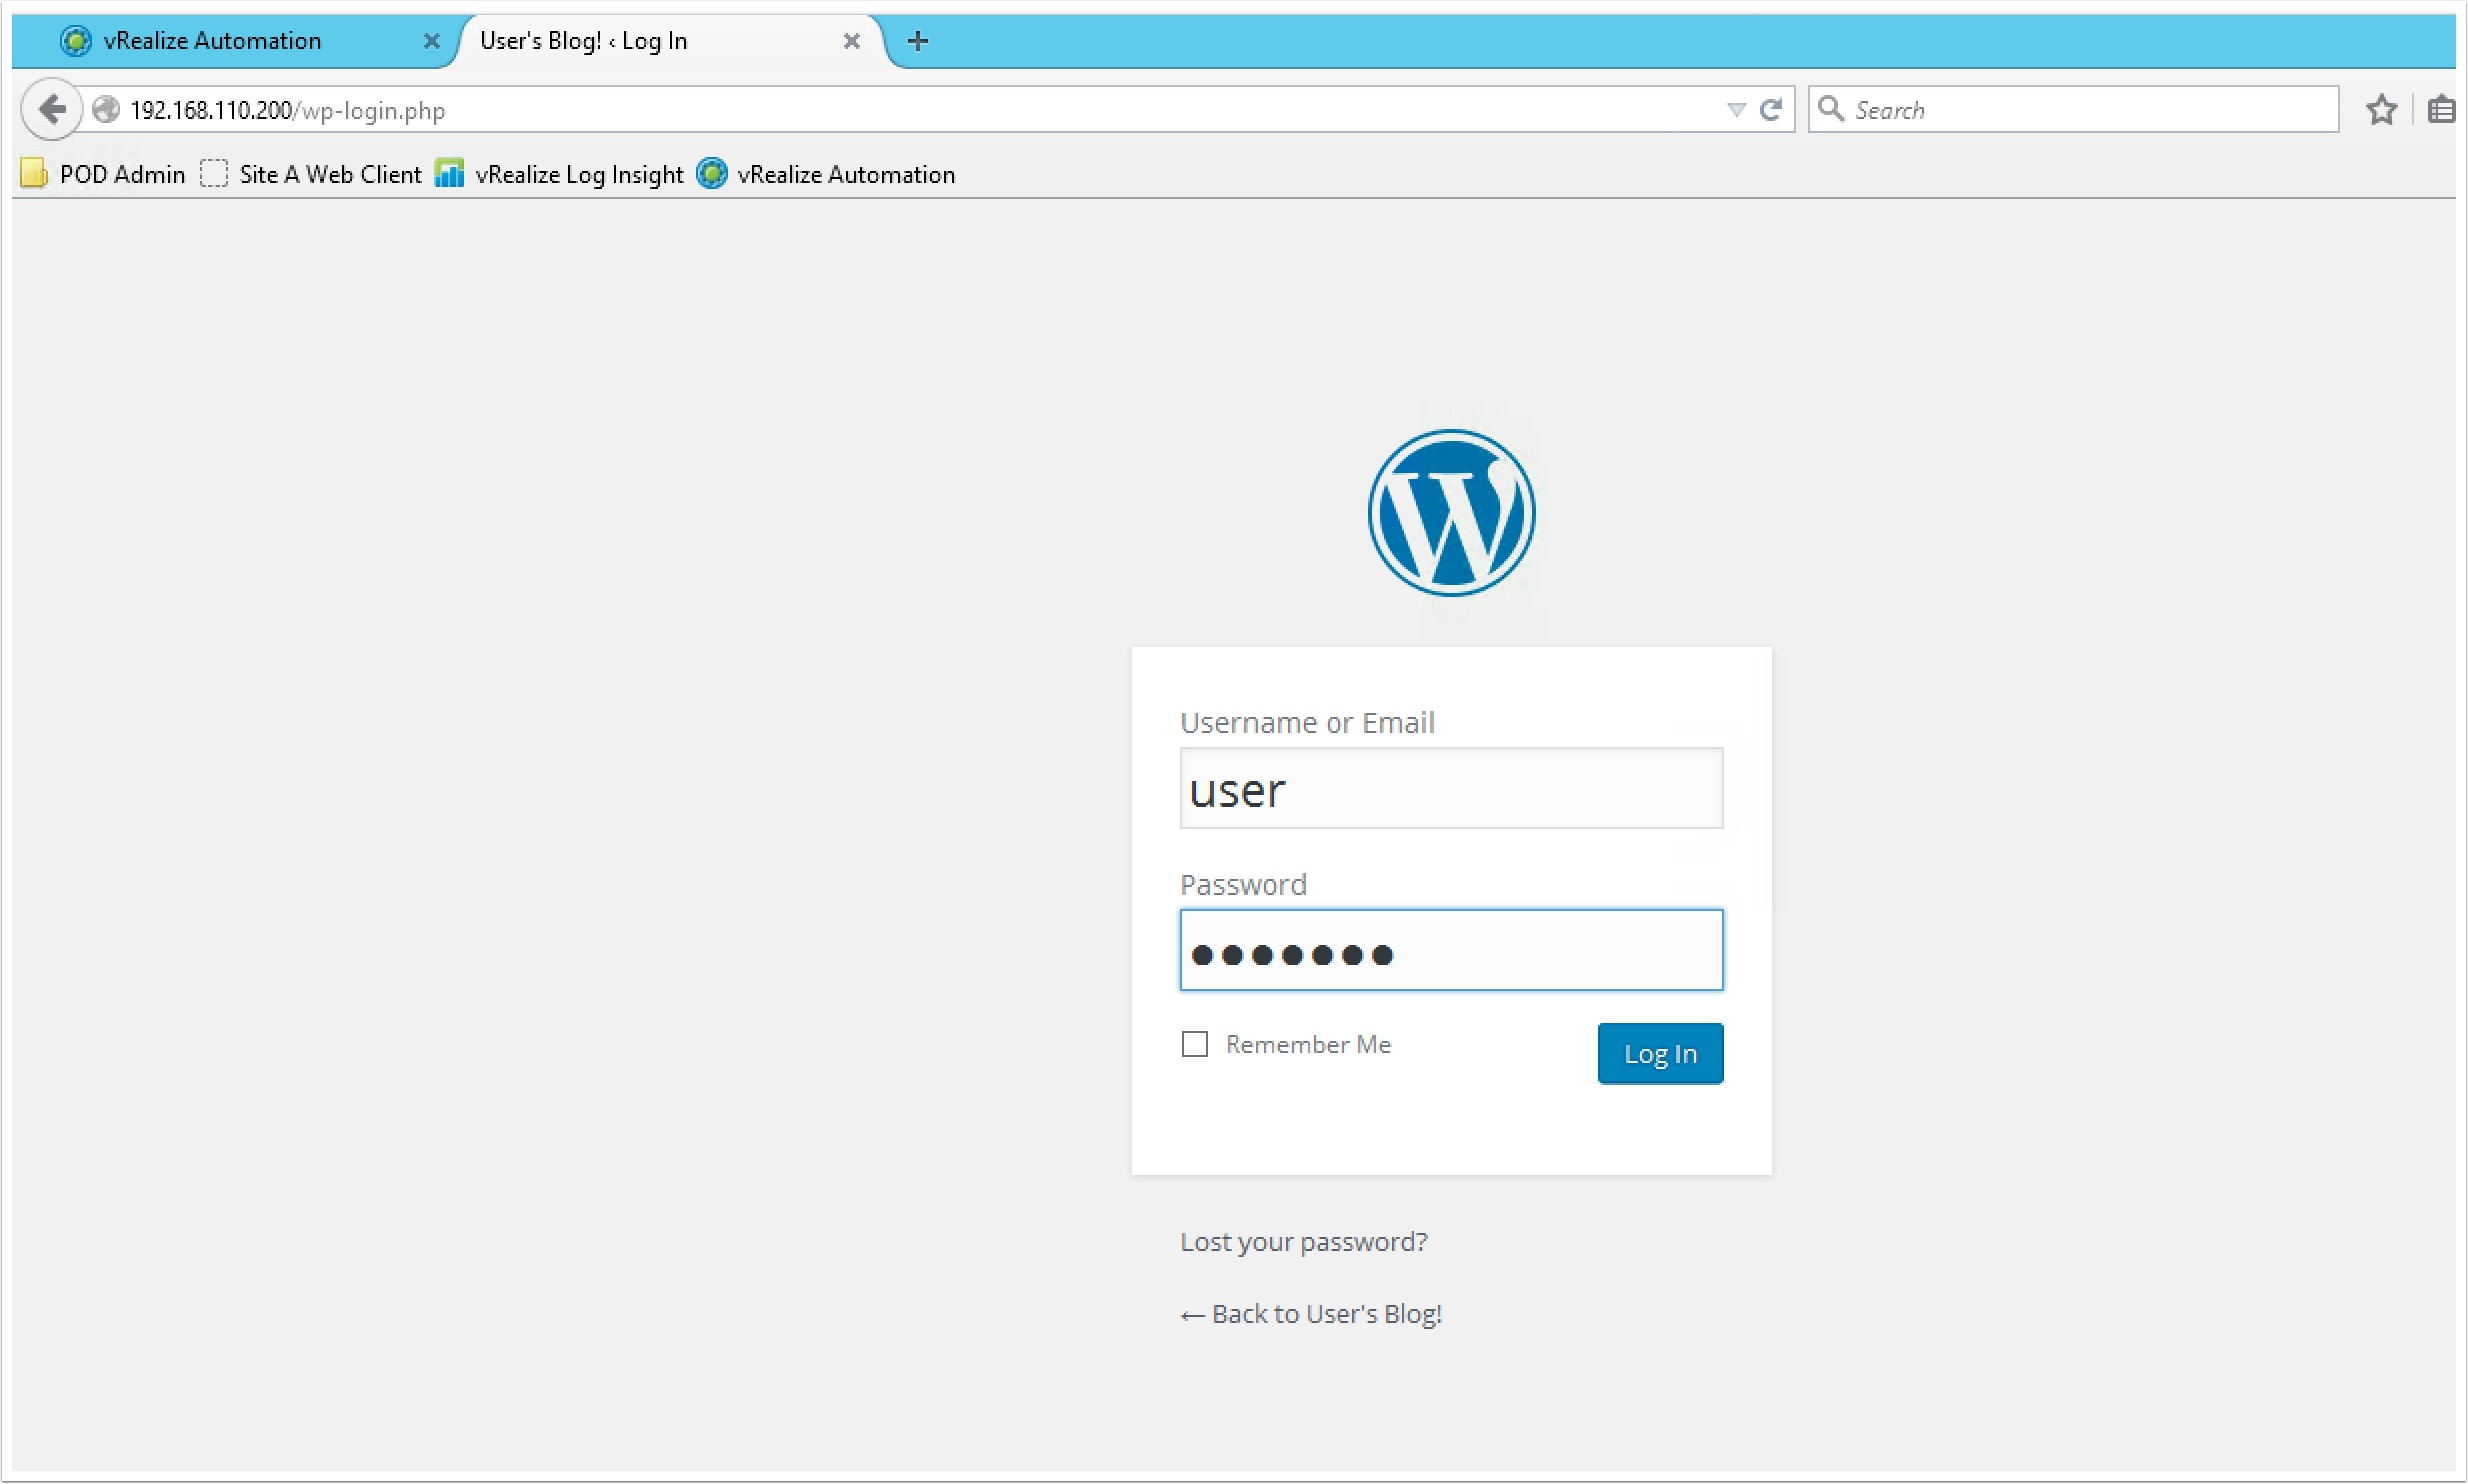
Now login to the wordpress site and create a new post http://ipofyourPhotonOS/wp-login.php
Login: user Password: bitnami
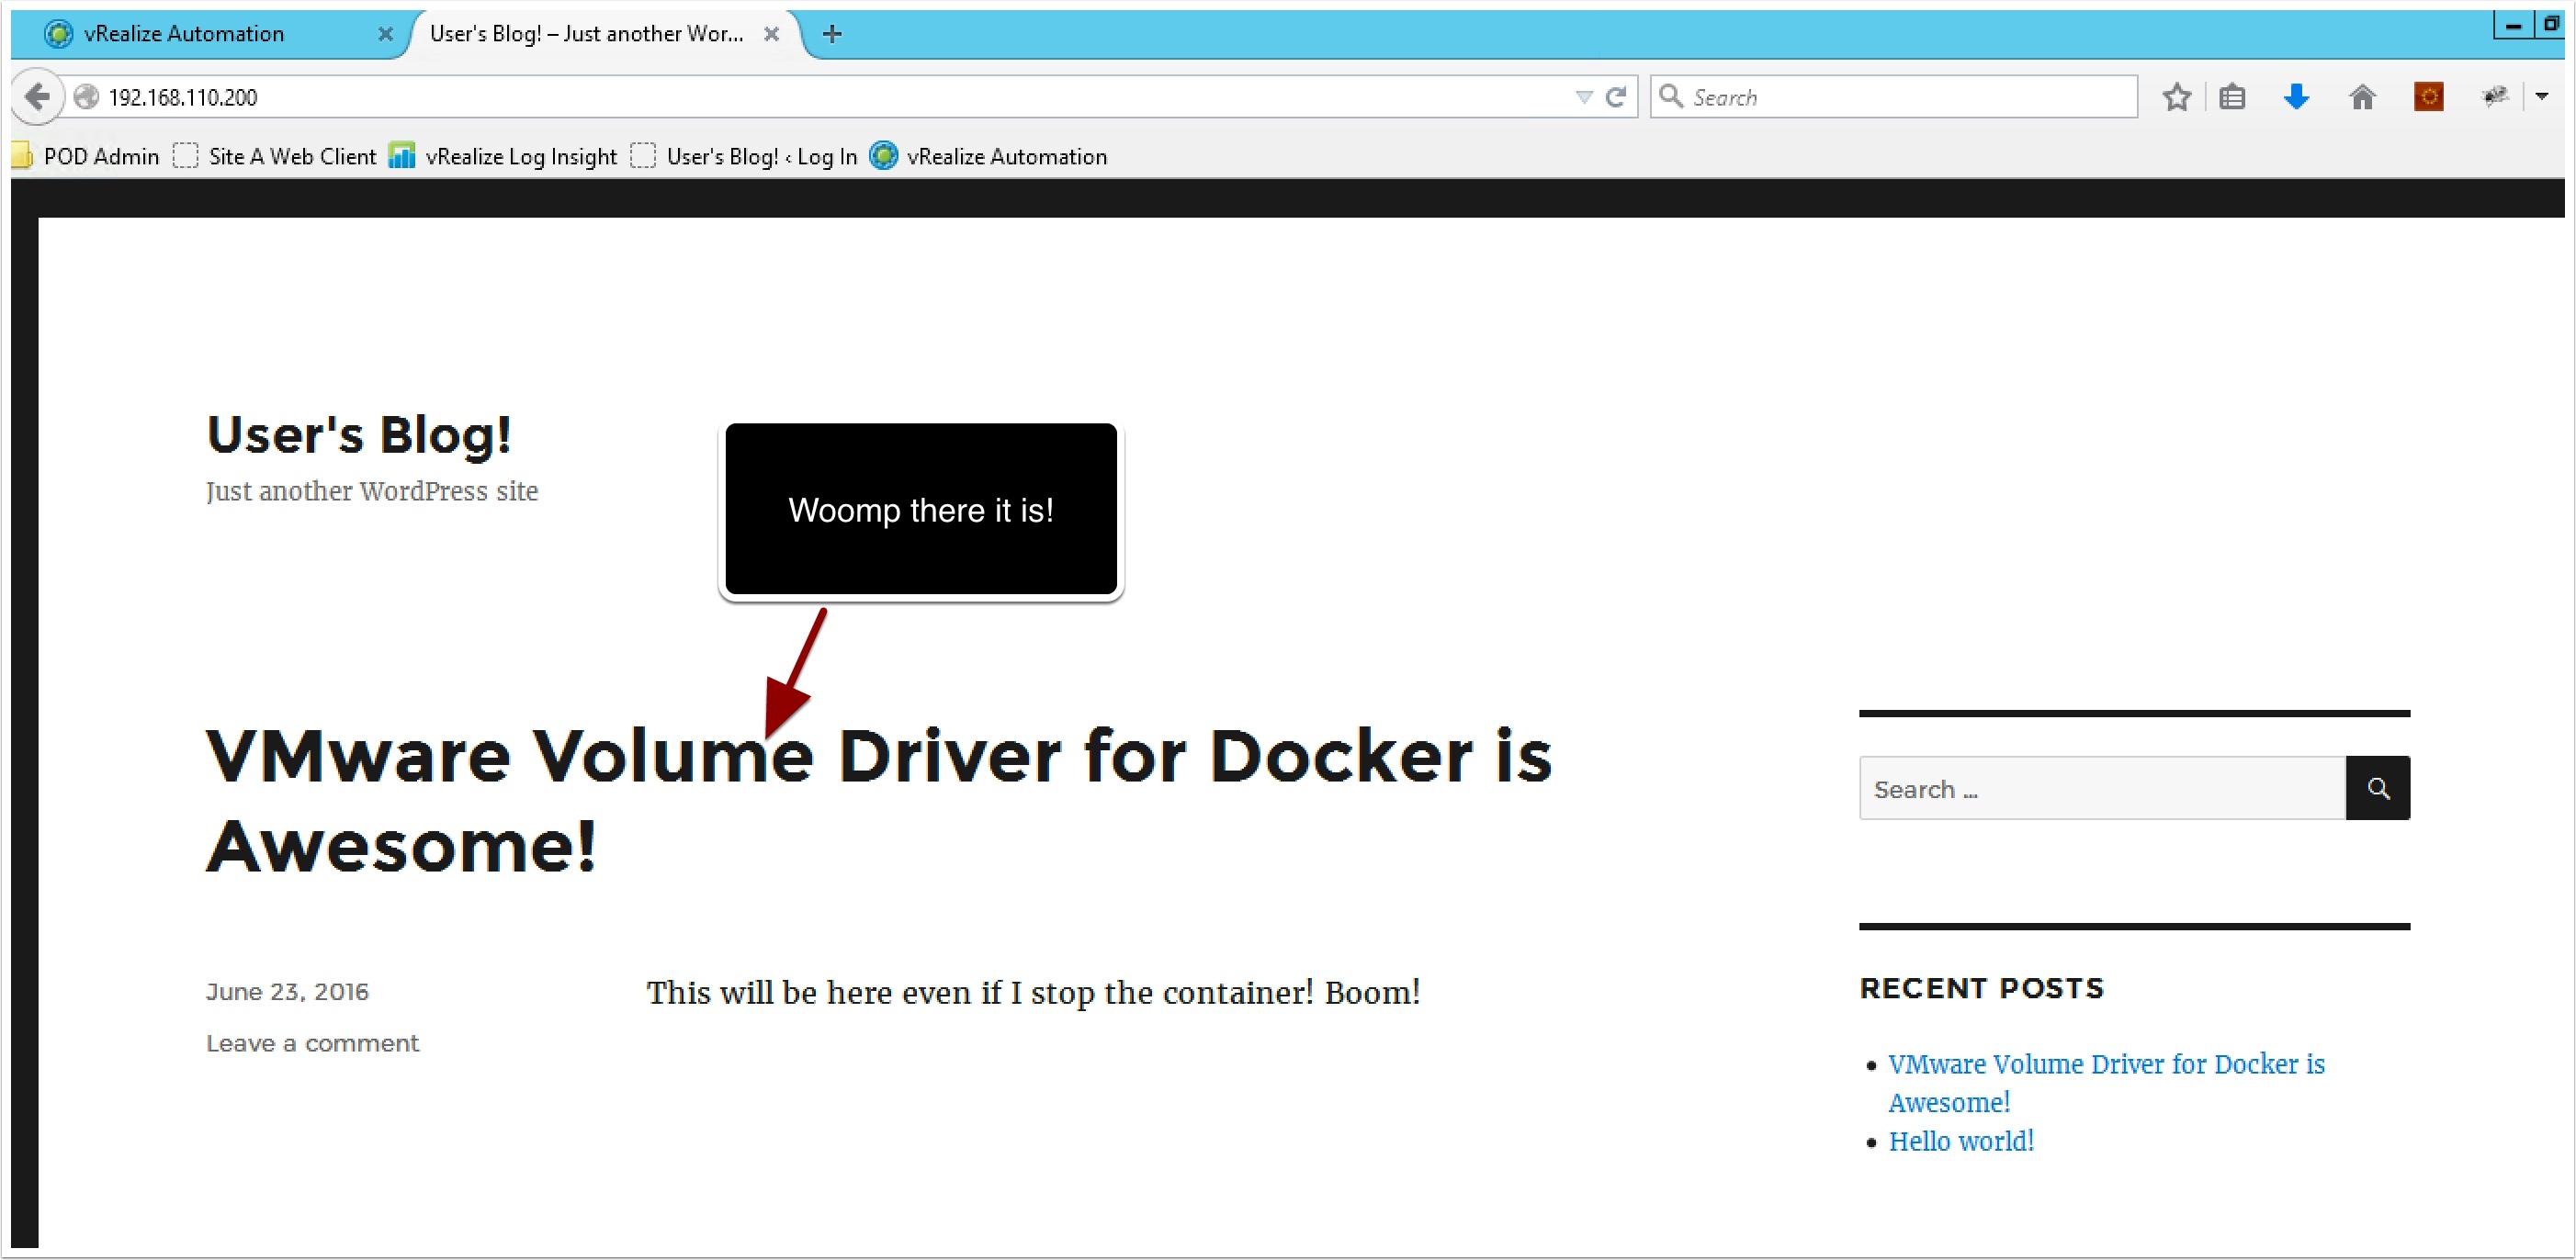
Create a new post!
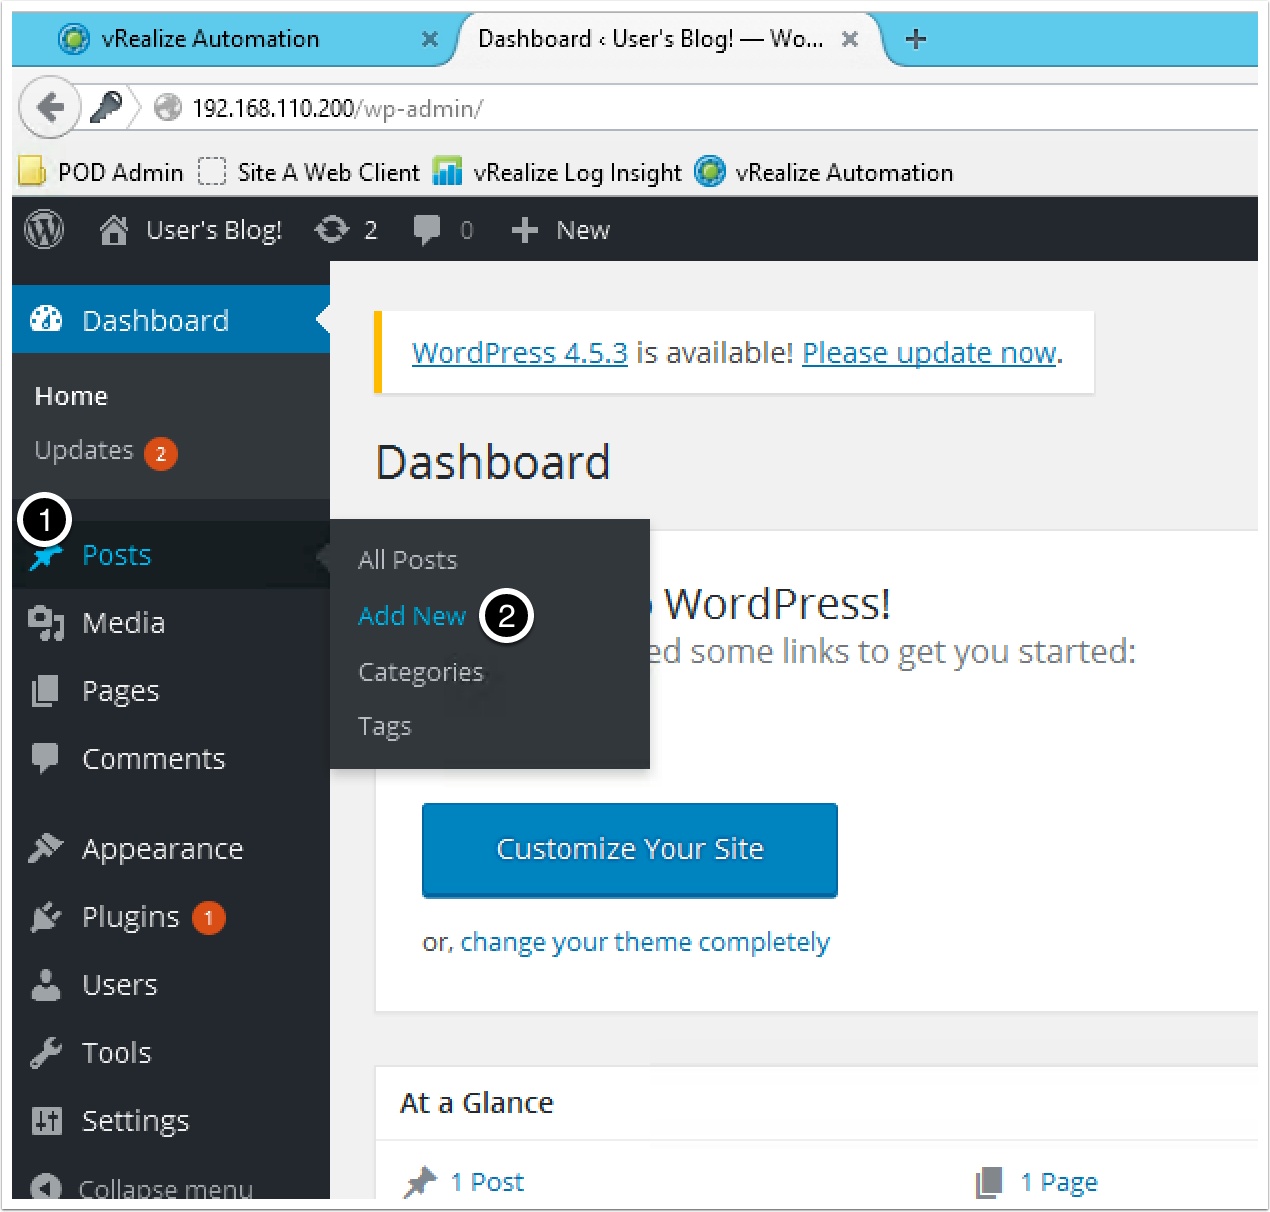
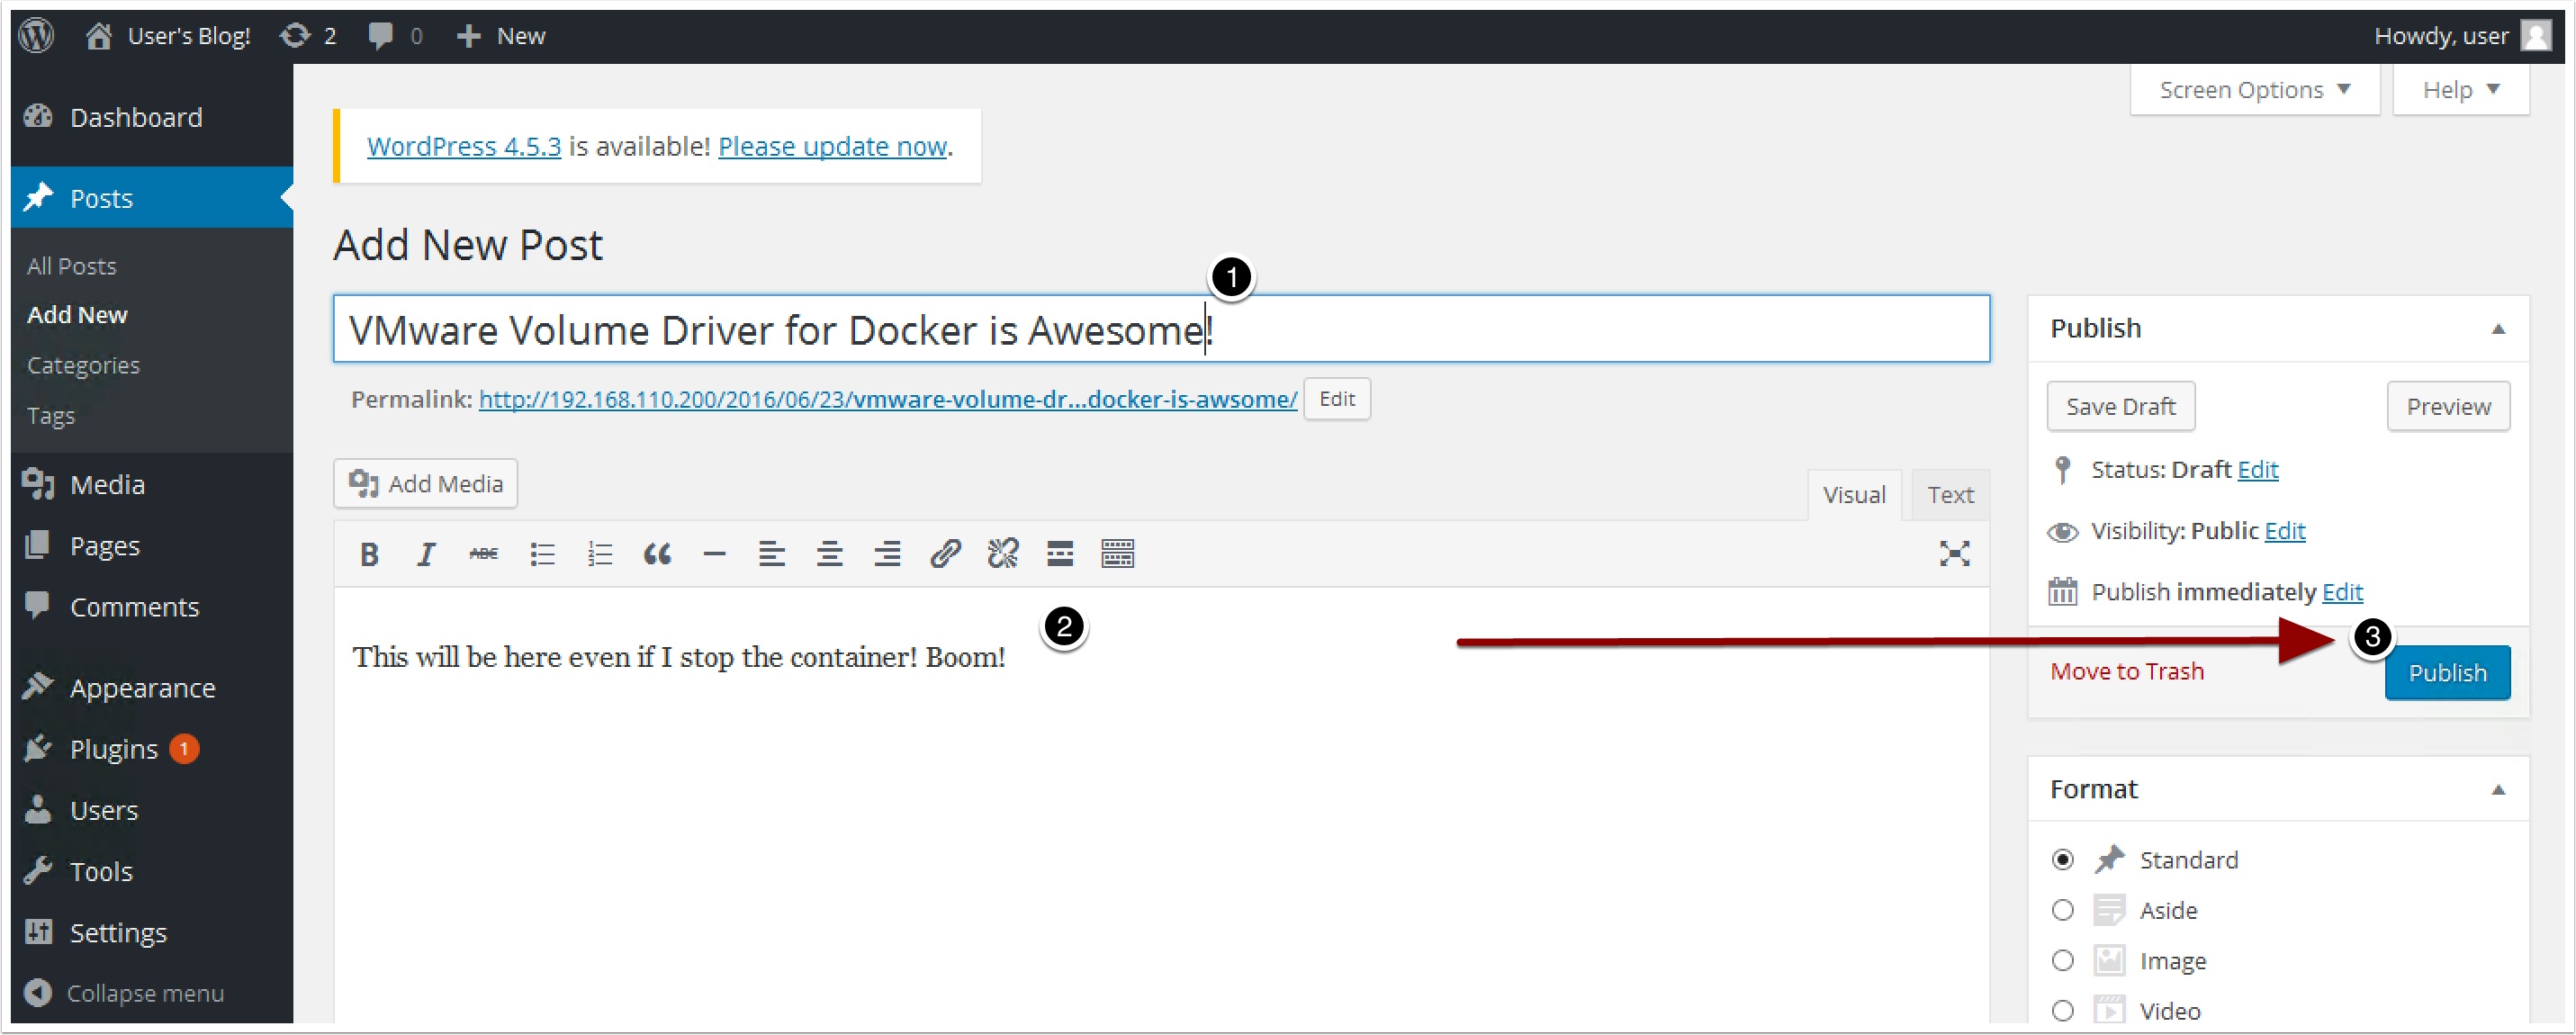
Create the following post and click publish!
Stop both the wordpress and mariadb containers with the following command
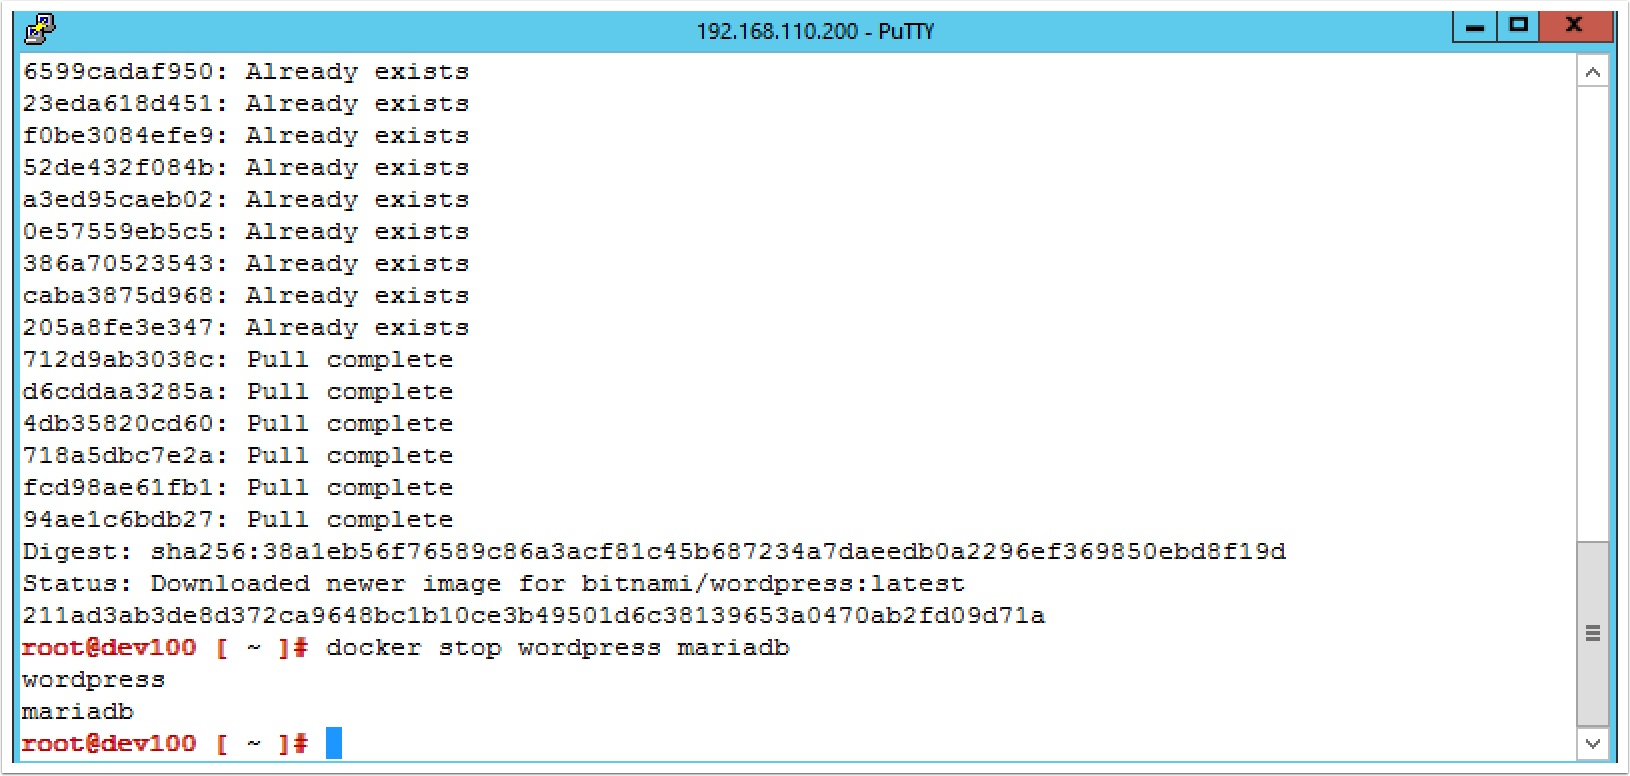
docker stop wordpress mariadb
You will also notice your wordpress site is down, without a Docker Volume if you restarted the container it would start over from the beginning like a new image, but now with volumes you have persistence. So lets restart the containers with the following command

docker start mariadb wordpress
Open a browser again to your wordpress site http://ipofPhotonOS