
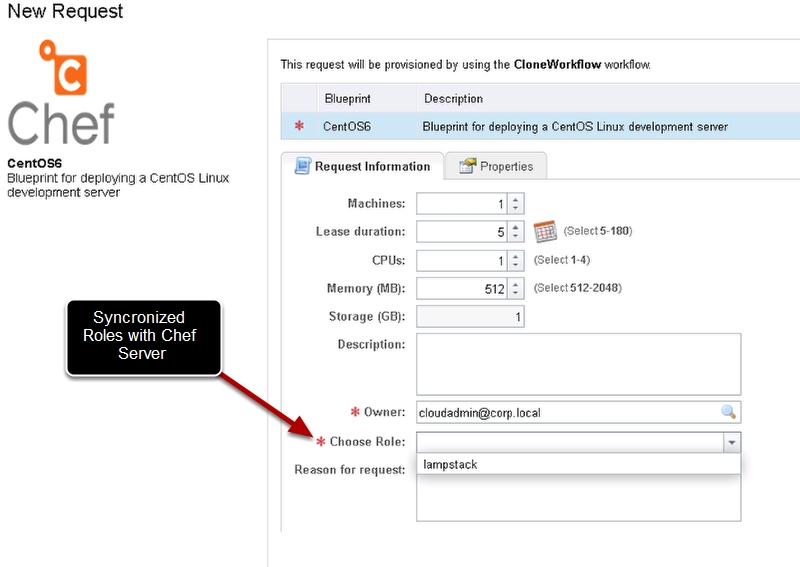
I often hear customers request a way to dynamically update a vRA request form when a change is made in a 3rd party system. For example, when the Chef admin adds or removes roles from the Chef server, they would like a way to automatically update a drop down list that is presented in vRA at request time. You may have read my previous blog posts on How to create self service portal with vRA and Chef. In those guides I create a drop down list where the requester could choose the Role they want applied to the new VM when it is built. This list can become stale our outdated quickly if the vRA admin does not constantly look at what roles changed in Chef and update it manually. That is why I have created this guide and attached workflow to automate this process. Update: See my guide here for vRA7.
Change Log
v1.0
- Initial release
Download
Credits
Dan Linsley @danlinsley for creating the Chef and Custom Property workflows for vCO.
Pre-Reqs you need in place
- vRA 6.2 or vCAC 6.x (vCAC 5.2 may work but I have not tested)
- vCO extensibility installed and configured for your vRA/vCAC installation see here
- Hosted Chef or open source Chef
- At least one Role and one recipe created on the Chef Server
- vRA with Chef extension installed and one blueprint configured Guide here
- RHEL/CENTOS 6 Blueprint in vRA with VMtools installed and Chef Client with the starter kit from hosted Chef
- Chef Workflows Package installed and configured See Here
- vCAC Custom Properties Package see here
- a quite place where you will not be interrupted
Installation
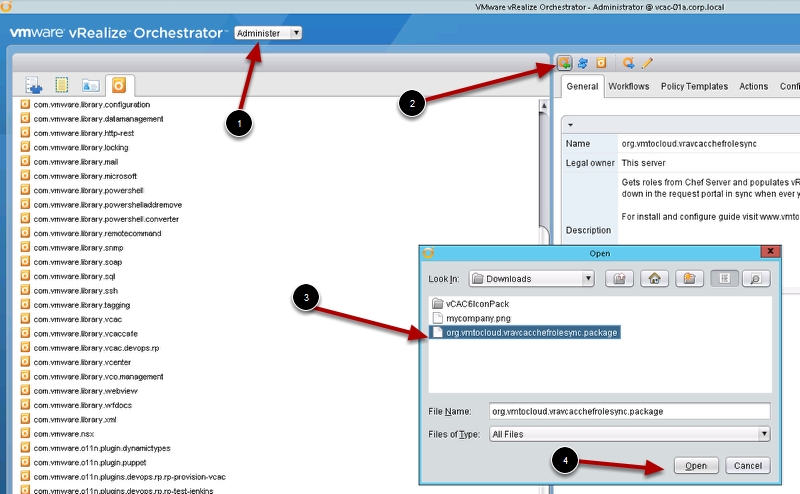
At this point you should have a working Blueprint published to the vRA catalog. Now we need to install and configure the workflow I created. Download and unzip the workflow above. Now login to the vRO client and change to Administer view then click to import the package.
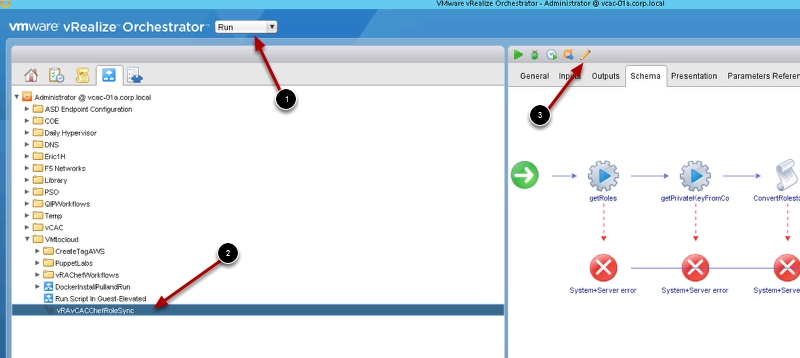
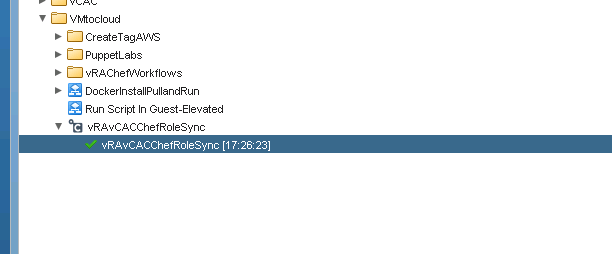
Now change to run and browse to the VMtocloud folder and the vRAvCACChefRoleSync workflow and click edit
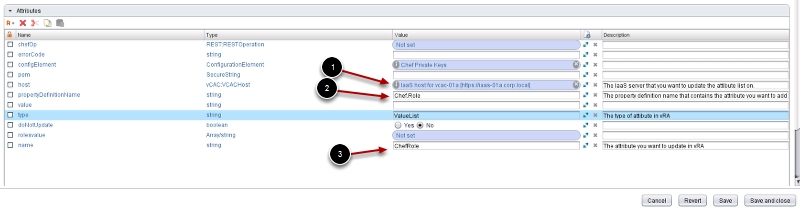
Go to the general tab, here you will need to select the vRA IaaS server then update the propertyDefinitionName and the name of the attribute that contains the drop down role list then save and close the workflow.
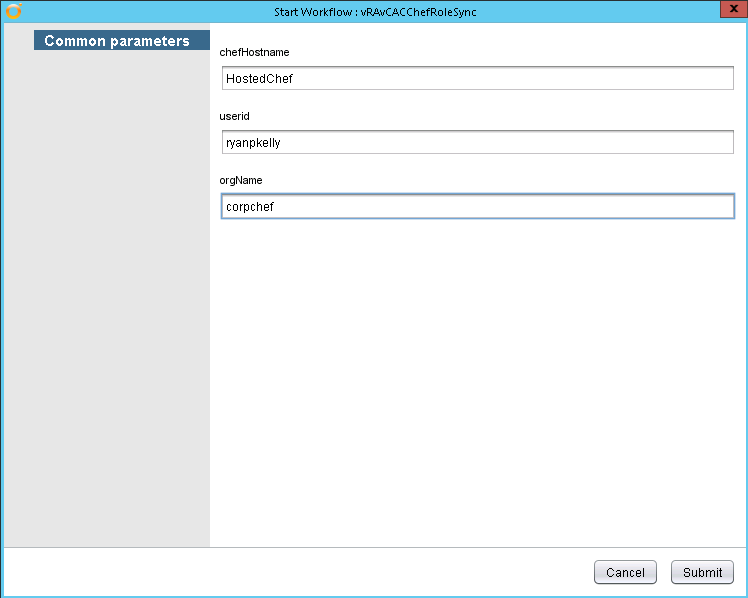
Now run the workflow and provide the chefhostname, userid and orgname
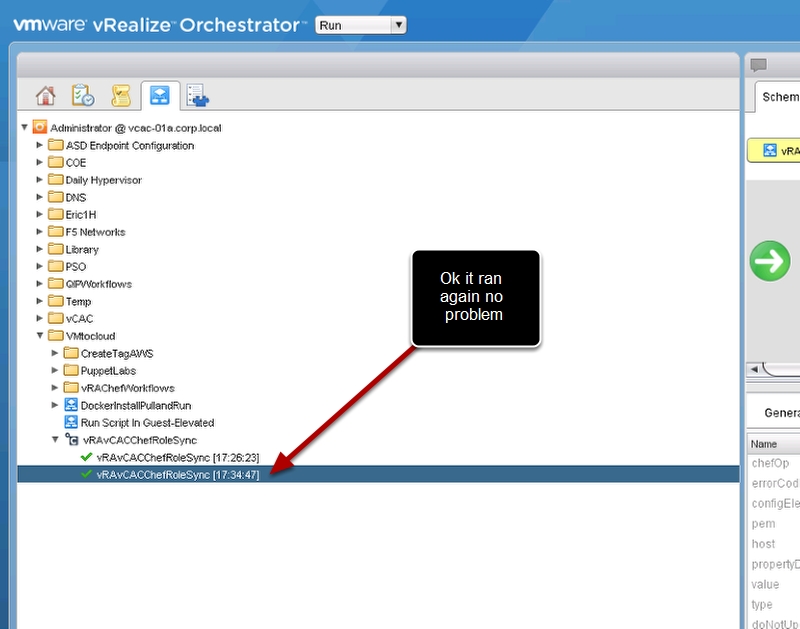
You should see a green check indicating the workflow ran.
Now let’s login to the vRA portal and see what this workflow is actually doing. Navigate to the Infrastructure tab then blueprints, then property dictionary then click to edit property attributes of the Chef.Role Property Definition
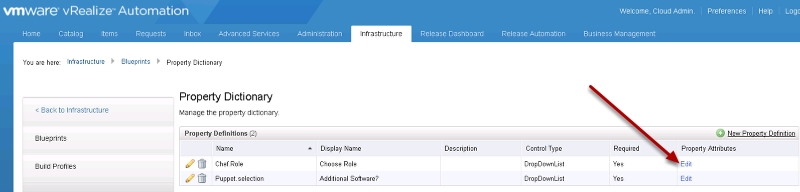
Notice that currently the only role is lampstack

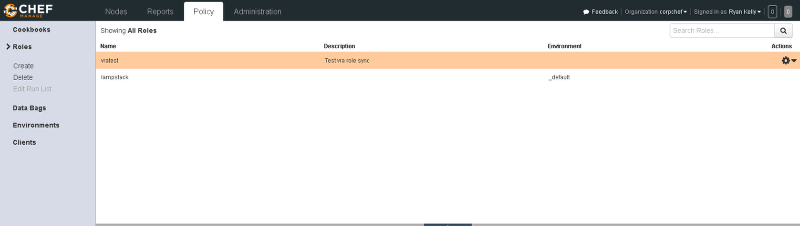
Now login to your Chef Server and go to policy tab then roles. Notice the only role is lampstack
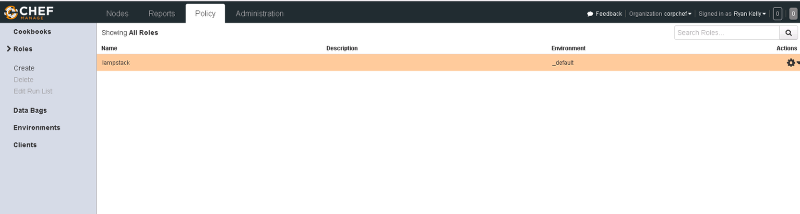
Now add a new role vratest. This does not have to be a real role this is just to test. You should now have two roles like shown.
Now go back to the vRO client and run the workflow again.
Now go back to vRA and check that Property attribute list. NOTE you may need to refresh your browser to see the change.

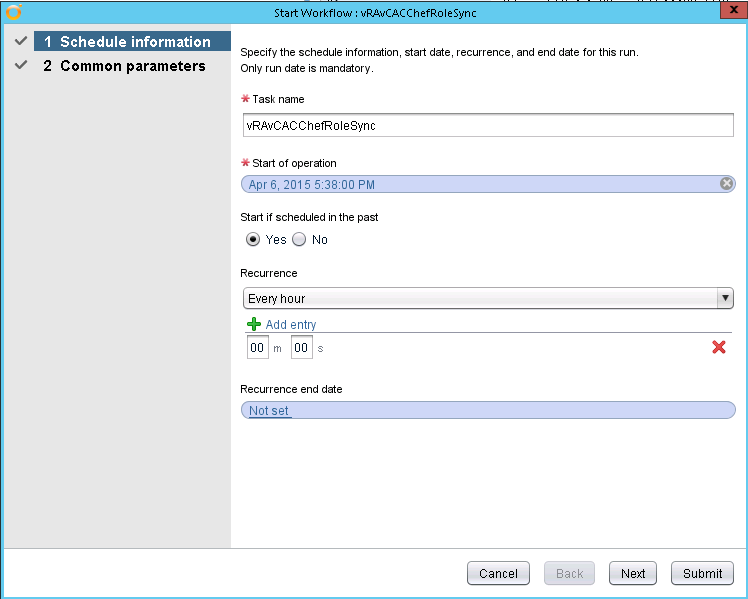
Now you will need to go back to vRO client and schedule the workflow to run periodically, every day or every hour depending how often you update chef roles.
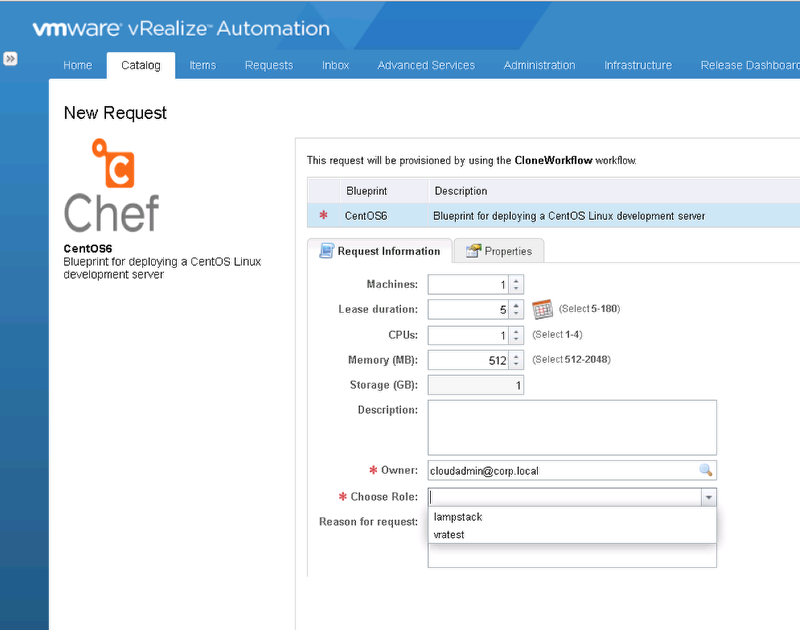
The end result is every time a user requests a VM with Chef integration the roles in the drop down list reflects what is actually available on the Chef server.
Enjoy!